
You’re typing an urgent email when your Lenovo ThinkPad keyboard stops responding. One moment you’re clicking away, the next you’re staring at a frozen cursor or watching random letters repeat across your screen. It’s frustrating, especially when you’re on a deadline.
The most common Lenovo keyboard problems stem from software conflicts, outdated drivers, accessibility features like Filter Keys or Sticky Keys interfering with input, corrupted keyboard firmware, or physical issues such as debris under keycaps, loose ribbon cables, or accidental spills. Fortunately, around 80% of keyboard malfunctions on ThinkPad, IdeaPad, Yoga, and Legion models can be fixed at home through systematic driver reinstallation, Windows accessibility setting adjustments, hard power drains, and basic cleaning, without replacing the entire keyboard assembly.
This guide walks you through a complete troubleshooting path for every Lenovo laptop keyboard issue. You’ll learn how to isolate software glitches from hardware failures, apply high-yield fixes in minutes, and determine when professional repair is necessary.
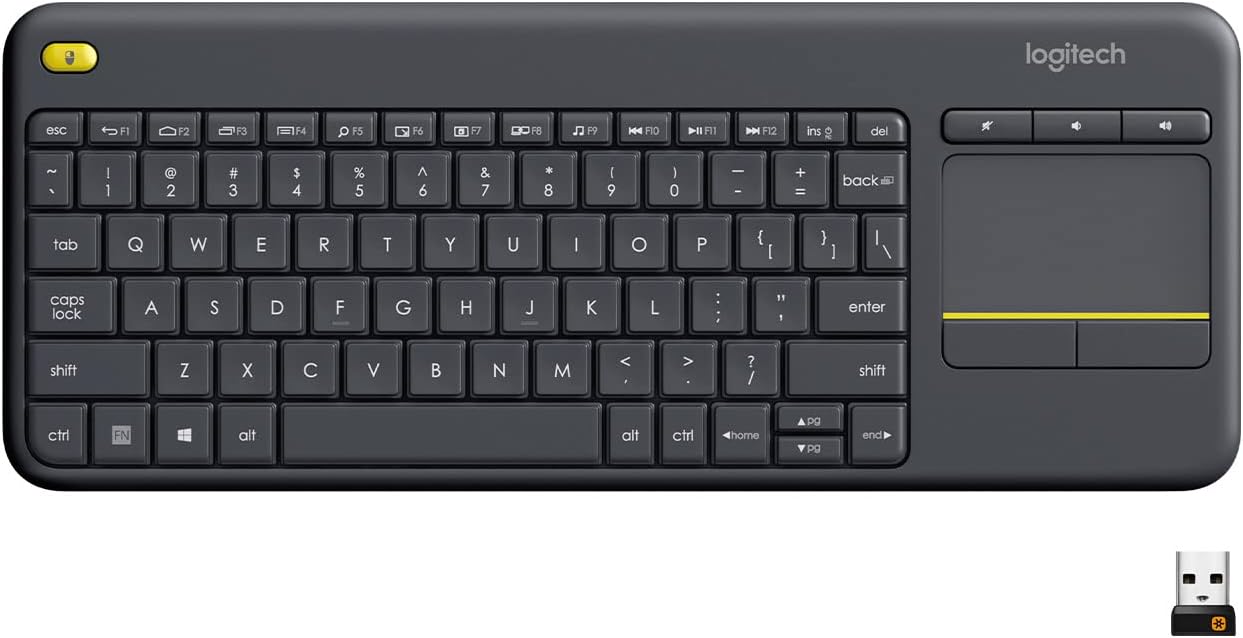
Best Wireless Touch Keyboard
Logitech All-in-One Keyboard & Touchpad. Perfect for Smart TVs & PCs. Reliable 10m Wireless Connection. Up to 18 Months Battery Life
Shop on Amazon
Key Takeaways
- Most Lenovo keyboard problems—from driver conflicts to accessibility settings—can be resolved at home, with approximately 80% of issues fixable without replacing the entire keyboard assembly.
- Perform a flea power drain by shutting down, unplugging the AC adapter, removing the battery, and holding the power button for 30 seconds to fix keyboards that appear unresponsive after updates or sudden shutdowns.
- Disable Windows accessibility features like Filter Keys and Sticky Keys in Settings > Accessibility, as these commonly interfere with normal keyboard input and may make your Lenovo laptop keyboard feel broken.
- Test your Lenovo keyboard problem with an external USB or Bluetooth keyboard to isolate whether the issue is software-based or hardware-related; if the external keyboard works, the internal connection or physical mechanism is at fault.
- Clean sticky or dirty keys using compressed air and 90%+ isopropyl alcohol on a lint-free cloth; avoid water-based cleaners and never force keycaps off to prevent damage to the scissor-switch mechanism.
- Seek professional repair if multiple key rows are dead, the controller chip has failed, or the motherboard shows corrosion; otherwise, budget-conscious users can use an external keyboard as a practical workaround.
Troubleshooting Non-Responsive Lenovo Keyboards
Quick Restart Procedures
A simple restart clears temporary memory conflicts and resets device enumeration in Windows 10 and 11. Close all applications, click Start, and select Restart. If your keyboard is completely unresponsive, hold the physical power button for 10 seconds until the system shuts down, wait 15 seconds, then power on.
For a deeper reset, perform a flea power drain. Shut down your Lenovo laptop, unplug the AC adapter, and remove the battery if it’s user-removable. Press and hold the power button for 30 seconds to discharge residual electricity. Reconnect the battery and AC adapter, then boot normally. This procedure often fixes keyboards that appear dead after sudden shutdowns or Windows updates.
“Did a flea power drain on my ThinkPad T14 Gen 3 after the keyboard went completely dead post-update. Worked like magic, keys are back.” via r/thinkpad
If the restart doesn’t help, move to driver and software checks. A quick reboot is your first line of defense and costs zero time.
Driver Updates and Reinstallation
Outdated or corrupted keyboard drivers are a leading cause of input failures on Lenovo laptops. Open Device Manager by pressing Win + X and selecting Device Manager. Expand the Keyboards section, right-click on your Standard PS/2 Keyboard or HID Keyboard Device, and select Update driver. Choose Search automatically for drivers and let Windows fetch the latest version.
If updating doesn’t work, uninstall the driver entirely. Right-click the keyboard entry, select Uninstall device, check Delete the driver software for this device, and confirm. Restart your laptop, and Windows will reinstall a fresh driver automatically. This reset clears corrupted registry entries and configuration conflicts.
For ThinkPad users, download the official Lenovo keyboard driver package from Lenovo Support and install it manually. Match your exact model and Windows version. Legion and IdeaPad users should also check Lenovo Vantage under System Update for firmware patches that address erratic typing or key repeat issues.
Testing With an External or On-Screen Keyboard
Connect a USB keyboard or Bluetooth keyboard to your Lenovo laptop. If the external device works perfectly, you’ve isolated the problem to your internal keyboard hardware or its connection. If the external keyboard also malfunctions or exhibits the same weird behavior, your issue is software-based, likely a driver conflict, malware, or Windows setting.
Enable the Windows On-Screen Keyboard as a temporary workaround. Click Start, type On-Screen Keyboard, and launch it. This touch-based virtual keyboard lets you type your password, search for fixes, and navigate settings while troubleshooting. It’s especially useful on Yoga 2-in-1 models in tablet mode.
According to Microsoft’s accessibility documentation, the On-Screen Keyboard bypasses physical hardware entirely, routing input through the touch or mouse interface. If it works but your physical keys don’t, you’re dealing with a hardware fault or connection issue.
Common Software Settings and Accessibility Issues
Adjusting Ease of Access Settings
Windows Ease of Access features can inadvertently disable or alter keyboard behavior. Open Settings by pressing Win + I, select Accessibility (or Ease of Access on Windows 10), then click Keyboard. Turn off Sticky Keys, Toggle Keys, and Filter Keys. These features are designed for users with motor disabilities but can cause keys to ignore rapid presses or register multiple inputs.
Check the Use the On-Screen Keyboard toggle, if it’s on and you’re not using a touchscreen actively, turn it off. Also verify that Print Screen shortcut and other keyboard shortcuts aren’t conflicting with your typing. Sometimes a stray setting here can make your Lenovo IdeaPad or Legion keyboard feel broken when it’s just waiting for a second keypress to confirm input.
Disabling Filter Keys and Sticky Keys
Filter Keys ignores brief or repeated keystrokes, designed to help users who accidentally press keys multiple times. If enabled, it can make your keyboard feel sluggish or unresponsive. Press the right Shift key for 8 seconds to trigger the Filter Keys dialog, click No or disable it entirely in Accessibility settings.
Sticky Keys allows you to press modifier keys (Shift, Ctrl, Alt) one at a time instead of holding them. It’s useful for one-handed typing, but if activated by accident, often by tapping Shift five times rapidly, it can cause bizarre input behavior. Press Shift five times again to toggle it off, or disable it in Settings > Accessibility > Keyboard.
“My Yoga 7i keyboard wasn’t typing until I realized Filter Keys was on. Turned it off in Settings and boom, back to normal.” via r/Lenovo
Managing Keyboard Shortcuts Conflicts
Lenovo laptops include proprietary hotkeys managed by Lenovo Vantage or legacy Lenovo Settings software. Press Fn + Esc to toggle Fn Lock on ThinkPad and Legion models, if Fn Lock is active, your function row (F1–F12) will prioritize media controls over traditional F-key functions, which can feel like keys aren’t working.
Check for third-party software conflicts. Gaming macro tools, clipboard managers, or AutoHotkey scripts can intercept keystrokes. Boot your Lenovo laptop into Safe Mode (hold Shift while clicking Restart, then Troubleshoot > Advanced options > Startup Settings > Restart > press 4). If the keyboard works in Safe Mode, a background application is the culprit. Uninstall recent software or use Lenovo Vantage to reset keyboard shortcuts to factory defaults.
Physical and Hardware Problems With Lenovo Keyboards
Cleaning Sticky or Dirty Keys
Dust, crumbs, and liquid residue can lodge under keycaps and block the scissor-switch mechanism on Lenovo laptops. Turn off your laptop and tilt it at an angle. Use compressed air, like the Dust-Off Compressed Air Duster, to blow out debris from under the keys. Short bursts work best: long sprays can deposit moisture.

For stubborn sticky keys, gently pry off the keycap with a plastic spudger or flat tool. Lenovo’s chiclet-style keycaps on ThinkPad and IdeaPad models lift off with minimal force. Clean the exposed switch with isopropyl alcohol (90% or higher) on a lint-free cloth or cotton swab. Let it dry completely before snapping the keycap back into place.
Common Cleaning Mistakes
| Mistake | Why It’s Bad | Correct Approach |
|---|---|---|
| Using water or household cleaners | Causes corrosion and short circuits | Use 90%+ isopropyl alcohol only |
| Removing all keycaps at once | Easy to lose or misplace small parts | Clean one key at a time |
| Forcing keycaps off | Breaks scissor clips or hinge mechanism | Lift gently from one corner with a plastic tool |
| Spraying air directly into ports | Pushes debris deeper or damages sensors | Tilt laptop and spray at an angle |
Checking Keyboard Connections
If entire rows or sections of keys fail simultaneously, the internal ribbon cable may be loose or damaged. This repair requires opening your Lenovo laptop’s bottom cover. Power off, unplug the AC adapter, and remove the battery. Unscrew the bottom panel (ThinkPad models typically use Phillips screws: some IdeaPad and Yoga models have hidden clips).
Locate the keyboard ribbon cable, a flat, flexible connector running from the keyboard assembly to the motherboard. Gently lift the black or white locking tab, slide the cable out, inspect for tears or bent pins, then reseat it firmly and lock the tab. Reassemble and test. If you’re uncomfortable with disassembly, consult the Lenovo Hardware Maintenance Manual for your specific model.
Dealing With Water or Physical Damage
If you spilled liquid on your Lenovo keyboard, shut down immediately, don’t attempt a graceful shutdown. Unplug the AC adapter, flip the laptop upside down in a tent position, and let it drain for at least 24 hours. Remove the battery if possible. Liquid damage can short the keyboard controller or corrode traces on the motherboard.
After drying, power on and test. If keys are still non-functional or typing random characters, the keyboard membrane or controller chip may be permanently damaged. Use Lenovo Vantage’s Hardware Scan to run a diagnostic test, select Keyboard under Device, then Start Test. Follow on-screen prompts to press specific keys. Failed keys will be flagged.
Physical impacts, like dropping your Legion laptop or closing the lid on a pen, can crack keycaps or misalign the scissor mechanism. Inspect for visible cracks or loose keycaps. Individual keycap replacements are available on Amazon or Lenovo Parts, but severe frame damage often requires a full keyboard assembly swap.
Advanced Fixes and Preventive Measures
Perform System Restore for Persistent Issues
If your keyboard stopped working after a Windows update, driver installation, or software change, roll back your system to a previous state. Open the Start menu, type Create a restore point, and click it. In the System Properties window, click System Restore, then Next. Choose a restore point dated before the keyboard issue appeared and follow the wizard.
System Restore doesn’t delete personal files but removes recently installed drivers and applications. It’s a powerful fix for software-induced keyboard failures. Make sure you have a restore point enabled: if not, create one now for future protection. According to Microsoft’s System Restore documentation, the feature can reverse registry changes and driver updates that break hardware functionality.
Preventing Future Keyboard Problems
Preventive maintenance reduces the chance of repeat failures. Update your Lenovo laptop regularly through Windows Update and Lenovo Vantage. Keep your BIOS and firmware current, outdated firmware can cause erratic input handling, especially on newer Legion and Yoga models with advanced RGB backlighting and macro keys.
Use a keyboard cover or skin if you frequently eat or drink near your laptop. Silicone covers protect against spills and dust while maintaining key feel. Clean your keyboard monthly with compressed air and wipe down keycaps with isopropyl alcohol to prevent buildup.
Avoid pressing keys with excessive force, especially on ultra-thin IdeaPad models. The scissor-switch design is durable but not indestructible. If you’re a heavy typist or gamer, consider a Logitech MX Keys wireless keyboard as an external companion for extended sessions, reducing wear on your built-in keyboard.

When to Seek Professional Repair or Replacement
If you’ve exhausted software fixes, driver reinstalls, cleaning, and cable checks without success, your keyboard assembly likely needs replacement. Lenovo keyboard replacements cost between $50 and $150 for parts, plus labor if you use a repair shop. ThinkPad keyboards are typically easier to replace (often just a few screws), while IdeaPad and Yoga models may require removing the entire bottom assembly.
Check your warranty status in Lenovo Vantage or on the Lenovo Support site. If you’re still under warranty, file a claim for a free or discounted repair. Out-of-warranty users can purchase official replacement keyboards from Lenovo Parts or third-party vendors on Amazon, verify compatibility by model number.
When to Repair vs. Replace
- DIY Repair: Individual keycaps broken, ribbon cable loose, minor spill damage
- Professional Repair: Multiple key rows dead, controller chip failure, motherboard corrosion
- External Keyboard Workaround: Laptop over 5 years old, repair cost exceeds 40% of replacement value
For temporary or budget-conscious users, an external USB or Bluetooth keyboard is a practical solution. The Logitech K380 Multi-Device Bluetooth Keyboard pairs with up to three devices and is compact enough to travel with your Lenovo laptop.

Frequently Asked Questions
What causes Lenovo keyboard problems?
Lenovo keyboard issues stem from software conflicts, outdated drivers, accessibility features like Filter Keys or Sticky Keys, corrupted firmware, or physical problems such as debris, loose ribbon cables, or liquid damage. Around 80% can be fixed at home through driver reinstallation, settings adjustments, and cleaning.
How do I fix a non-responsive Lenovo keyboard?
Start with a simple restart. For more persistent issues, perform a flea power drain: shut down, unplug the AC adapter and battery, hold the power button for 30 seconds, then reconnect and boot normally. This clears temporary conflicts and often restores keyboard functionality immediately.
Can accessibility settings disable my Lenovo keyboard?
Yes. Windows Ease of Access features like Filter Keys, Sticky Keys, and Toggle Keys can alter keyboard behavior and make it feel unresponsive. Open Settings > Accessibility > Keyboard and disable these features if you’re not actively using them for accessibility purposes.
How do I update Lenovo keyboard drivers?
Press Win + X, select Device Manager, expand Keyboards, right-click your keyboard entry, and choose Update driver. For ThinkPad users, download the official keyboard driver from Lenovo Support matching your exact model and Windows version for guaranteed compatibility.
What should I do if I spilled liquid on my Lenovo keyboard?
Shut down immediately without a graceful shutdown, unplug the AC adapter, remove the battery, and position your laptop upside down to drain for 24+ hours. Liquid damage can corrode components permanently; if keys remain non-functional after drying, professional repair or keyboard replacement may be necessary.
When should I replace my Lenovo keyboard instead of repairing it?
Replace your keyboard if multiple key rows are dead, the controller chip has failed, there’s motherboard corrosion, or repair costs exceed 40% of laptop replacement value. ThinkPad keyboards are typically easier to replace; out-of-warranty repairs cost $50–$150 plus labor.
Read More:
- Lenovo Keyboard Backlight Not Working? Quick Fixes Inside
- Lenovo Keyboard Certain Keys Not Working (Proven Fixes that Works)
- Lenovo Keyboard Error (Common Causes and Inside is How to Fix It)
- Lenovo Keyboard Enter Key Not Working? Fix It Fast With this Proven Ways
- Lenovo Keyboard G and H Not Working (Here’s How to Fix It Fast)