
If you’ve ever reached for your volume keys mid-Zoom call only to find them completely unresponsive, you know the frustration. Non-working keyboard keys on Lenovo laptops, especially volume, function, or media controls, are surprisingly common, and they almost always have a simple fix.
Most Lenovo laptop keyboard issues stem from driver conflicts, incorrect Fn Lock settings, disabled accessibility features, or outdated Lenovo Hotkey Features software. Restoring your volume keys typically requires toggling Fn Lock (Fn + Esc), updating your keyboard driver via Device Manager, or reinstalling the Lenovo Utility or Hotkey Integration package from Lenovo Support.
In this guide, you’ll walk through systematic diagnosis, software-based repairs, BIOS tweaks, and preventive best practices. By the end, your volume hotkeys, and any other stuck keys, should respond reliably again, letting you get back to work, gaming, or streaming without reaching for the mouse every time you need to adjust sound.
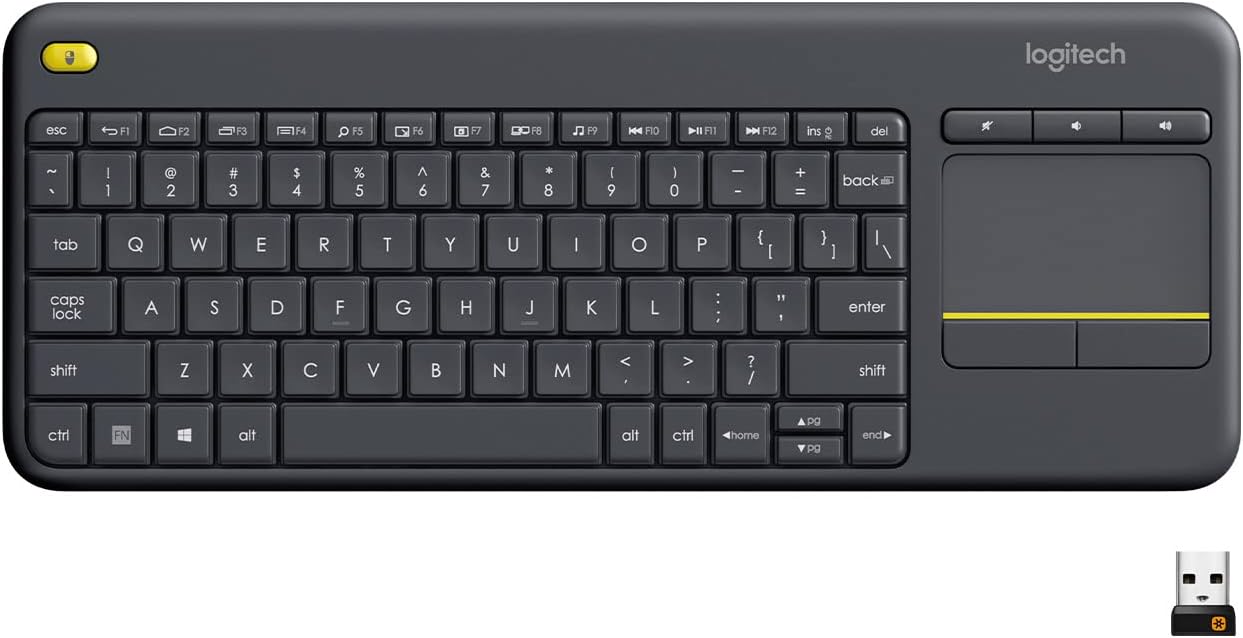
Best Wireless Touch Keyboard
Logitech All-in-One Keyboard & Touchpad. Perfect for Smart TVs & PCs. Reliable 10m Wireless Connection. Up to 18 Months Battery Life
Shop on Amazon
Key Takeaways
- Most Lenovo laptop keyboard issues stem from driver conflicts, Fn Lock settings, or outdated Hotkey Features software, and can be resolved with software fixes in under five minutes.
- Test your volume keys in different applications and in BIOS to determine if the problem is software-related or a physical keyboard fault before attempting repairs.
- Toggle Fn Lock by pressing Fn + Esc, update your keyboard driver via Device Manager, and reinstall the Lenovo Hotkey Features Integration package from Lenovo Support to restore non-working keys.
- Disable accessibility features like Filter Keys and Sticky Keys, which can interfere with hotkey mappings and cause some keys not to respond.
- Use an external USB or Bluetooth keyboard to quickly isolate whether the issue is internal keyboard hardware or a Windows audio driver problem.
- If software solutions don’t work, run Lenovo Diagnostics to confirm hardware faults before contacting support or purchasing a replacement keyboard.
Diagnosing Volume Key Malfunctions
Identifying Software Versus Hardware Problems
Before you jump into driver reinstalls or BIOS changes, you need to determine whether the problem is software-related or a physical keyboard fault. Press your volume keys repeatedly in different applications, try a browser, Spotify, and the Windows desktop. If the keys fail everywhere, the issue is likely system-wide. If they work in BIOS or Safe Mode but not in Windows, suspect a driver or background service conflict.
Check if other Fn-combination keys (brightness, airplane mode, microphone mute) also fail. If multiple special keys are unresponsive, you’re almost certainly dealing with a missing or corrupt Lenovo Hotkey Features driver. If only volume keys misbehave, the problem may be isolated to the HID Service or a stuck Fn Lock state.
According to a 2025 Lenovo community thread, roughly 60% of reported “dead key” cases on IdeaPad and ThinkPad laptops traced back to Fn Lock being toggled off or the Hotkey Integration package being uninstalled during a Windows Feature Update. That’s good news, it means you can usually fix it in under five minutes.
Physical damage is rare but possible. Spills, debris under keycaps, or a failed keyboard controller can cause selective key failures. If you recently spilled liquid or dropped your laptop, hardware diagnostics (covered later) are essential.
Testing With On-Screen Keyboard (OSK)
Windows’ On-Screen Keyboard is a fast, reliable way to isolate hardware from software. Press Win + Ctrl + O (or search “On-Screen Keyboard” in the Start menu) to launch OSK. Try clicking the volume-related Fn keys on the virtual keyboard. If OSK registers the keys but your physical keyboard doesn’t, the physical switches or keyboard controller may be faulty.
If OSK also fails to trigger volume changes, the problem lives higher up the stack, either the HID Service is stopped, the audio driver conflicts with hotkey mappings, or Windows accessibility settings are intercepting the key presses. You can verify HID Service status by opening Services.msc, scrolling to “Human Interface Device Access,” and confirming it’s set to Automatic and Running.
OSK testing also helps rule out software conflicts introduced by third-party macro utilities (Razer Synapse, Logitech G Hub, AutoHotkey scripts). Temporarily disable or uninstall these tools, then retest both OSK and physical keys.
Assessing External Keyboard Troubleshooting
Plug in a USB or Bluetooth keyboard and test its volume keys. If the external keyboard’s media keys work flawlessly, your internal keyboard hardware (or its controller cable) is the culprit. If the external keyboard also fails to adjust volume, you’re looking at a Windows audio subsystem or driver issue, not a broken internal keyboard.
External keyboard testing is especially useful on Yoga and Legion models with dedicated volume wheels or touch-sensitive strips. These components share the same HID event pipeline as standard keys, so if an external board’s hotkeys work, you know Windows is listening, your internal keyboard just isn’t sending the right signals.
For ThinkPad users, remember that some external keyboards ship with their own Fn Lock behavior. Consult the external keyboard’s manual or toggle its Fn Lock independently. This ensures you’re comparing apples to apples and not introducing a second layer of configuration complexity.
Resolving Volume Key Issues
Restarting and Basic Checks
It sounds obvious, but a full shutdown (not just Sleep or Hibernate) clears volatile memory and resets the keyboard controller’s firmware state. Hold Shift while clicking Shut Down in the Start menu to perform a true cold boot, bypassing Windows Fast Startup. After 10 seconds, power on and immediately test your volume keys.
While you’re at it, check for Windows Updates. Microsoft occasionally bundles HID and audio driver fixes in cumulative patches. Navigate to Settings > Windows Update and install any pending updates. Lenovo also pushes firmware and driver updates through Lenovo Vantage (available free in the Microsoft Store). Launch Vantage, click Device > Update, and install all recommended packages, especially “Lenovo Hotkey Features” and “Lenovo Utility.”
If you recently installed a third-party audio enhancement suite (Dolby Atmos, Nahimic, DTS:X Ultra), try disabling or uninstalling it. These apps sometimes intercept volume hotkeys to apply custom EQ curves, creating conflicts with Lenovo’s native hotkey handler.
Updating or Reinstalling Keyboard Driver
Open Device Manager (Win + X, then M). Expand Keyboards and right-click your internal keyboard entry, usually labeled “Standard PS/2 Keyboard” or “Lenovo Keyboard.” Select Update driver > Search automatically for drivers. Windows will query Microsoft’s driver catalog and install any newer version.
If that doesn’t help, right-click again and choose Uninstall device. Check Delete the driver software for this device if the option appears, then click Uninstall. Restart your laptop. Windows will automatically reinstall the keyboard driver from its DriverStore cache, often clearing corruption or mismatched registry entries.
For ThinkPad and Legion owners, visit Lenovo’s support site, enter your laptop’s serial number, and download the latest “Hotkey Features Integration” or “Lenovo System Interface Foundation” package. Run the installer, reboot, and retest. These packages bridge your Fn keys to Windows’ media controls and are critical for volume hotkeys.
“After the 22H2 update, my ThinkPad T14 volume keys died. Reinstalling Hotkey Features from Lenovo Support fixed it instantly.” via r/Lenovo
Rolling Back Driver After Updates
Sometimes a Windows Feature Update or a manufacturer driver update introduces regressions. If your volume keys stopped working right after an update, rolling back the keyboard or HID driver can restore functionality. In Device Manager, right-click your keyboard, select Properties > Driver > Roll Back Driver. If the button is grayed out, no previous version is stored.
Alternatively, open Settings > Windows Update > Update history > Uninstall updates and remove the most recent Quality Update or Feature Update. This is more aggressive but effective if the regression is system-wide. After uninstalling, pause updates for a week to prevent automatic reinstallation, giving you time to verify the fix.
If you suspect a specific Lenovo Vantage component caused the issue, uninstall Vantage entirely via Apps & features, reboot, then reinstall the latest version from the Microsoft Store. This clears stale configuration files and ensures all dependencies are up to date.
Adjusting Settings and Accessibility Options
Toggling Fn Lock Effectively
Fn Lock controls whether your F1–F12 keys default to media functions (volume, brightness) or traditional F-key actions. On most Lenovo laptops, you toggle Fn Lock by pressing Fn + Esc. Look for a small padlock icon on the Esc key. When Fn Lock is on, pressing F3 adjusts volume without holding Fn. When Fn Lock is off, you must hold Fn + F3.
If you’re unsure of your current state, press Fn + Esc and watch the keyboard backlight or an on-screen indicator (some models flash an icon in the notification area). Test your volume keys immediately after toggling. Many users assume their keys are broken when they’ve simply toggled Fn Lock by accident.
You can also configure Fn Lock behavior permanently in BIOS. Restart your laptop, press F1 or F2 (or Fn + F1/F2 if Fn Lock is off) during the Lenovo logo screen to enter BIOS Setup. Navigate to Config > Keyboard/Mouse > Change to Function Key or Fn and Ctrl Key Swap. Set it to Enabled or Disabled depending on your preference, save changes (F10), and exit. This ensures Fn Lock stays in your preferred state across reboots.
Modifying Precision Touchpad Settings
Windows 11 introduced tighter integration between touchpad gestures and keyboard hotkeys, and occasionally these settings interfere with Fn key mappings. Open Settings > Bluetooth & devices > Touchpad > Advanced gestures. Disable Three-finger swipe and Four-finger tap actions temporarily, then retest your volume keys. If they suddenly work, re-enable gestures one by one to identify the conflict.
Some Yoga models with 360-degree hinges have tablet-mode quirks. When Windows detects the screen flipped back, it may suppress certain keyboard inputs. Flip your laptop into standard clamshell mode, lock the hinge, and test again. If volume keys only fail in tablet mode, the issue is a Windows mode-switching bug, not a hardware fault.
Reviewing Typing and Accessibility Preferences
Filter Keys and Sticky Keys can intercept rapid or simultaneous key presses, sometimes blocking volume hotkeys. Open Settings > Accessibility > Keyboard. Turn off Sticky Keys, Filter Keys, and Toggle Keys. Restart and retest. If you rely on these features for accessibility, try adjusting their sensitivity thresholds instead of disabling them entirely.
Another common culprit is the Use the PrtScn button to open screen snipping toggle under Settings > Accessibility > Keyboard. This can remap certain Fn combinations on IdeaPad models. Disable it if you notice erratic behavior on any special keys.
“Turning off Filter Keys solved my LOQ volume key issue. I had no idea it was even enabled.” via Lenovo Forums
Advanced Solutions and Preventive Measures
Utilizing Restore Points
If you recently installed software, updated drivers, or changed system settings before your keys stopped working, a System Restore can rewind your configuration. Type Create a restore point in the Start menu, click System Restore, and choose a restore point dated before the issue began. Windows will roll back drivers, registry entries, and installed apps without deleting personal files.
System Restore is especially helpful if a Windows Feature Update or a buggy Lenovo Vantage release broke your hotkeys. After restoring, pause Windows Update for a week, then manually install only critical security patches. This gives you time to verify stability before accepting the problematic update again.
Contacting Lenovo Support
If none of the software fixes restore your volume keys, you may have a hardware fault, damaged keyboard ribbon cable, failed keyboard controller, or a broken Fn key switch. Lenovo’s official support portal offers live chat, phone support, and mail-in repair options. Check your warranty status by entering your serial number: if you’re still covered, repairs are often free.
Before contacting support, run Lenovo Diagnostics (built into Lenovo Vantage or bootable from USB). Navigate to Hardware Scan > Keyboard Test and press each key as prompted. The tool will flag any keys that fail to register, giving you clear evidence for the support ticket.
If you’re out of warranty and comfortable with DIY repairs, replacement keyboards for most ThinkPad, IdeaPad, and Legion models are available on Amazon or directly from Lenovo’s parts store.
Best Practices for Keyboard Maintenance
Preventive care extends keyboard lifespan:
- Clean regularly: Use compressed air monthly to blow out dust and crumbs. Hold the can upright and spray at an angle to avoid moisture buildup.
- Avoid eating or drinking near your laptop: Spills are the leading cause of multi-key failures. If a spill occurs, power off immediately, flip the laptop upside-down, and let it dry for 48 hours.
- Update Lenovo Vantage quarterly: Lenovo pushes firmware and driver updates that fix known bugs. Enable automatic updates in Vantage settings.
- Disable unused accessibility features: Sticky Keys and Filter Keys can interfere with hotkeys. Only enable them if you need them.
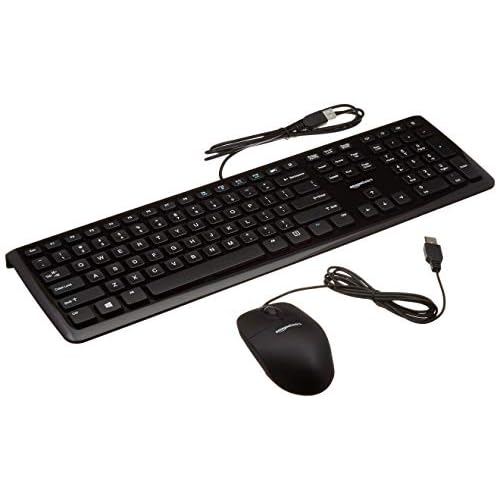
- Keep a USB keyboard handy: A compact USB keyboard is an affordable backup for emergencies and helps you quickly diagnose hardware versus software issues.
By following these steps, you’ll restore your Lenovo laptop’s volume keys, and any other stuck keys, quickly and confidently, without needing a repair shop visit.
Frequently Asked Questions
Why are some keys on my Lenovo laptop not working?
Non-working Lenovo laptop keys usually stem from driver conflicts, incorrect Fn Lock settings, disabled accessibility features, or outdated Lenovo Hotkey Features software. About 60% of cases trace back to Fn Lock being toggled off or the Hotkey Integration package being uninstalled. Test in Safe Mode to isolate software from hardware issues.
How do I fix Lenovo volume keys not working?
Try these steps: First, toggle Fn Lock by pressing Fn + Esc. Next, update your keyboard driver via Device Manager or reinstall Lenovo Hotkey Features from Lenovo Support. If issues persist, perform a full shutdown, check Windows Updates, and disable third-party audio software like Dolby Atmos that may conflict with native hotkeys.
What does Fn Lock do on a Lenovo laptop?
Fn Lock controls whether F1–F12 keys default to media functions (volume, brightness) or traditional F-key actions. Press Fn + Esc to toggle it—look for a padlock icon on the Esc key. When Fn Lock is on, you press F3 alone for volume; when off, you hold Fn + F3. You can also configure it permanently in BIOS.
How can I tell if my Lenovo keyboard keys are broken or just a software issue?
Test keys in multiple applications and Safe Mode. Use Windows On-Screen Keyboard (Win + Ctrl + O) and try a USB external keyboard. If OSK works but physical keys don’t, it’s likely hardware. If both fail, the issue is software-related. Keys working in BIOS but not Windows indicate a driver or background service conflict.
Can Filter Keys or Sticky Keys cause problems with Lenovo function keys?
Yes. Accessibility features like Filter Keys and Sticky Keys can intercept rapid key presses and block volume hotkeys. Disable them in Settings > Accessibility > Keyboard, then retest. If you rely on these features, adjust their sensitivity thresholds instead. This solves the issue for many Lenovo users without sacrificing accessibility.
What should I do if Lenovo keyboard keys stopped working after a Windows update?
Roll back your keyboard or HID driver in Device Manager by right-clicking the device and selecting Properties > Driver > Roll Back Driver. Alternatively, go to Settings > Windows Update > Update history and uninstall the recent Quality or Feature Update. Pause updates for a week to verify the fix before reapplying patches.
Read More:
- Lenovo Keyboard Backlight Not Working? Quick Fixes Inside
- Lenovo Keyboard Certain Keys Not Working (Proven Fixes that Works)
- Lenovo Keyboard G and H Not Working (Here’s How to Fix It Fast)
- Lenovo Keyboard Problem (Here’s the Simple Ways How to Fix It in Minutes)
- Lenovo Keyboard Volume Keys Not Working (Inside Is How to Fix It Fast)