
You’re working late on your ThinkPad, and without warning, your keyboard backlight starts blinking like a strobe light. It’s distracting, alarming, and you’re not sure if your laptop is about to crash or overheat.
A blinking keyboard on a Lenovo laptop typically signals one of four issues: a pending software update triggering a notification LED pattern, corrupted backlight drivers causing flickering behavior, dynamic lighting effects stuck in a loop (common on Legion and Yoga models), or a loose internal keyboard ribbon cable creating intermittent power delivery to the backlight controller. Most cases stem from driver conflicts or Lenovo Vantage ambient lighting settings rather than critical hardware failure.
This guide walks you through systematic diagnostics, from quick software resets to internal cable checks, so you can identify whether your blinking keyboard is a temporary software glitch, a fixable driver issue, or a hardware fault requiring professional repair.
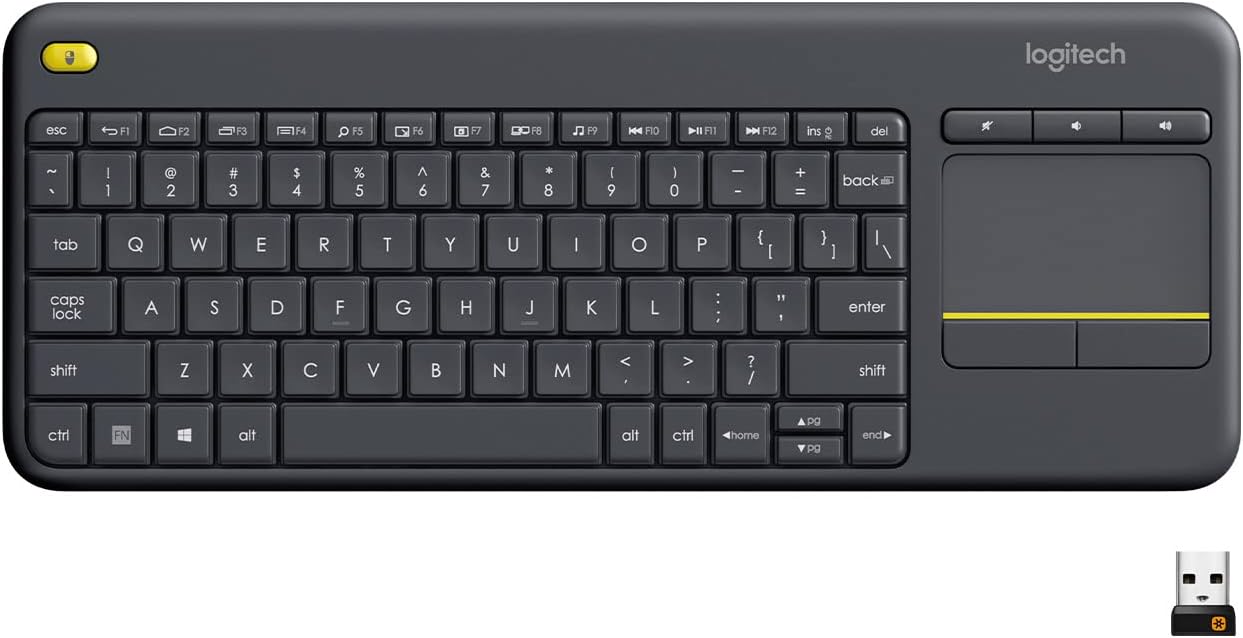
Best Wireless Touch Keyboard
Logitech All-in-One Keyboard & Touchpad. Perfect for Smart TVs & PCs. Reliable 10m Wireless Connection. Up to 18 Months Battery Life
Shop on Amazon
Key Takeaways
- A Lenovo laptop keyboard blinking is most often caused by corrupted backlight drivers, outdated HID keyboard drivers, or Lenovo Vantage software conflicts rather than critical hardware failure.
- Start troubleshooting by performing a full shutdown and EC reset, updating drivers through Lenovo Vantage, and disabling ambient light sensor and dynamic lighting effects to resolve the blinking.
- If the keyboard backlight blinking stops in BIOS but resumes in Windows, the issue is software-related; if it persists across BIOS and Windows, you may have a loose keyboard ribbon cable or hardware fault.
- Reseat the internal keyboard FFC ribbon cable by opening your laptop (if comfortable), as partial unseating from drops or thermal expansion can cause intermittent backlight flickering.
- Roll back to a previous System Restore point if blinking started after a Windows update, or use Windows Reset with ‘Keep my files’ to reinstall drivers in the correct order.
- Contact Lenovo Support with your serial number if backlight blinking persists after software fixes and cable reseating, or seek professional repair if you notice burning smells, voltage-dependent blinking, or zone-specific strobing indicating LED controller failure.
Common Reasons for Keyboard Blinking
Driver and Software Issues
Windows 11 and Lenovo’s ecosystem of utilities, Vantage, Hotkey Driver, System Interface Foundation, control your keyboard backlight through layered software. When these drivers conflict or corrupt during an update, your backlight controller receives garbled commands. It might flash on-off-on rapidly, pulse in a breathing pattern, or blink only specific zones like the function row.
Outdated or mismatched HID (Human Interface Device) keyboard drivers are the leading cause of erratic backlight behavior in 2026 models. Windows Update sometimes overwrites Lenovo’s OEM drivers with generic Microsoft versions that lack full backlight protocol support. You’ll notice the blinking intensifies after a major Windows feature update or when you skip Lenovo System Update for several months.
Keyboard Backlight Settings
Lenovo Vantage includes an “Intelligent Cooling” feature and ambient light sensors that adjust backlight intensity based on room lighting. If the sensor malfunctions or software logic loops, your keyboard can strobe as it constantly tries to recalibrate. Legion models with RGB per-key lighting often exhibit this when Spectrum RGB profiles become corrupted or conflict with third-party RGB utilities like iCUE or Razer Synapse.
You might also have accidentally enabled a notification mode. Some ThinkPad configurations blink the Fn lock LED or backlight to alert you about pending updates, low battery thresholds, or triggered system diagnostics. Check your power management settings, blinking during sleep or hibernation transitions is normal behavior, not a fault.
Hardware and Physical Problems
Inside your laptop, a fragile ribbon cable (typically 24–34 pin FFC) connects the keyboard PCB to the motherboard. Drops, pressure on the lid, or thermal expansion cycles can partially unseat this cable. When contact is intermittent, the backlight flickers because power delivery stutters. You’ll often see the blinking worsen when you flex the chassis or tilt the screen.
Less common but critical: capacitor degradation on older boards (2019–2021 models) can cause voltage ripple in the 3.3V or 5V backlight rail. This manifests as rhythmic pulsing rather than random flashing. Liquid damage, even dried spills, leaves conductive residue that shorts backlight traces intermittently, producing unpredictable blink patterns.
Software Conflicts
Third-party keyboard customization tools, macro recorders (AutoHotkey, SharpKeys), or gaming overlays (Discord, OBS) can hijack the backlight API. If multiple programs compete for control, your backlight stutters between commands. Gaming laptops like the Legion 5 Pro or LOQ series are especially vulnerable because gamers layer RGB software, performance monitors, and streaming tools simultaneously.
“My Legion 7 keyboard started strobing after I installed OpenRGB. Uninstalled it, rebooted, still blinking. Had to roll back Lenovo Vantage to version 10.2301 to fix it.” via r/Lenovo
Antivirus real-time scanners sometimes flag Lenovo’s backlight service (LenovoUtilityService.exe) as suspicious, quarantining its files mid-operation. The backlight then blinks because the control process is missing.
Step-By-Step Troubleshooting Methods
Restart and Basic Checks
Start with a full shutdown, not sleep or hibernate. Hold the power button for 10 seconds until the system powers off completely. This clears residual power from capacitors and resets the embedded controller (EC), which governs keyboard backlight logic. Boot up and immediately check if the blinking stops. If it does, the issue was a temporary EC state error.
Test the backlight function keys (usually Fn + Spacebar or Fn + F11). Cycle through brightness levels: off, low, medium, high. If the backlight responds smoothly, the hardware is functional. If it flickers only at certain brightness steps, you’re dealing with a software calibration bug rather than a cable fault.
Update Drivers and BIOS
Open Lenovo Vantage (or download it from the Microsoft Store if missing). Navigate to System Update and check for critical updates:
- System Interface Foundation Driver
- Hotkey Features Integration
- Intel/AMD Chipset Driver
- BIOS/UEFI firmware
Install all available updates, then restart. BIOS updates often include EC firmware patches that fix backlight timing bugs. After updating, press F1 or F2 during boot to enter BIOS setup. Verify your BIOS version matches Lenovo’s support page for your exact model.
If Vantage won’t open or crashes, manually download drivers from Lenovo Support. Enter your serial number or auto-detect your model. Prioritize the “Lenovo System Interface Foundation” and “Hotkey Features” packages, these contain the backlight control logic.
Keyboard Backlight Feature Adjustments
Open Lenovo Vantage and go to Hardware Settings → Input. Look for “Keyboard Backlight” or “Intelligent Features.” Disable:
- Ambient Light Sensor
- Auto-dimming
- Dynamic Lighting Effects
- Notification Alerts via Keyboard
Set backlight mode to Manual and brightness to a fixed level. Save and restart. If the blinking stops, your ambient sensor was stuck in a feedback loop or a notification trigger was misconfigured.
For Legion models, open Lenovo Vantage → Quick Settings → Lighting. Disable Spectrum RGB effects temporarily. Switch to a solid color profile (white or blue). If flickering persists, uninstall and reinstall the Lighting Service via Apps & Features, then reboot.
Power Drain and Hardware Inspection
Perform a flea power reset (also called EC reset). Shut down the laptop, unplug the AC adapter, and remove the battery if it’s removable. Press and hold the power button for 30 seconds. Reconnect power (leave battery out if possible) and boot. This drains residual charge from the EC and resets hardware states.
If you’re comfortable opening your laptop, inspect the keyboard ribbon cable. iFixit teardown guides cover most Lenovo models. Power off, disconnect the battery, and locate the keyboard FFC connector on the motherboard (usually near the top edge). Gently lift the locking tab, remove the cable, inspect for corrosion or bent pins, then reseat firmly. Lock the tab and reassemble.
Use a ORIA Precision Screwdriver Set to safely open your Lenovo chassis without stripping Torx or Phillips screws.

If reseating doesn’t help, test in BIOS. Restart and press F1/F2 repeatedly. Watch the backlight behavior in the BIOS menu. If blinking stops in BIOS but resumes in Windows, you’ve confirmed a Windows software issue, not hardware.
Advanced Solutions and Recovery Options
Utilizing System Restore Points
If blinking started after a recent Windows update or driver installation, roll back using System Restore. Press Win + R, type rstrui.exe, and hit Enter. Select a restore point dated before the issue began. Windows will revert system files and drivers without deleting personal documents.
After restore, disable automatic driver updates for your keyboard. Open Device Manager → Keyboards → HID Keyboard Device → Properties → Driver → Update Driver → Browse my computer → Let me pick → choose the older Lenovo driver. Right-click the device, select Properties → Details → Hardware Ids, and note the VID/PID for future reference.
Resetting Your PC Without Data Loss
If drivers remain corrupted even though reinstalls, use Windows Reset This PC with the “Keep my files” option. Go to Settings → System → Recovery → Reset PC → Keep my files. This reinstalls Windows while preserving documents, then prompts you to reinstall Lenovo Vantage and drivers from scratch.
Before resetting, back up your Lenovo Vantage profiles (Fn shortcuts, performance modes) by exporting settings to a file. After reset, download Lenovo System Update directly from Lenovo’s site. Run it to reinstall all OEM drivers in the correct order, preventing version mismatches that cause backlight bugs.
Cleaning and Maintaining Your Keyboard
Dust accumulation around the backlight diffuser layer can scatter light unevenly, creating a “flickering” perception. Power off, tilt the laptop, and use compressed air to blow out debris between keys. Hold the can upright to avoid moisture propellant.
For spill-affected keyboards, remove keycaps (if your model allows, check service manuals) and clean with 90%+ isopropyl alcohol on a lint-free cloth. Let dry completely before powering on. If liquid reached the backlight PCB, professional ultrasonic cleaning may be necessary to remove conductive residue.
When and How to Seek Professional Help
Identifying Unresolvable Hardware Failures
If blinking persists after all software fixes, reseating cables, and BIOS updates, you likely face motherboard-level backlight circuit failure. Warning signs include:
- Backlight blinks only on AC power, not battery (voltage regulation fault)
- Specific zones (left half, function row) always dark or strobing (LED driver IC failure)
- Burning smell or visible scorch marks near keyboard connector
- Laptop randomly shuts down when backlight is enabled (short circuit)
These require micro-soldering or board-level repair beyond DIY scope.
Contacting Lenovo Customer Support
Call Lenovo Support or use the live chat in Lenovo Vantage. Have your serial number ready (found on the bottom panel or in BIOS under System Information). Describe when blinking started, what you’ve tried, and whether it occurs in BIOS. Support can run remote diagnostics via Lenovo Diagnostics tool.
“Lenovo support had me run a hardware scan from the boot menu (F10). Keyboard test showed LED controller error code 0x8004. They approved an RMA same day.” via Lenovo Forums
Warranty and Service Considerations
Lenovo’s standard warranty covers manufacturing defects for 1 year (extendable to 3–5 years with Premium Care). If your laptop is under warranty and you haven’t opened it, Lenovo will repair or replace the keyboard assembly free. Opening the chassis yourself may void warranty, check your service agreement.
For out-of-warranty repairs, authorized service centers charge $80–$150 for keyboard replacement (varies by model complexity). Third-party repair shops offer cheaper rates but may use non-OEM parts. Always request an OEM Lenovo keyboard with integrated backlight to ensure full compatibility.
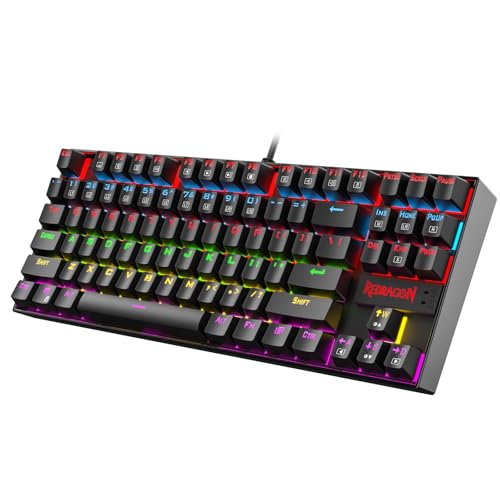
If repairs are delayed or uneconomical, consider an external mechanical keyboard with RGB backlighting as a temporary or permanent solution. Gamers and remote workers often prefer external boards for ergonomics and customization anyway.
Frequently Asked Questions
Why is my Lenovo laptop keyboard blinking?
A blinking keyboard typically signals driver corruption, Lenovo Vantage ambient lighting malfunctions, stuck dynamic lighting effects (common on Legion and Yoga models), or loose internal keyboard ribbon cables. Most cases stem from driver conflicts or software issues rather than critical hardware failure.
How do I fix a blinking Lenovo keyboard with a full shutdown?
Power off completely by holding the power button for 10 seconds (not sleep mode). This clears residual power from capacitors and resets the embedded controller. Boot up and test if blinking stops. If it does, the issue was temporary. Test brightness levels using Fn+Spacebar to confirm hardware functionality.
What Lenovo drivers should I update to fix keyboard backlight blinking?
Update System Interface Foundation, Hotkey Features Integration, Intel/AMD Chipset Driver, and BIOS firmware via Lenovo Vantage. Outdated HID keyboard drivers often cause erratic backlight behavior. Windows Update sometimes overwrites Lenovo’s OEM drivers with generic versions lacking full backlight protocol support.
Should I disable ambient light sensor and auto-dimming in Lenovo Vantage?
Yes. Go to Hardware Settings → Input and disable Ambient Light Sensor, Auto-dimming, Dynamic Lighting Effects, and Notification Alerts. Set backlight to Manual mode with fixed brightness. If blinking stops, your sensor was stuck in a feedback loop or a notification trigger was misconfigured.
Can a loose keyboard ribbon cable cause blinking on my Lenovo laptop?
Yes. A partially unseated 24–34 pin FFC ribbon cable creates intermittent power delivery to the backlight controller, causing flickering. If blinking worsens when flexing the chassis or tilting the screen, perform a flea power reset or inspect and reseat the cable via iFixit guides.
When should I contact Lenovo support for a blinking keyboard?
Seek professional help if blinking persists after software fixes, driver updates, and hardware reseating. Warning signs include blinking only on AC power, specific dark zones, burning smells, or random shutdowns. Contact Lenovo Support with your serial number; they can run remote diagnostics and approve RMA if needed.
Read More:
- Lenovo Keyboard Certain Keys Not Working (Proven Fixes that Works)
- Lenovo Keyboard Error (Common Causes and Inside is How to Fix It)
- Lenovo Laptop Keyboard Backlight Not Working (Start With These Quick Fixes)
- Lenovo Laptop Keyboard Some Keys Not Working (Here’s How to Fix It Fast)
- Lenovo Keyboard Volume Keys Not Working (Inside Is How to Fix It Fast)