
You rely on your ThinkPad for every business email, document, and video call, so when the keyboard suddenly stops responding, your entire workflow grinds to a halt.
A Lenovo ThinkPad laptop keyboard not working is usually caused by stuck Windows accessibility settings (Filter Keys, Sticky Keys), outdated or corrupt keyboard drivers in Device Manager, BIOS firmware bugs after a Windows Update, or a disconnected internal ribbon cable under the palm rest: quick software resets and a pinhole power drain resolve 70–80 percent of cases without hardware replacement.
This guide walks you through high-yield diagnostics, driver resets, Lenovo Vantage hotkey adjustments, and internal connection checks to restore your TrackPoint and function keys fast.
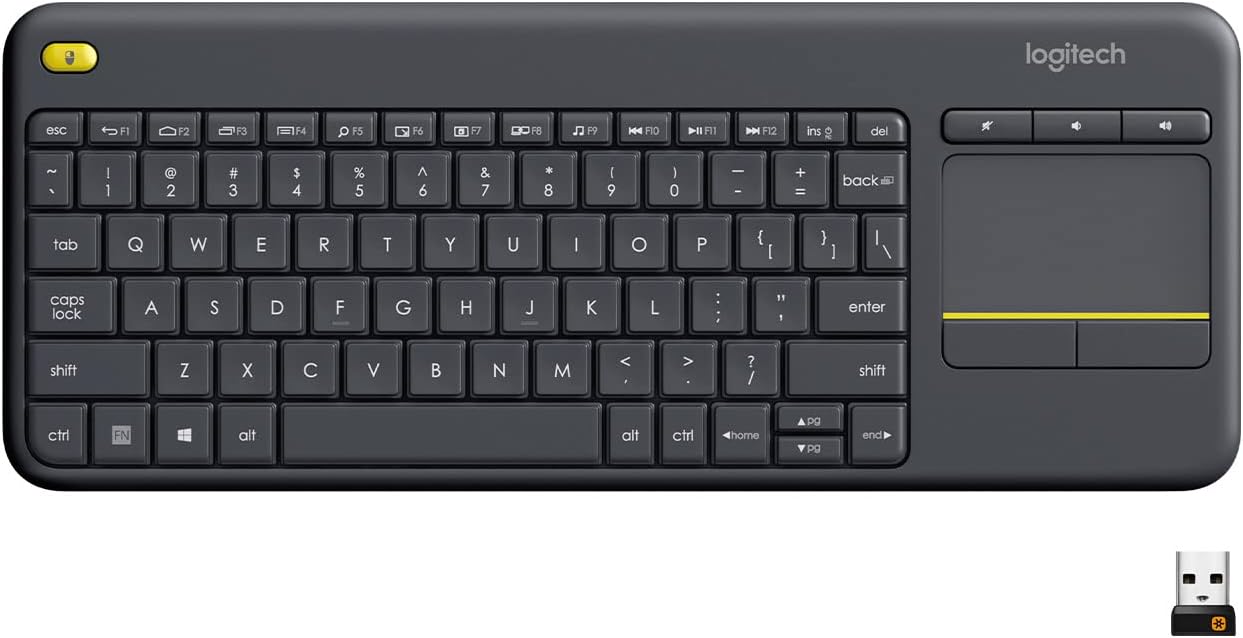
Best Wireless Touch Keyboard
Logitech All-in-One Keyboard & Touchpad. Perfect for Smart TVs & PCs. Reliable 10m Wireless Connection. Up to 18 Months Battery Life
Shop on Amazon
Key Takeaways
- A Lenovo ThinkPad laptop keyboard not working is often a software or driver issue, not hardware—boot into BIOS to test if the keyboard responds there versus Windows to isolate the root cause.
- Stuck Windows accessibility settings like Filter Keys and Sticky Keys are the leading culprits; disabling them in Settings > Accessibility > Keyboard resolves keyboard problems on 70–80% of ThinkPad models without technical support.
- A pinhole power drain reset on the bottom panel (10-second static discharge) clears firmware bugs and restores keyboard function after Windows updates or unexpected shutdowns on T480, T490, and X1 Carbon machines.
- Update or roll back keyboard drivers in Device Manager, and use Lenovo Vantage to fetch the latest Hotkey Features Integration package and BIOS firmware for full TrackPoint and function-key restoration.
- If your Lenovo ThinkPad keyboard works in Lenovo Diagnostics but fails in Windows, you have a software conflict—boot into Safe Mode or run sfc /scannow to fix deep system corruption without hardware replacement.
- A loose ribbon cable under the palm rest is the most common hardware cause; reseating it takes five minutes and avoids a costly keyboard assembly replacement on T-series and X1 Carbon models.
Quick Diagnosis and First Steps
Determining If It’s a Software or Hardware Issue
Press the power button and tap F1 or Enter repeatedly to boot into BIOS setup. If the keyboard responds in BIOS but fails in Windows, you’re facing a software or driver conflict, not a dead keyboard. If keys remain silent in BIOS, the issue is hardware: a loose ribbon cable, liquid damage, or a failed keyboard assembly.
Boot into Safe Mode (hold Shift while clicking Restart, then navigate to Troubleshoot > Advanced options > Startup Settings > Enable Safe Mode). Test typing in Notepad. If keys work in Safe Mode, a third-party app or driver is blocking input in normal Windows.
Testing With the On-Screen Keyboard
Open the Windows On-Screen Keyboard (type “osk” in the Start menu). Click a few letters. If they appear on screen, your USB controller and Windows input stack are healthy, the problem is isolated to the physical keyboard hardware or its driver registration.
If the On-Screen Keyboard also freezes or lags, you’re dealing with a deeper Windows system corruption or a rogue security suite intercepting all input events. Plan to run sfc /scannow from an elevated Command Prompt.
Checking for External Keyboard Conflicts
Unplug all USB keyboards, docking stations, and KVM switches. Some ThinkPad models disable the internal keyboard when they detect an external input device, especially older T-series and L-series units with legacy BIOS logic.
Open Device Manager (Win+X > Device Manager), expand Keyboards, and confirm you see “ThinkPad Keyboard with TrackPoint” or “Standard PS/2 Keyboard.” If you see duplicate entries or a yellow exclamation mark, right-click and select Uninstall device, then restart to let Windows reinstall the driver cleanly.
“Unplugged my USB hub and restarted, internal keyboard came right back. ThinkPad T14 Gen 3 has some weird conflict logic.” via r/thinkpad
Power Cycling and Static Discharge Reset
Shut down Windows completely (not Sleep or Hibernate). Unplug the AC adapter and remove the battery if your model allows. Locate the emergency pinhole reset button on the bottom panel (usually near the RAM door or Ethernet port on X1 Carbon, T14, T15, and P-series). Insert a straightened paperclip for 10 seconds to discharge residual power and reset the embedded controller.
Reconnect the battery and AC adapter, then power on. This “flea power drain” clears stuck firmware states and has restored keyboard function on countless T480, T490, X1 Carbon Gen 8, and P1 Gen 4 machines after Windows updates or unexpected shutdowns.
Common Software Fixes and Settings
Adjusting Windows Keyboard Accessibility
Press Win + I to open Settings, navigate to Accessibility > Keyboard, and turn off Filter Keys, Sticky Keys, and Toggle Keys. These features intercept keystrokes to assist users with mobility challenges, but they often trigger accidentally via five rapid Shift presses, locking out normal typing.
Check the Use Sticky Keys section and ensure “Allow the shortcut key to start Sticky Keys” is disabled. This prevents the five-Shift shortcut from re-enabling the feature during frantic typing or gaming sessions.
Turning Off Filter Keys and Sticky Keys
If you can’t access Settings because the keyboard is unresponsive, boot into Safe Mode (Shift + Restart > Troubleshoot > Advanced > Startup Settings > 4 for Safe Mode). Once in Safe Mode, launch Control Panel > Ease of Access Center > Make the keyboard easier to use, then uncheck every box: “Turn on Sticky Keys,” “Turn on Toggle Keys,” and “Turn on Filter Keys.”
Restart normally. Filter Keys especially causes a 0.5-second delay before accepting repeated keystrokes, making it appear that half your keys are dead. Disabling it immediately restores responsiveness on most ThinkPad E14, E15, L13, and L15 models.
Resolving Incorrectly Assigned Keyboard Keys
Lenovo Vantage lets you swap Fn and Ctrl keys or remap the PrtSc button. Open Lenovo Vantage (or download it from the Microsoft Store), go to Hardware Settings > Input, and confirm Fn and Ctrl Key Swap is set to your preference. Toggle it off, save, then toggle it back on if keys are inverted.
Some users accidentally enable Fn Lock (Fn + Esc on most models), which forces function-key behavior without holding Fn. Press Fn + Esc again to unlock. The LED on the Esc key (if present) will turn off, and F1–F12 will revert to media/brightness controls.
Resetting Windows Typing and Language Settings
Go to Settings > Time & Language > Language & region. Remove any duplicate keyboard layouts (e.g., US and US-International). Click Add a language, select your primary layout, then remove all others. Multiple layouts can cause invisible input-method editor (IME) conflicts that swallow keystrokes.
Open Settings > Time & Language > Typing, scroll to Advanced keyboard settings, and click Reset under “Override for default input method.” Restart. This clears cached language-bar states that sometimes block ThinkPad hotkey drivers from registering function-row inputs.
Driver, BIOS, and System Solutions
Updating or Rolling Back Keyboard Drivers
Right-click Start and select Device Manager. Expand Keyboards, right-click your ThinkPad keyboard entry, and choose Update driver > Search automatically for drivers. If Windows finds nothing, visit Lenovo support and download the latest Hotkey Features Integration package for your model and Windows version.
If the keyboard stopped working immediately after a Windows Update, right-click the keyboard in Device Manager and select Properties > Driver > Roll Back Driver. This downgrades to the previous stable version and often fixes compatibility bugs introduced by Microsoft’s generic HID drivers.
“Rolled back the keyboard driver in Device Manager after 22H2 update, instant fix. X1 Carbon Gen 9 running Windows 11.” via r/Lenovo
Using Lenovo Vantage and System Update
Launch Lenovo Vantage (available free in the Microsoft Store) and navigate to Device > View all device drivers. Click Check for updates. Vantage will fetch BIOS/UEFI firmware, chipset drivers, and the Lenovo Hotkey Features Integration driver, all essential for TrackPoint and function-key operation.
After updates install, restart immediately. Lenovo Vantage can also reset hotkey mappings and re-register the keyboard controller with Windows, which resolves phantom “unknown device” entries in Device Manager.
Running Lenovo Diagnostics and Troubleshooters
Boot into the Lenovo Diagnostics partition by pressing F10 (or F12 > Diagnostics) at the Lenovo logo. Select Run Keyboard Test. The tool displays a graphical keyboard layout: press each key to confirm registration. If keys light up in diagnostics but fail in Windows, you have a software/driver issue, not a hardware failure.
In Windows, run the built-in troubleshooter: Settings > System > Troubleshoot > Other troubleshooters > Keyboard > Run. It scans for driver conflicts, registry corruption, and accessibility-feature lockouts, then applies automated fixes.
Restoring or Reinstalling Windows System
If all else fails, perform an in-place upgrade (repair install) by downloading the Windows 11 Installation Assistant or Windows 10 Media Creation Tool. Run the installer from within Windows, choose Upgrade this PC now, and select Keep personal files and apps. This replaces corrupted system files without erasing data and has rescued keyboards on T14s Gen 3, P15v Gen 2, and E14 Gen 4 machines with deep driver-stack corruption.
Hardware Checks and Advanced Troubleshooting
Inspecting Keyboard Cable and Connections
Power down, unplug AC, and remove the battery. Flip the laptop and remove the bottom cover (typically five to seven screws: consult your service manual at Lenovo support). Locate the keyboard ribbon cable, a wide, flat connector near the top edge of the motherboard. Gently lift the black locking bar, slide the cable out, inspect for kinks or tears, then reseat it firmly and close the lock.
A loose ribbon cable is the leading hardware cause of “keyboard works in BIOS, fails in Windows” symptoms on T480, T490, T14, and X1 Carbon Gen 6–9 models. Reseating takes five minutes and avoids a $150 keyboard assembly replacement.
Cleaning Dirty or Sticky Keyboard Switches
ThinkPad keyboards are spill-resistant but not spill-proof. If you spilled coffee or soda, power off immediately, flip the laptop upside down, and let it drain for 24 hours. Once dry, remove the keycaps (use a plastic spudger or guitar pick) and clean the scissor switches with 90%+ isopropyl alcohol on a lint-free cloth or cotton swab.
For stuck keys, dab a tiny amount of alcohol around the edges of the keycap, press the key repeatedly to work it in, then let it evaporate for 10 minutes. Avoid soaking, liquid can seep under the membrane and damage the controller.
Detecting Physical Damage or Motherboard Issues
If half the keyboard works but entire rows are dead, you likely have a torn flex cable or a failed keyboard controller IC on the motherboard. Test with an external USB keyboard. If that works flawlessly, the motherboard’s USB and input subsystems are healthy, only the internal keyboard hardware is faulty.
Replacement keyboard assemblies for most ThinkPad models cost $40–$80 on Amazon and eBay (search your exact model + “keyboard FRU”). Installation requires removing 10–15 screws and the palm rest but is doable with a precision screwdriver set and a plastic opening tool kit.

Disabling Gaming Mode and TrackPoint Interference
Some ThinkPad BIOS versions include a TrackPoint / Touchpad toggle (F8 or Fn+F8) that accidentally disables the keyboard when pressed. Boot into BIOS (F1 at startup), navigate to Config > Keyboard/Mouse, and ensure TrackPoint, UltraNav, and Keyboard are all set to Enabled.
If you installed third-party gaming software (Razer Synapse, Logitech G Hub), uninstall it temporarily. These apps hook into the Windows input stack and can block ThinkPad hotkey drivers from registering function keys and media controls.
Frequently Asked Questions
Why is my Lenovo ThinkPad laptop keyboard not working?
A Lenovo ThinkPad keyboard not working is typically caused by stuck accessibility settings (Filter Keys, Sticky Keys), outdated drivers, BIOS firmware bugs after Windows updates, or a disconnected ribbon cable. Quick software resets and power drains resolve 70–80% of cases without hardware replacement.
How do I know if my ThinkPad keyboard issue is hardware or software?
Press F1 during startup to enter BIOS. If keys respond in BIOS but fail in Windows, it’s a software issue. If the keyboard doesn’t work in BIOS either, it’s likely a hardware problem like a loose ribbon cable or failed keyboard assembly.
What is the emergency reset button on a ThinkPad, and how do I use it?
The pinhole reset button is located on the bottom panel near the RAM door or Ethernet port. With the AC adapter unplugged and battery removed, insert a straightened paperclip for 10 seconds to discharge residual power and reset the embedded controller, restoring keyboard function.
How do I disable Sticky Keys and Filter Keys on my ThinkPad?
Go to Settings > Accessibility > Keyboard and turn off Filter Keys, Sticky Keys, and Toggle Keys. If you can’t access Settings, boot into Safe Mode and use Control Panel > Ease of Access Center. Filter Keys causes a 0.5-second delay that makes keys appear dead.
Can an external keyboard interfere with my ThinkPad’s internal keyboard?
Yes, some ThinkPad models disable the internal keyboard when an external device is detected. Unplug all USB keyboards, docking stations, and KVM switches, then restart. Check Device Manager for duplicate keyboard entries and uninstall any conflicting drivers.
What should I do if my ThinkPad keyboard stopped working after a Windows Update?
Open Device Manager, right-click your keyboard, and select Properties > Driver > Roll Back Driver to revert to the previous stable version. Alternatively, use Lenovo Vantage to download and install the latest Hotkey Features Integration driver for your model.
Read More:
- Lenovo Laptop Keyboard Blinking (Causes & Easy Quick Fixes)
- Lenovo Laptop Keyboard Some Keys Not Working (Here’s How to Fix It Fast)
- Lenovo Laptop Keyboard Backlight Not Working (Start With These Quick Fixes)
- Lenovo Legion Laptop Keyboard Not Working (Proven Fixes that Actually Work)
- Lenovo Yoga Laptop Keyboard Not Working (Here’s How to Fix It Fast)