

Last updated on April 5th, 2026 at 08:10 am
If your Ford F150 fuel gauge is not working, the issue is often caused by a faulty fuel sending unit, wiring problems, a blown fuse, or a malfunctioning gauge cluster. Understanding these common causes can help you quickly identify and address why your fuel gauge stops showing the correct level.
You may notice the gauge stuck on full, empty, or behaving erratically. This can make it difficult to judge how much fuel you have left and lead to unexpected stops. Tackling the problem early by checking the sending unit and wiring or resetting the gauge can save time and prevent further complications.
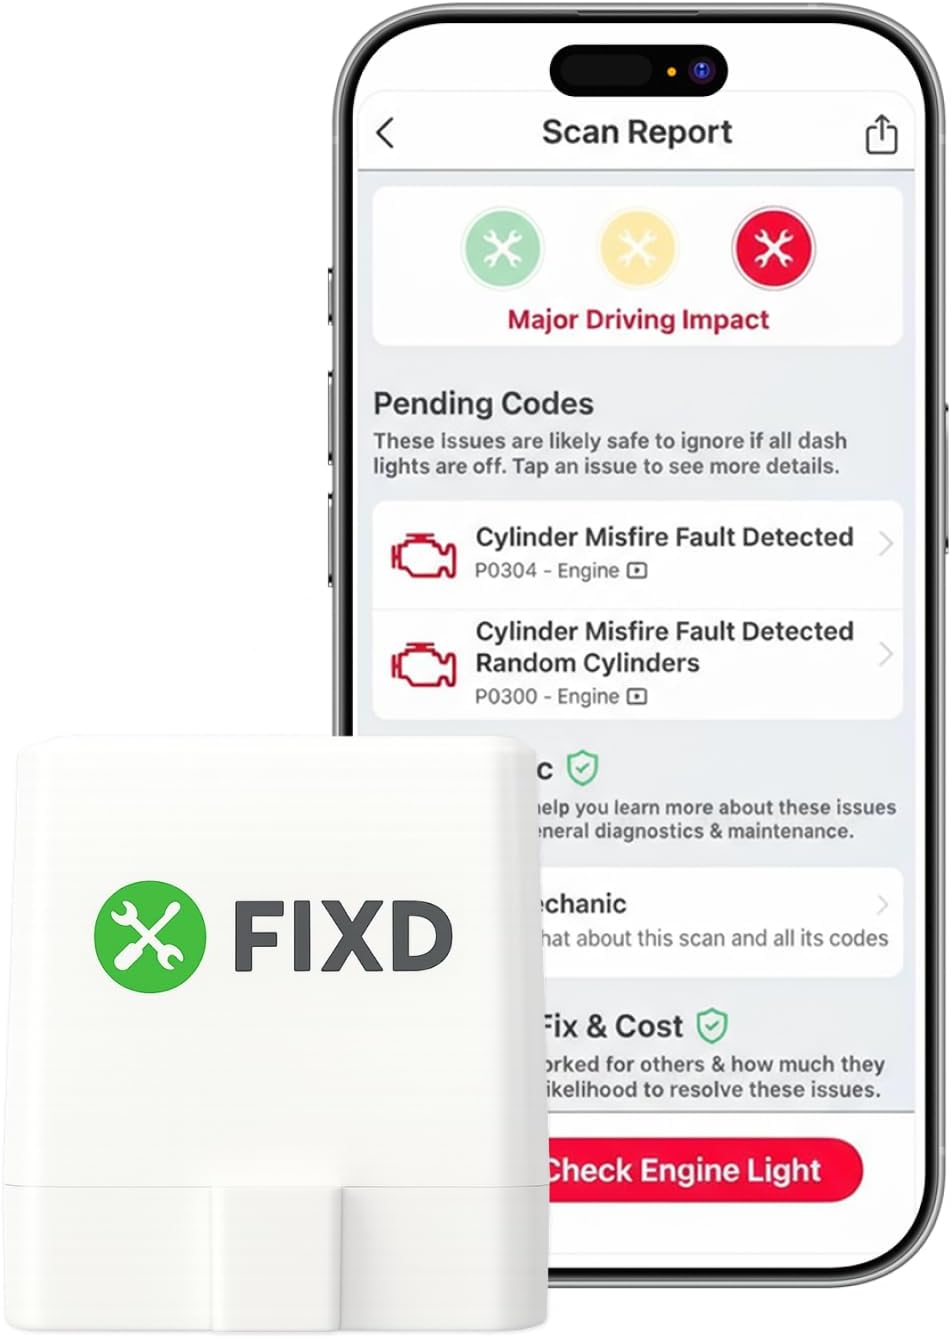
Best Bluetooth OBD2 Scanner
Detect 39,000+ Issues With Enhanced Codes. Save $1000s on car repairs & buying used vehicles by diagnosing problems yourself.
Shop on AmazonKnowing how the fuel gauge system works and what to inspect lets you get your Ford F150’s fuel indicator back to reliable operation without unnecessary expense. Explore the key reasons and simple fixes to keep your gauge accurate and your truck running smoothly. For more details, see the comprehensive guide to why your Ford F150 gas gauge is not working.

Common Causes of Ford F150 Fuel Gauge Problems
When your Ford F150 fuel gauge malfunctions, it typically ties back to specific components. Issues with the sending unit, instrument cluster, wiring, or electrical connections often disrupt accurate fuel readings. Understanding these elements helps you target the root cause efficiently.
Faulty Fuel Sending Unit
The fuel tank sending unit measures the fuel level and sends this data to your gauge. If it fails, the gauge will show false or no readings. Common problems include a stuck float, worn resistor, or internal corrosion. The sending unit’s float arm can disconnect or get stuck, causing the gauge to read empty even when there is fuel.
Testing the sending unit with a multimeter while the tank is full can reveal if it reads the correct resistance. Replacing this unit generally costs between $100 and $120 and involves disconnecting the fuel pump and emptying the tank for access. Ensuring the float is properly positioned during installation is crucial to restoring accurate fuel level monitoring.
Malfunctioning Instrument Cluster
The instrument cluster interprets signals from the fuel sending unit and translates them to gauge movement. If there’s damage, such as burnt circuits or faulty gauge components, it may show erratic or fixed readings. Problems can also stem from internal short circuits that cause the needle to stick at full or empty.
Sometimes, you may notice flickering lights or intermittent gauge failures linked to the cluster. Repair may involve circuit repairs or replacing the entire cluster, which can cost between $800 and $1,000 depending on the model. Small fixes like using conductive repair kits for damaged copper lines might restore functionality without full replacement.
Wiring and Electrical Issues
Wiring connects the sending unit, gauge, power source, and ground, forming the path for voltage signals. Corrosion, loose connections, shorts, or broken wires often interrupt this flow, causing inaccurate or no fuel readings.
To diagnose, inspect wires thoroughly from the fuel pump to the gauge cluster. Tighten loose connections and use contact cleaner on dirty terminals. Severe corrosion or damaged insulation warrants wire replacement. Accessing wiring may require removing instrument panels or voltage regulators, so proceed carefully to avoid further damage.
Corroded Connections or Fuse Problems
Your Ford F150 relies on fuses and clean electrical contacts for proper fuel gauge operation. A blown fuse in the fuse box, often located under the steering column or hood, can cut power to the gauge.
Check relevant fuses for discoloration or breaks and replace them if necessary. Silver tarnishing or sulfur buildup on the sending unit’s contacts can also cause fuel gauge errors by disrupting electrical current. Using fuel additives or protective sprays can prevent corrosion. If silver contacts are heavily tarnished, consider replacing the sending unit or upgrading to gold contacts for better durability.
Learn more about causes and solutions for your Ford F150 fuel gauge problems at trucks authority.
How to Diagnose a Fuel Gauge Not Working in Ford F150
When your fuel gauge malfunctions, precise diagnosis requires inspecting specific components like the fuel level sensor, wiring, and fuses. You’ll need to observe gauge behavior, test the sending unit, and verify electrical connections to pinpoint the issue efficiently.
Identifying Erratic or Stuck Fuel Gauge Readings
Start by watching how your fuel gauge behaves when you operate the truck. A gauge stuck at empty or full, or one that fluctuates randomly, often indicates sensor or wiring problems. If the gauge barely moves despite changes in fuel level, it’s likely a faulty sending unit or an electrical fault.
Record fuel fill-ups and note if the gauge reflects the new level immediately or with delay. Slow or no movement may also happen if the truck remains running during refueling. Recognizing these patterns guides you to the part that needs closer inspection, whether it’s the fuel level sensor or wiring harness.
Testing the Fuel Level Sensor and Sending Unit
The fuel sending unit is inside the tank, typically under the rear seat in your Ford F150. It measures fuel level via a float connected to a variable resistor. To test it, remove the access panel and inspect the sensor for damage or corrosion.
You can test the sensor resistance using a multimeter by moving the float arm and watching for resistance changes. If the readings don’t vary as the float moves, replace the sending unit. Physical damage, sulfur buildup, or silver tarnishing on contacts can also cause inaccurate readings and need cleaning or replacement. Testing the sensor isolates one of the most common reasons your fuel gauge is not working.
Checking the Wiring Harness and Fuses
Electrical issues between the sending unit and the dashboard gauge often cause fuel gauge failures. Examine the wiring harness that connects the fuel tank sensor to the vehicle’s body for damage, such as frayed wires or loose connectors. Look for corrosion at connection points, which can disrupt signals.
Check your Ford F150’s fuse box for any blown fuses related to the fuel gauge circuit. A blown fuse or poor ground connection can interrupt signal flow, leading to incorrect or no fuel level readings. Use a wiring diagram to identify the correct fuse and wiring paths that affect your gauge’s function.
Using a Multimeter for Troubleshooting
A multimeter is essential for accurate diagnosis. Start by checking voltage at the fuel sending unit connector. You should see a stable voltage when the ignition is on. Next, measure the resistance of the sending unit as you move the float arm, looking for a smooth, proportional change.
If you don’t already have one, a reliable Digital Multimeter is the single most important tool for this job. It allows you to check for continuity along the wiring harness and verify if your sending unit is actually sending the correct resistance signals to the dashboard.

Also, check for continuity along the wiring harness between the sending unit and the instrument cluster. Any open or short circuits indicate wiring problems. Measuring these values helps confirm whether the sending unit or wiring is causing your fuel gauge not to work properly. This method isolates faults with precision and avoids unnecessary part replacements.
For more on diagnosing a faulty gauge, consider this detailed fuel gauge troubleshooting guide.
Step-by-Step Solutions and Repairs for Ford F150 Fuel Gauge Issues
When your Ford F150 fuel gauge malfunctions, the problem often lies within specific components that affect its accuracy. Addressing these issues requires a systematic approach, from simple resets to component replacements and electrical diagnostics.
Resetting the Fuel Gauge System
Start by resetting your fuel gauge to clear temporary faults. Disconnect the battery negative terminal and leave it disconnected for about 15 minutes. This action resets the vehicle’s electronic modules and can recalibrate the fuel gauge.
After reconnecting the battery, turn on your truck and watch the gauge for proper movement. This procedure often resolves minor glitches caused by electrical interference or software hiccups in the instrument cluster.
If the gauge remains unresponsive or inaccurate after the reset, further diagnosis is needed. Simple resets can save time and money but don’t always fix underlying hardware problems.
Replacing the Fuel Sending Unit
The fuel sending unit measures the fuel level inside the tank and sends that information to your fuel gauge. In many Ford F150 models, this unit is located under the rear seat.
If your fuel gauge reads inaccurately or stays stuck at full or empty, the sending unit may be faulty. To replace it, you need to:
- Empty the fuel tank
- Detach the fuel pump and electrical connectors
- Remove mounting bolts securing the sending unit
- Replace it with a new unit that includes a float arm and gasket
Use a multimeter to test the unit’s resistance before replacement. A defective sending unit often shows erratic or zero resistance regardless of fuel level. Proper installation ensures your gauge receives accurate signals from the tank.
Instrument Cluster and Fuse Repair
Sometimes the root cause is a malfunctioning instrument cluster or a blown fuse. Check the fuse box—often under the steering column or hood—for fuses related to the fuel gauge circuit.
Replace any blown fuses and inspect for corrosion or loose connections. If the fuse is intact, the gauge cluster itself may have failures causing false readings or no movement.
Repairing the cluster can involve testing the internal circuitry or using conductive liquids to fix broken traces. In some cases, replacing the entire instrument cluster might be necessary, though this is more expensive and complex.
Addressing Persistent Electrical Problems
Wiring issues commonly cause fuel gauge failures. Corrosion, damaged insulation, or loose grounds can interrupt the signal between the fuel sending unit and the gauge.
Trace the wiring from the fuel tank to the instrument cluster. Clean corroded connectors with contact cleaner, tighten loose wires, and replace sections where insulation is compromised.
Testing wiring continuity with a digital multimeter helps pinpoint shorts or breaks. Fixing electrical issues ensures stable voltage flow, preventing the gauge from showing incorrect fuel levels or flickering.
For recurring problems, professional diagnostics may be required to identify hidden shorts or faulty modules within your Ford F150’s electrical system.
For more details on checking and fixing these issues, see Ford F150 gas gauge troubleshooting at motorvehiclegeek.com.
Preventive Measures and Maintenance Tips
Maintaining the accuracy of your Ford F150 fuel gauge relies on consistent care of key components like the fuel tank sending unit, wiring, and sensors. Addressing potential issues early prevents malfunctions and ensures reliable fuel level readings.
Regular Inspection of Fuel System Components
You should routinely check the fuel tank sending unit and fuel level sensor for signs of wear or damage. These components directly influence your fuel gauge’s performance by transmitting accurate fuel levels to the instrument cluster. Look for loose connections or physical damage when inspecting the sending unit beneath the rear seat or inside the fuel tank.
Regularly examine the condition of the fuel gauge itself by performing instrument cluster self-tests, if your model supports them. This can alert you to early warning signs like erratic needle movement or stalled readings. Setting a schedule for these checks every 6 to 12 months helps identify faults before they disrupt your driving.
Handling Corrosion and Build-Up
Corrosion on the fuel tank sending unit or wiring is a common cause of fuel gauge failure. You must prevent sulfur build-up and silver tarnishing, which result from chemical reactions that degrade electrical contacts and sensors.
Use fuel additives designed to reduce sulfur deposits and protect silver components. Applying contact cleaner on fuel sensor wires and connectors cancels out oxidation and improves conductivity. If you notice any discoloration or residue, clean it immediately or consider professional service.
Before replacing expensive parts, try cleaning the connection points with a dedicated Electronic Contact Cleaner Spray. This specialized formula removes carbon deposits and oxidation from the delicate silver contacts on your F150’s fuel sensor, which often restores the signal for just a few dollars.

These simple treatments prevent the gradual breakdown of your fuel sensor system and promote accurate voltage signals to your gauge.
Proper Wiring Care
Wiring issues are a frequent culprit behind incorrect fuel gauge readings. You should perform detailed inspections of the wiring harness from the fuel pump to the gauge cluster to detect corrosion, loose connections, or damaged insulation.
Keep connectors clean and apply dielectric grease to prevent moisture infiltration. Tighten any loose wires to maintain stable electrical flow. If corrosion has severely affected the insulation, replace the wiring promptly to avoid shorts or open circuits compromising sensor signals.
Accessing the wiring may require removing the instrument cluster or voltage regulator; follow your vehicle’s manual for safe procedures.
Choosing Quality Replacement Parts
When replacing parts like the fuel tank sending unit or fuel level sensor, prioritize components from reputable brands. Low-quality replacements can fail prematurely or provide inaccurate readings that confuse your fuel gauge.
Select sending units with corrosion-resistant materials, such as gold-plated contacts, especially if you’re in areas with high sulfur fuel content. Ensure replacement parts come with proper seals and gaskets to prevent leaks.
Investing in durable, well-tested components reduces the chance of repeated repairs and guarantees consistent fuel gauge operation long-term.