
If your Ford F150 headlights stop working, the issue is often due to blown bulbs, a faulty fuse, or a loose electrical connection. Checking these components quickly can restore your headlights and keep you safe on the road. Sometimes, wiring problems or a bad relay might be the cause, but these are less common and may require professional diagnosis.
You’ll want to inspect the bulbs first since low beams tend to burn out faster. If both headlights are out, your next step is to verify the fuse and wiring for any damage or loose connections. Knowing these basics helps you troubleshoot the problem efficiently without unnecessary repairs.
Understanding what to check and how to approach the issue will save you time and frustration. This guide covers common reasons Ford F150 headlights fail and practical solutions you can try right away.
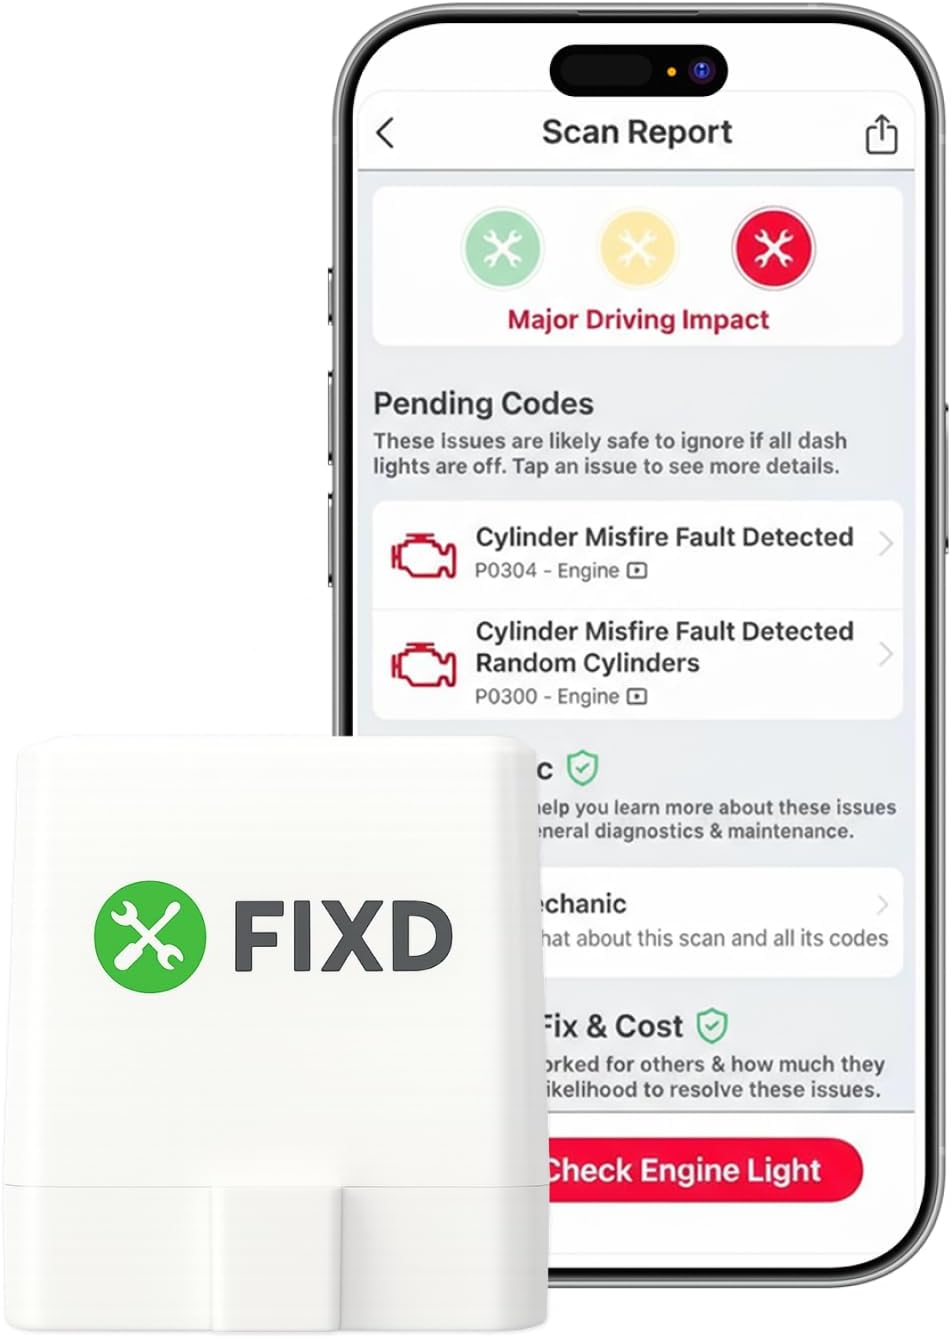
Best Bluetooth OBD2 Scanner
Detect 39,000+ Issues With Enhanced Codes. Save $1000s on car repairs & buying used vehicles by diagnosing problems yourself.
Shop on Amazon
Common Reasons Ford F150 Headlights Don’t Work
If your Ford F150’s headlights fail, the cause often lies within a few critical components. These include the bulbs themselves, the electrical safety devices, connection points, and control systems. Knowing exactly what to check helps you diagnose and fix the issue faster.
Burned Out Low Beam or High Beam Bulbs
The simplest and most frequent cause of headlight failure is burned out bulbs. Your F150’s low beam and high beam bulbs have lifespans that can end unexpectedly, especially if the vehicle faces vibrations or power surges often.
Signs to watch for:
- One headlight works, the other does not.
- Lights flicker on and off intermittently.
Replacing bulbs requires handling new bulbs with care. Avoid touching the glass with your fingers, as oils can reduce bulb life. Make sure you identify whether your truck uses halogen, LED, or HID bulbs before purchasing replacements.
Check the brightness of both beams before removal to confirm the issue. Occasionally, bulbs may seem faulty but the problem is with wiring or the fuse, so testing is essential.
Blown or Faulty Headlight Fuse
Your F150 is equipped with headlight fuses designed to protect the electrical system from overloads. A blown fuse disrupts power to both low and high beam circuits, causing complete or partial headlight failure.
Look for these signs of fuse issues:
- Headlights entirely dead, but other electrical components work.
- Fuse casing appears darkened or broken.
Fuses are located in the fuse box, commonly under the hood or inside the cabin. Use your owner’s manual to find the exact fuse and inspect it closely. Replacement fuses must match the original amperage rating to avoid further electrical damage.
If the fuse blows again soon after replacement, it’s a sign of underlying wiring problems or shorts that also need attention.
Electrical Connector Issues
Connections between the bulb assembly and wiring harness can become loose, corroded, or damaged. These faults interrupt power flow and cause headlights to malfunction or stay off entirely.
Common causes:
- Rodent damage chewing wires under the hood.
- Moisture intrusion causing corrosion in connectors.
- Loose pins or connectors not fully seated.
You can visually inspect connectors for corrosion, dirt, or bent pins. A multimeter can help test voltage continuity across connections. Cleaning contacts with electrical cleaner and securing connectors firmly may restore function.
Unreliable connections often cause intermittent headlights that flicker or affect only one side.
Failed Headlight Control Module
Modern Ford F150 trucks rely on a headlight control module to manage automatic and manual headlight functions. Failure in this module can cause the entire headlight system to stop working or behave erratically, such as lights failing to turn on or high beams staying lit.
Common symptoms include:
- Headlights not responding to the switch.
- DRLs (daytime running lights) working but headlights off.
- High beam indicator stuck on dashboard.
Replacing or reprogramming the control module usually requires diagnostic tools and expertise. Wiring issues affecting the module’s power or communication lines may mimic module failure but should be ruled out before replacement.
Checking for fault codes with a scan tool can confirm if the control module is the root cause.
Step-By-Step Diagnosis of Headlight Failure
When your Ford F150 headlights stop working, systematically examining the components involved will help you find the cause and fix the problem quickly. Start by checking the physical condition of your headlights and connections, then move on to the electrical system components that protect and power the lights.
Visual Inspection of Headlights and Connections
Begin by inspecting the headlight assemblies for visible damage or moisture inside the lenses. Moisture can cause corrosion and short circuits, so if you see fog or water, the headlight housing may need sealing or replacement.
Next, examine the wiring and connectors leading to each headlight. Look for frayed wires, loose plugs, dirt, or corrosion, especially at the connection points. Corroded terminals can block current flow, causing flickering or complete failure.
Use a flashlight to carefully inspect grounding points on the truck’s frame. A loose or rusted ground can prevent your headlights from working even if the bulbs and fuses are fine. Tighten or clean these connections with a wire brush if necessary.
How to Check and Replace Fuses
Locate your Ford F150’s fuse boxes—typically under the dashboard on the driver’s side and in the engine compartment. Use the diagram on the fuse box cover or your truck’s owner manual to find the specific headlight fuse.
Remove the headlight fuse with a fuse puller or needle-nose pliers. Hold the fuse up to a light source; if the thin metal strip inside is broken or burnt, the fuse is blown. Replace it with a fuse of the exact same amperage rating. Using a higher rating fuse can cause further damage.
If your headlights are still not working after replacing the fuses, move on to testing bulbs or other electrical components. Checking fuses is usually one of the simplest fixes for losing all headlight function at once.
Testing Bulbs and Sockets
Start by removing the headlight bulbs. For most Ford F150 models, twist the bulb holder counterclockwise and gently pull out the bulb. Inspect halogen bulbs for broken filaments or discoloration inside the glass.
If bulbs appear intact but the lights don’t work, test each bulb in a working socket or swap bulbs between sides. This helps identify if the bulb itself is at fault.
Next, check the bulb sockets for corrosion or damage. Clean terminals with electrical contact cleaner and a soft brush if needed. Sometimes, dirt or corrosion on the socket prevents proper electrical contact.
LED and HID bulbs often require different testing methods since they don’t have filaments. If in doubt, replacing questionable bulbs with new, manufacturer-approved parts is a reliable step.
Troubleshooting Advanced Electrical and Wiring Problems
To resolve complex headlight issues on your Ford F150, you’ll need to understand wiring principles and the interaction of electrical components. Checking wiring paths, connecting diagrams, and pinpointing defects in switches or modules will allow you to isolate problems more efficiently.
Interpreting Wiring Diagrams for Ford F150
Begin by obtaining the correct wiring diagram for your F150 model year and trim. These diagrams map out circuits, ground points, fuses, switches, and connectors linked to the headlights.
Focus on the headlight circuit paths, noting power sources and control points for low beam, high beam, and daytime running lights. Identify symbols such as:
- Fuses and relays
- Ground connections
- Switch contacts
- Wiring colors and gauge
Using this map, you can trace the electrical flow during tests. It helps you understand which circuits should energize under given conditions and where interruptions or shorts might occur.
Tracing and Repairing Damaged Wiring
Inspect wiring harnesses around the engine bay, wheel wells, and behind the headlights for visible damage. Look for:
- Frayed or pinched wires
- Rodent bites
- Corrosion caused by moisture
Use a multimeter to test continuity in suspect wires. Repair damage by cutting out corroded sections and splicing in new wiring with heat-shrink connectors for durability. Also, check that connector pins are clean, making firm contact without corrosion or bending.
Blocked ventilation in headlight units can trap moisture, accelerating corrosion in wiring inside. Cleaning blocked vents or replacing headlight assemblies may be necessary if extensive internal damage exists.
Diagnosing Switches, Relays, and Modules
The headlight switch, relays, and control modules regulate power flow. A faulty switch may cause intermittent lighting or prevent activation entirely. Test the switch for proper operation with a multimeter to verify continuity in all positions.
Relays can fail due to burned coils or worn contacts, leading to no power delivery to the headlights or stuck high beams. To test relays, swap them with identical units or use a relay tester.
The Body Control Module (BCM) manages lighting functions in newer F150 models. Fault codes related to lighting, such as the left front exterior lighting system fault, indicate BCM issues. Diagnosing BCM faults often requires a dealer-grade scan tool for resetting or replacement.
Dealing with Control Box and Ballast Issues
Some F150 headlights, especially those with LED or HID systems, include ballasts or electronic control units that regulate power to bulbs or LED strips. Malfunctioning ballasts cause flickering, dim lights, or complete failure.
Test the ballast by measuring output voltage with a digital multimeter and inspecting for burnt components or loose wiring. Control boxes may show fault codes detectable with an OBD-II scanner.
Replacing ballasts or control boxes requires matching OEM parts to ensure compatibility. Use only recommended components to avoid electrical system damage or voiding warranties.
For detailed wiring information and troubleshooting steps, refer to specialized Ford F150 headlight wiring diagrams and repair guides.
Other Lighting Issues in Ford F150
Several lighting problems beyond the main headlights can affect your Ford F150’s safety and functionality. These include malfunctions in automatic settings and issues within additional lighting circuits, both of which demand attention to avoid driving hazards.
Automatic Headlights Not Functioning
If your Ford F150’s automatic headlights fail to activate, check the ambient light sensor first. Dirt, damage, or misalignment can block the sensor, preventing the system from detecting low light conditions.
Faulty wiring or a blown fuse can also interrupt power to the automatic headlight module. Sometimes, the control module itself malfunctions and requires professional diagnostics.
Manual override options usually remain functional in these cases, but you lose the convenience and safety benefit of automatic operation. Testing the sensor and inspecting related electrical components can often resolve the problem before replacement is necessary.
Fog Lights and Related Circuit Problems
Fog lights in your Ford F150 enhance visibility in poor weather, but their circuits can develop faults. Common issues include blown fuses, damaged wiring, or loose connections, which cause fog lights to fail or flicker.
Moisture intrusion into fog light assemblies is another frequent cause of malfunction. Condensation leads to corrosion that disrupts electrical contacts and deteriorates the bulb housing seal.
Regular inspection of the fog light lenses for cracks and ensuring the electrical system is dry can prevent many failures. If fog lights stop working, start by checking the fuse box and wiring harnesses before considering bulb replacement. For persistent issues, a diagnostic scan may identify more complex circuit faults.