
Your Harley Davidson suddenly won’t start, and you’ve discovered your battery isn’t charging properly despite the engine running fine.
Harley battery charging problems typically stem from faulty stator coils, failed voltage regulators, corroded connections, or blown fuses. The stator generates AC power that the regulator converts to DC for battery charging, while poor connections and electrical faults interrupt this critical charging process.

Stator Problems
Several factors can prevent your Harley’s battery from receiving proper charge. Understanding these root causes helps you identify the correct solution faster and avoid expensive trial-and-error repairs.
Stator coil failure represents the most common reason behind charging system malfunctions. Your motorcycle’s stator consists of copper wire coils that generate alternating current when the rotor’s magnets spin past them. When these coils overheat, short circuit, or break internally, they can’t produce the electrical power necessary to charge your battery.
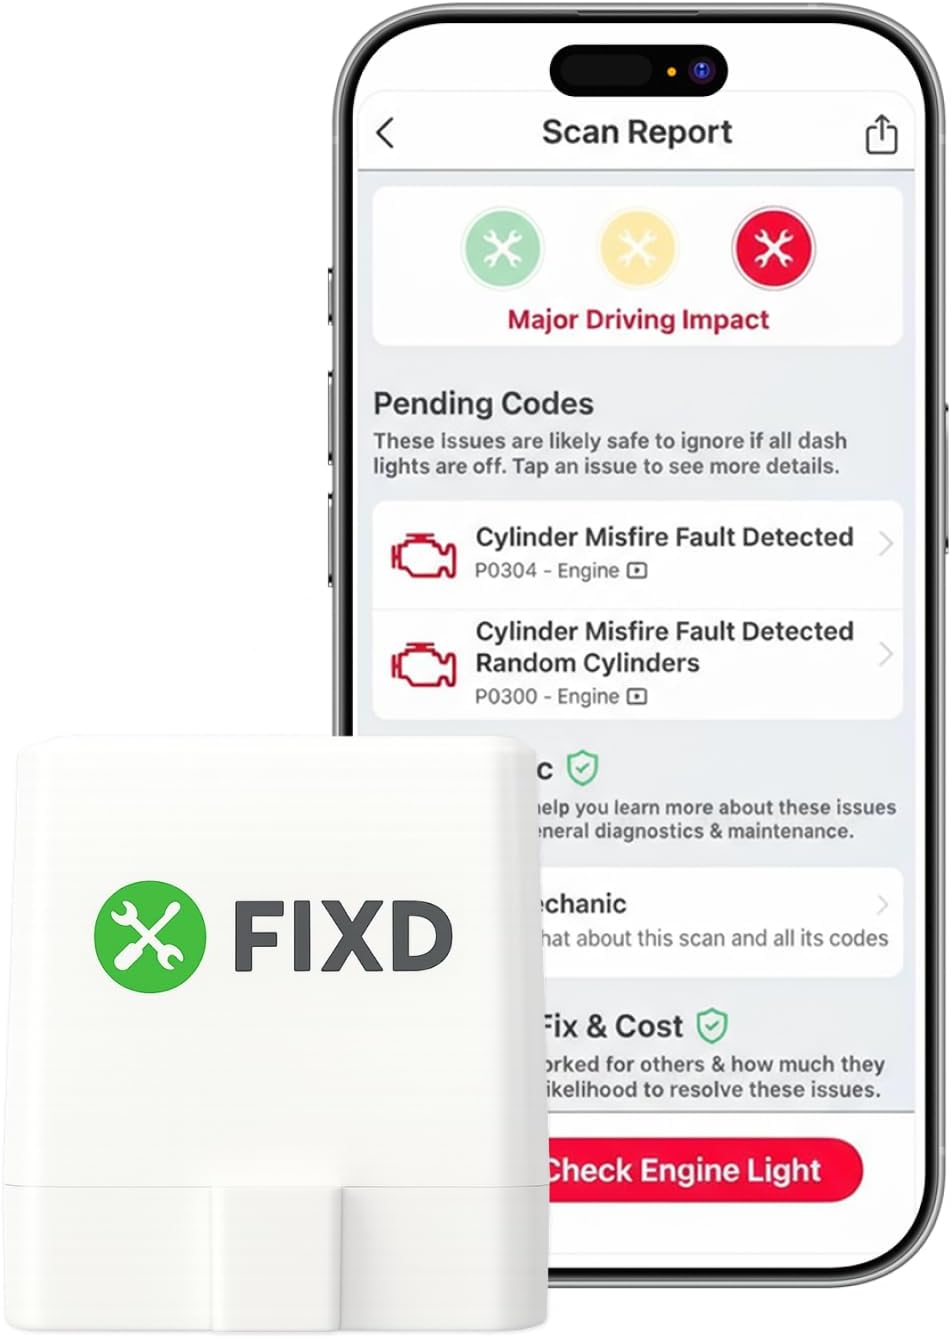
Best Bluetooth OBD2 Scanner
Detect 39,000+ Issues With Enhanced Codes. Save $1000s on car repairs & buying used vehicles by diagnosing problems yourself.
Shop on AmazonHowever, complete stator failure isn’t the only electrical issue affecting charging performance. Partial stator damage often creates intermittent charging problems that seem mysterious and difficult to diagnose. This condition typically develops gradually as individual coil windings deteriorate from heat, vibration, or manufacturing defects.
Moreover, stator contamination from oil leaks can cause insulation breakdown and subsequent coil failures. Even small amounts of engine oil penetrating the stator housing will eventually damage the copper wire insulation, leading to short circuits that prevent proper power generation.
The object of this test is to see if the stator can produce proper AC voltage per 1000 RPM. For example a 32-amp stator should put out 18 volts AC per 1000 RPM.
Cycle Electric Technical Guide
Temperature extremes also contribute to stator deterioration over time. Excessive heat from prolonged high-speed riding or inadequate cooling can accelerate insulation breakdown, while thermal cycling from repeated heating and cooling weakens the copper conductors.
Regulator Issues
Connection problems between your stator and voltage regulator create another frequent scenario. The voltage regulator serves as the critical link between AC power generation and DC battery charging, converting the stator’s variable AC output into stable 12-volt DC power.
Furthermore, voltage regulator failure often appears as overcharging or undercharging conditions that can damage your battery permanently. A failing regulator might allow excessive voltage to reach the battery, causing electrolyte boiling and plate damage. Conversely, insufficient voltage regulation prevents adequate battery charging regardless of stator condition.
Additionally, heat-related regulator failures are particularly common on Harley Davidson motorcycles due to their air-cooled design and compact engine bay layout. The regulator’s location near hot engine components subjects it to constant temperature stress that gradually degrades its internal semiconductor components.
The J&P Cycles charging system guide provides detailed procedures for testing both stator output and regulator function using basic multimeter equipment.
Modern Harley models use sophisticated MOSFET regulators that offer improved efficiency but can be more sensitive to electrical surges and voltage spikes compared to older mechanical regulators.
Electrical Connections
Damaged wiring harnesses and corroded connections frequently cause charging system failures that appear to be component-related problems. Your motorcycle’s charging system relies on multiple electrical connections between the stator, regulator, battery, and main electrical system.
Corrosion at battery terminals represents one of the most overlooked causes of charging problems. Even minor corrosion creates electrical resistance that prevents proper current flow, making it impossible for the charging system to maintain adequate battery voltage during operation.
Similarly, loose or damaged connections at the stator output can interrupt power transmission to the voltage regulator. These connections endure constant vibration and temperature cycling that gradually loosens terminals and degrades connection quality.
All the battery terminals are tight and there is no corrosion anywhere. The battery is less than 1 year old and tests okay with a battery tester.
Forum User Experience
The main charging system fuse protects the entire circuit from electrical overloads. When this fuse blows, your battery will discharge normally during operation but won’t receive any charging current from the stator and regulator system.
Ground connections deserve particular attention during charging system diagnosis. Poor ground paths can create voltage drops that prevent proper regulator operation, leading to undercharging conditions that seem like stator or regulator failures.
You can find quality Harley Davidson voltage regulators to replace failed regulators quickly and restore proper charging function.
Battery Condition
Sometimes the battery itself prevents proper charging even when the charging system functions correctly. A severely discharged or damaged battery may not accept charge effectively, creating symptoms that mimic charging system problems.
Deep discharge cycles can permanently damage battery plates and reduce the battery’s ability to hold charge. When lead-acid batteries discharge below critical voltage levels, lead sulfate crystals form on the plates and become difficult to reverse through normal charging processes.
Furthermore, internal battery damage from overheating, freezing, or physical trauma can create conditions where the battery appears to charge normally but loses capacity rapidly. These damaged batteries may show proper voltage immediately after charging but drop quickly when disconnected from the charging system.
Age-related battery deterioration also affects charging acceptance. Batteries older than three years typically show reduced charging efficiency and capacity, making them appear to have charging system problems when they simply need replacement.
Testing Procedures
Systematic testing helps identify the actual source of charging problems without replacing expensive components unnecessarily. This methodical approach saves time and money while ensuring you address the root cause rather than symptoms.
Begin your diagnosis by establishing baseline measurements with the engine off and battery at rest. A healthy 12-volt battery should show approximately 12.6 volts with no load applied. Lower readings indicate either a discharged or damaged battery that requires attention before proceeding with charging system tests.
Next, test charging system output with the engine running at approximately 2000 RPM. Your multimeter should read between 13.2 and 14.5 volts across the battery terminals during this test. Readings outside this range indicate charging system problems requiring further investigation.
Step-by-step testing sequence:
- Measure battery voltage – Check resting voltage with engine off
- Test charging output – Measure voltage at 2000 RPM with engine running
- Check stator AC output – Test individual stator coils for proper voltage generation
- Verify regulator function – Ensure stable DC voltage regulation across RPM range
- Inspect all connections – Clean and tighten corroded or loose terminals
- Load test battery – Verify battery capacity and charging acceptance
The stator AC output test requires disconnecting the regulator and measuring voltage directly from stator leads. This test isolates stator function from regulator performance, helping identify which component has failed.
Professional-grade battery load testers provide more accurate assessments of battery condition than simple voltage measurements. These devices apply controlled loads while monitoring voltage stability, revealing internal battery problems that voltage testing alone might miss.
Voltage Testing
Comprehensive voltage testing throughout the charging system reveals exactly where problems exist. Rather than guessing which component has failed, systematic voltage measurements pinpoint the fault location quickly and accurately.
Start by measuring stator AC output voltage with the regulator disconnected and engine running at 1000 RPM. Each stator coil should produce approximately 18 volts AC per 1000 engine RPM for a 32-amp charging system. Lower readings indicate stator coil problems requiring replacement.
Additionally, test voltage regulation by measuring DC output across various RPM ranges. The regulator should maintain stable 13.2-14.5 volt output regardless of engine speed. Voltage that climbs excessively with RPM indicates regulator failure that could damage your battery through overcharging.
Load testing reveals how well your charging system performs under actual operating conditions. Turn on headlights, turn signals, and other electrical accessories while monitoring charging voltage. The system should maintain adequate voltage even with maximum electrical load applied.
The Harley Davidson repair forums document numerous cases where voltage testing revealed connection problems that appeared to be expensive component failures.
Temperature-compensated voltage measurements provide more accurate results during hot weather operation. High ambient temperatures affect both battery voltage and charging system performance, making temperature consideration important for accurate diagnosis.
Connection Repair
Fixing damaged connections often restores charging system function without requiring expensive component replacement. Many charging problems result from corroded, loose, or damaged electrical connections rather than failed stators or regulators.
Battery terminal cleaning requires removing both positive and negative cables completely. Use a wire brush or specialized terminal cleaner to remove all corrosion from both terminals and cable ends. Apply a thin coat of dielectric grease before reconnecting to prevent future corrosion.
Stator connection points typically show signs of heat damage or corrosion after extended service. These connections carry high current loads that generate heat, gradually degrading connection quality over time. Replace damaged connectors with high-quality electrical components designed for motorcycle applications.
Connection repair procedures:
- Remove all electrical connections carefully to avoid damage
- Clean corrosion using appropriate electrical contact cleaners
- Inspect wire condition for heat damage or insulation breakdown
- Replace damaged connectors with OEM or equivalent components
- Apply dielectric grease to prevent moisture intrusion
- Tighten connections to manufacturer specifications
- Test system operation before final assembly
Ground connections require special attention during repair procedures. Poor grounds create voltage drops that affect entire electrical system operation. Clean all ground points thoroughly and ensure tight connections to frame and engine components.
Professional-grade electrical contact cleaner dissolves corrosion and oxidation that standard cleaning methods can’t remove. These specialized products restore conductivity and help prevent future connection problems.
Component Replacement
When testing confirms component failure, proper replacement procedures ensure reliable long-term operation. Quality replacement parts and correct installation techniques prevent recurring problems that waste time and money.
Stator replacement typically requires partial engine disassembly and specialized tools. The rotor must be removed carefully to avoid magnetic injury and component damage. Consider professional installation if you lack experience with motorcycle electrical systems and proper tools.
Voltage regulator replacement is generally more straightforward but requires attention to proper mounting and heat dissipation. The new regulator must be securely mounted with adequate airflow to prevent overheating that causes premature failure.
The voltage should range from 13.5 to 14.5 volts. If it falls below this range, the regulator/rectifier could be faulty.
Charging System Specialist
Quality aftermarket components like those from Cycle Electric offer improved reliability and performance compared to original equipment in many cases. These upgraded components often feature better heat dissipation and more robust construction.
Installation timing affects component longevity significantly. Avoid installing new electrical components during hot weather when possible, as thermal stress during initial operation can damage sensitive semiconductor devices.
Proper break-in procedures help ensure maximum component life. Operate the motorcycle at moderate speeds and electrical loads for the first few hundred miles after component replacement to allow proper heat cycling and component settling.
| Component | Typical Cost | Labor Time | Difficulty Level |
|---|---|---|---|
| Battery | $80-200 | 30 minutes | Easy |
| Voltage Regulator | $60-180 | 1-2 hours | Moderate |
| Stator | $150-400 | 3-5 hours | Difficult |
| Complete Kit | $300-600 | 4-6 hours | Difficult |
Video Credit: Ricky HD / YouTube
Frequently Asked Questions
How do I know if my Harley’s stator is bad?
Testing your stator involves measuring AC voltage output from each coil with the engine running and regulator disconnected. A healthy 32-amp stator should produce approximately 18 volts AC per 1000 RPM from each coil. Significantly lower readings indicate coil failure requiring stator replacement.
Visual inspection can also reveal stator problems before electrical testing. Look for signs of oil contamination, burned insulation, or physical damage to the stator windings. Oil leaks into the stator housing will eventually cause insulation breakdown and coil failures that prevent proper charging.
Intermittent charging problems often indicate partial stator failure where some coils work normally while others have developed internal faults. This condition typically worsens over time as additional coils fail from heat and vibration stress.
Can a bad voltage regulator damage my battery?
Yes, a failing voltage regulator can permanently damage your battery through overcharging or undercharging conditions. Overcharging causes electrolyte boiling and plate corrosion that reduces battery life significantly. The excessive heat generated during overcharging can warp battery plates and destroy internal separators.
Undercharging prevents your battery from reaching full capacity, leading to sulfation that gradually reduces available power. Chronic undercharging allows lead sulfate crystals to form on the plates, eventually becoming permanent and reducing battery capacity.
Modern MOSFET regulators can fail suddenly, causing either complete charging loss or dangerous overcharging conditions. Monitor your charging voltage regularly to detect regulator problems before they cause expensive battery damage.
Why does my charging system work intermittently?
Intermittent charging usually indicates loose connections, partial component failure, or temperature-related problems. Vibration gradually loosens electrical connections, creating intermittent contact that appears as on-and-off charging behavior.
Heat-related component failures often cause intermittent operation as semiconductors in the voltage regulator become heat-sensitive with age. The charging system may work normally when cool but fail as components heat up during operation.
Partial stator failures can create intermittent charging where some coils work normally while others fail intermittently. This condition typically worsens progressively as additional coils develop problems from continued heat and vibration exposure.
How much does it cost to fix a Harley charging system?
Charging system repair costs vary significantly depending on which components need replacement and whether you perform the work yourself. Simple fixes like cleaning corroded connections may cost nothing, while complete stator and regulator replacement can exceed $600 including labor.
DIY repairs can save substantial money if you have basic electrical skills and tools. Voltage regulators typically cost $60-180 and can be replaced with moderate mechanical ability. Stator replacement requires more advanced skills and specialized tools but saves $200-400 in labor costs.
Professional diagnosis typically costs $100-150 and helps avoid unnecessary part replacement. Many charging system problems result from simple connection issues that cost almost nothing to repair once properly identified.
What happens if I ride with a bad charging system?
Riding with a failed charging system will eventually drain your battery completely, leaving you stranded when the stored power is exhausted. Modern motorcycles with fuel injection and electronic ignition typically stop running when battery voltage drops below critical levels.
The distance you can travel depends on battery condition and electrical load requirements. A healthy battery might provide 30-60 minutes of operation, while an older battery may fail within minutes. Using electrical accessories like lights and heated gear reduces available riding time significantly.
Emergency solutions include carrying a portable battery pack or planning routes near services where you can recharge. However, continuing to operate with charging system problems risks permanent battery damage and potential safety issues from electrical system failures.
Sources:
- J&P Cycles Charging System Testing Guide
- Harley Davidson Forums Charging Issues
- Cycle Electric Technical Documentation
- JustAnswer Harley Charging System Diagnosis
- RoadGlide Charging System Problems
Read More: