
Last updated on April 4th, 2026 at 09:16 pm
Replacing a wheel bearing often triggers ABS warning lights due to disturbed wheel speed sensors or damaged tone rings during the repair process. This frustrating situation occurs because wheel bearings and ABS sensors work closely together to monitor wheel rotation, making them vulnerable to disruption during bearing replacement procedures.
Resetting ABS lights after wheel bearing replacement typically requires both mechanical inspection and electronic reset procedures: first verify proper wheel speed sensor installation, check tone ring condition, and ensure all electrical connections are secure, then perform either battery disconnect reset (30-60 seconds), OBD scanner code clearing, or manufacturer-specific reset sequences. Most ABS lights illuminate after bearing replacement due to damaged tone rings, improperly seated sensors, or disconnected wiring rather than actual system failures. The reset will only be successful after addressing the underlying mechanical issue that caused the warning light activation.

Wheel Bearing-ABS Connection
Modern wheel bearing assemblies incorporate sophisticated ABS sensor technology that transforms simple mechanical components into complex electronic systems. The wheel speed sensor, whether magnetic or Hall effect type, relies on precise positioning relative to the tone ring to generate accurate rotational data for the ABS control module.
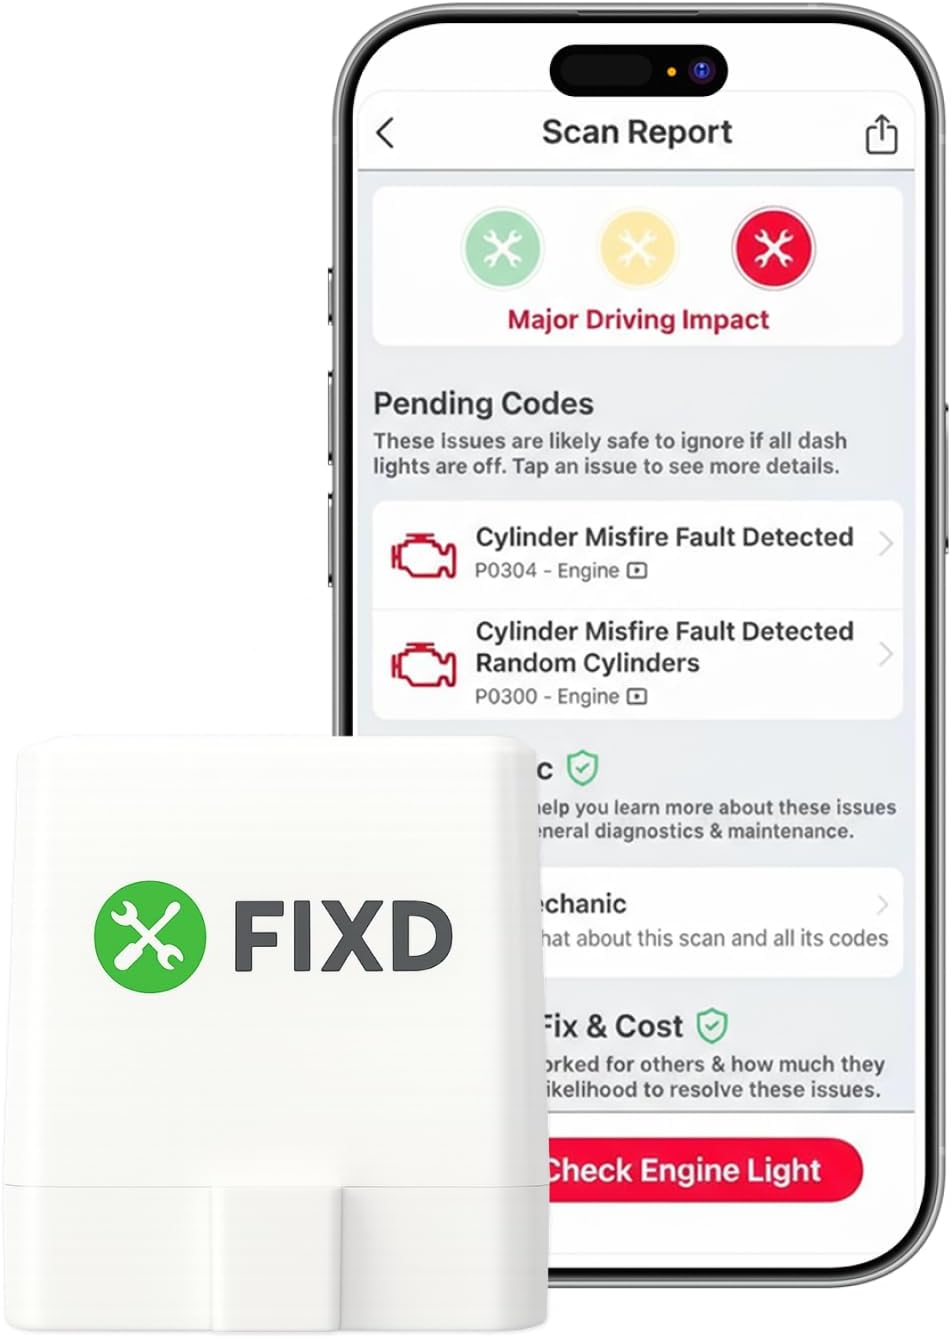
Best Bluetooth OBD2 Scanner
Detect 39,000+ Issues With Enhanced Codes. Save $1000s on car repairs & buying used vehicles by diagnosing problems yourself.
Shop on AmazonWhen technicians replace wheel bearings, they necessarily disturb this carefully calibrated relationship between sensors and tone rings. Even minor variations in sensor gap, alignment, or cleanliness can trigger ABS warning lights as the system detects anomalous wheel speed readings that don’t match expected parameters.
The integrated design of modern bearing assemblies means that bearing replacement often involves completely new sensor hardware, different tone ring positioning, or altered magnetic field strength. These changes require the ABS system to relearn baseline parameters, which doesn’t always happen automatically without proper reset procedures.
Furthermore, the tolerance requirements for ABS sensor operation are extremely tight, often measured in millimeters or thousandths of an inch. What appears to be a successful bearing installation may actually have subtle sensor positioning issues that only become apparent when the ABS system attempts to function during driving conditions.
Pre-Reset Inspection
Before attempting any electronic reset procedures, thorough mechanical inspection ensures that underlying problems won’t cause the ABS light to return immediately after clearing codes. This diagnostic approach saves time and prevents repeated reset attempts that fail to address root causes.
Step-by-Step Inspection Process:
- Visually inspect the tone ring for cracks, missing teeth, or metal debris
- Check wheel speed sensor positioning and secure mounting
- Measure sensor gap using feeler gauges (typically 0.5-2mm)
- Verify electrical connector security and pin condition
- Test sensor resistance using a multimeter (typically 800-2000 ohms)
- Inspect wiring harness for pinched or damaged sections
- Clean sensor face and tone ring surface with brake cleaner
- Confirm proper bearing torque specifications were followed
- Check for metal shavings or contamination around sensor area
Pay particular attention to the tone ring condition, as this component frequently sustains damage during bearing removal that isn’t immediately obvious. Even microscopic cracks or missing magnetic segments can cause erratic ABS sensor readings that trigger persistent warning lights.
The sensor gap measurement proves critical because improper spacing creates weak or inconsistent signals that confuse the ABS control module. Too close causes interference, while too far reduces signal strength below acceptable thresholds, both resulting in system fault detection.
Using a dedicated Electrical Contact Cleaner Spray is highly recommended to remove grease or metallic debris from the sensor pins and connectors without leaving a residue that could interfere with the magnetic signal.

Battery Disconnect Reset
The simplest and most universally applicable reset approach involves temporarily removing power from the vehicle’s electrical system, forcing the ABS control module to clear stored fault codes and reinitialize system parameters with fresh sensor data.
Step-by-Step Battery Reset:
- Turn off engine and remove keys completely from ignition
- Open hood and locate battery terminals safely
- Disconnect negative battery cable first using appropriate wrench
- Remove positive battery cable second for complete isolation
- Wait 30-60 seconds for electrical system discharge
- Touch cable ends together for 10 seconds to ensure complete discharge
- Reconnect positive terminal first, then negative terminal
- Start vehicle and allow all systems to initialize completely
- Drive at speeds above 25 mph for 10-15 minutes
- Perform several gentle braking events to test ABS operation
This method works because it forces the ABS control module to forget previous fault conditions and reestablish communication with all wheel speed sensors using current installation parameters. The driving period allows the system to relearn normal operating characteristics and verify that all sensors provide consistent, accurate data.
Success rates for battery disconnect reset vary significantly based on whether the underlying mechanical installation was performed correctly. If sensor positioning, tone ring condition, and electrical connections are proper, this method resolves most post-repair ABS light issues.
“The ABS system relies on precise wheel speed sensor data, and any disruption during bearing replacement can trigger fault codes that require both mechanical correction and electronic reset procedures,” Automotive Systems Engineer, David Martinez.
OBD Scanner Reset
Professional-grade diagnostic scanners provide the most comprehensive approach to ABS light reset by reading specific fault codes, identifying exact problems, and performing targeted system resets that battery disconnect methods cannot achieve.
Step-by-Step Scanner Reset:
- Connect OBD scanner to diagnostic port under dashboard
- Turn ignition to “ON” without starting engine
- Power scanner and select vehicle make/model/year
- Navigate to “ABS” or “Brake System” menu
- Select “Read Codes” to identify specific fault codes
- Record all codes for diagnostic reference
- Check “Live Data” to verify sensor operation
- Select “Clear Codes” after confirming repairs
- Turn ignition off, disconnect scanner
- Start vehicle and test drive to verify reset success
Scanner-based reset provides valuable diagnostic information that helps identify whether ABS lights result from mechanical installation issues, electrical problems, or simple code storage. The live data function shows real-time sensor readings, confirming whether new bearing installations provide proper signal output.
Professional scanners can also perform specialized ABS system tests like individual wheel speed sensor verification, tone ring continuity checks, and control module communication diagnostics that aren’t possible through manual reset methods.
Professional-grade diagnostic scanners provide the most comprehensive approach to ABS light reset. If you want to identify the exact fault code without a trip to the mechanic, using a Bluetooth OBD2 Scanner with ABS/SRS Diagnostics allows you to clear codes directly from your smartphone.

Manufacturer-Specific Reset
Different vehicle manufacturers employ unique ABS reset procedures that take advantage of built-in diagnostic capabilities designed for service operations. These sequences often provide more thorough system reset than generic methods.
Ford vehicles with AdvanceTrac systems often require specific brake pedal sequences combined with ignition cycling to properly reset ABS parameters after wheel bearing replacement. The procedure typically involves multiple brake pedal applications within precise time windows while the system recalibrates sensor inputs.
General Motors vehicles may need drive cycle completion procedures where specific speed ranges, braking events, and time durations must be achieved for the ABS system to accept new sensor installations and clear fault conditions automatically.
Toyota and Honda models frequently use different approaches involving steering wheel positioning, specific driving patterns, or dealer-level reset procedures that ensure proper ABS system integration after mechanical repairs.
“Each manufacturer designs their ABS systems with unique reset requirements because they integrate differently with other vehicle stability and safety systems,” Brake System Technician, Jennifer Walsh.
These manufacturer-specific procedures recognize that modern ABS systems don’t operate in isolation but integrate with traction control, stability management, and even transmission control systems that require coordinated reset operations.
Common Post-Replacement Issues
Even properly performed wheel bearing replacements can create ABS light issues due to subtle problems that aren’t immediately apparent during installation. Understanding these common issues helps target reset efforts more effectively and prevents repeated failures.
Tone ring damage represents the most frequent cause of persistent ABS lights after bearing replacement. These magnetic or toothed rings can crack, lose segments, or accumulate metal debris during the bearing removal process, creating erratic sensor readings that trigger fault codes.
Sensor positioning problems occur when new bearings have different dimensional characteristics than original parts, altering the critical gap between sensors and tone rings. Even OEM replacement parts can have slight variations that affect ABS sensor operation.
Contamination issues arise from metal shavings, grease, or brake dust accumulating on sensor faces or tone ring surfaces during repair procedures. This contamination interferes with magnetic field generation and can cause intermittent ABS faults that are difficult to diagnose.
Electrical connection problems develop when wire harnesses get pinched, stretched, or damaged during bearing replacement procedures. These issues may not cause complete sensor failure but can create signal quality problems that trigger ABS warning lights.
Advanced Diagnostic
When standard reset procedures fail to resolve ABS light issues, advanced diagnostic approaches help identify specific problems that require targeted solutions rather than repeated reset attempts that don’t address root causes.
Oscilloscope testing reveals sensor signal quality issues that standard multimeters cannot detect. Wheel speed sensors generate AC voltage signals with specific frequency and amplitude characteristics that oscilloscopes can analyze for proper operation patterns.
Resistance measurements between sensor terminals and ground help identify internal sensor failures or wiring harness problems that cause ABS system malfunctions. Normal sensor resistance typically ranges from 800-2000 ohms, with values outside this range indicating replacement needs.
“Advanced ABS diagnostics require understanding both mechanical relationships and electronic signal characteristics because modern systems integrate these elements so closely,” Electronic Diagnostics Specialist, Michael Chang.
Signal comparison testing between multiple wheel speed sensors reveals inconsistencies that might not trigger obvious fault codes but still cause ABS system performance issues requiring attention and correction.
Temperature cycling tests help identify intermittent problems that only manifest under specific thermal conditions, particularly important for ABS systems that operate across wide temperature ranges in real-world driving conditions.
Prevention Strategies
Proper wheel bearing replacement techniques prevent most ABS light issues by maintaining critical sensor relationships and avoiding contamination that causes post-repair problems requiring extensive reset procedures.
Pre-replacement documentation should include sensor gap measurements, tone ring condition assessment, and electrical connector inspection to establish baseline conditions for comparison after repair completion.
Clean work environment maintenance prevents metal debris contamination that can interfere with ABS sensor operation. Using magnetic pickup tools and thorough cleaning procedures minimizes particle accumulation on critical components.
Proper torque specifications ensure that bearing installations maintain correct sensor positioning and prevent future bearing movement that could alter ABS sensor operation over time.
Quality replacement parts selection avoids compatibility issues that can cause persistent ABS problems even when installation procedures are performed correctly using proper reset techniques.
Video Credit: Motor Matchups / YouTube
Frequently Asked Questions
Why is my ABS light still on after replacing the wheel bearing and resetting the codes?
Persistent ABS lights after wheel bearing replacement and code clearing typically indicate underlying mechanical issues that reset procedures cannot resolve. The most common cause involves damaged or contaminated tone rings that sustained harm during the bearing removal process, creating erratic sensor readings that immediately trigger new fault codes.
Improper sensor installation represents another frequent culprit, where sensors aren’t positioned correctly relative to tone rings or lack proper electrical connections. Even slight variations in sensor gap can cause signal quality issues that the ABS system interprets as malfunctions requiring warning light activation.
Contamination from metal shavings, grease, or brake dust on sensor faces or tone ring surfaces can interfere with proper magnetic field generation. This contamination may not be visible during casual inspection but significantly affects sensor operation, causing the ABS system to detect inconsistent wheel speed readings.
If multiple reset attempts fail, professional diagnostic scanning can identify specific fault codes and live sensor data that reveal whether the problem stems from mechanical installation issues, electrical connection problems, or component damage requiring replacement rather than reset procedures.
How long should I drive before the ABS light resets automatically?
Most ABS systems require 10-20 minutes of driving at speeds above 25 mph with several gentle braking events to complete their self-diagnostic routines and automatically clear fault codes after successful wheel bearing replacement. The system needs varied driving conditions to verify that all wheel speed sensors provide consistent, accurate data.
However, automatic reset only occurs when the underlying mechanical installation is correct and no actual faults exist. If the ABS light remains on after extended driving periods, this indicates persistent problems that require manual reset procedures or mechanical correction rather than additional driving time.
Some vehicles require specific drive cycles involving particular speed ranges, duration periods, and braking patterns before the ABS system accepts new sensor installations and clears fault conditions. These requirements vary by manufacturer and model year, making owner’s manual consultation or dealer service information valuable for understanding specific reset requirements.
Temperature conditions can also affect automatic reset timing, as some ABS systems require thermal cycling or specific ambient temperatures to complete their diagnostic routines and accept new component installations as normal operating conditions.
Can I drive safely with the ABS light on after wheel bearing replacement?
You can drive with an illuminated ABS light after wheel bearing replacement, but your vehicle loses anti-lock braking capability, meaning wheels may lock during emergency braking situations and increase stopping distances, particularly on wet or slippery surfaces. Normal braking function typically remains available, but emergency stopping performance becomes compromised.
The ABS light specifically indicates loss of anti-lock functionality rather than complete brake system failure, so basic braking remains operational in most cases. However, you should adjust your driving style to account for reduced braking performance, maintain greater following distances, and avoid aggressive braking maneuvers until the system is properly reset.
Many vehicles also disable traction control and stability management systems when ABS malfunctions are detected, further reducing vehicle safety margins during adverse driving conditions or emergency maneuvers. These integrated safety systems rely on ABS wheel speed sensor data to function properly.
Address ABS light issues promptly after wheel bearing replacement to restore full brake system functionality and safety features. Most post-replacement ABS lights result from installation issues rather than serious system failures, making resolution typically straightforward with proper diagnostic and reset procedures.
What’s the difference between ABS sensor replacement and wheel bearing replacement?
ABS sensor replacement involves only the electronic sensor component that monitors wheel rotation, while wheel bearing replacement includes the entire mechanical assembly that supports wheel rotation and may integrate ABS sensor hardware depending on vehicle design and component configuration.
Modern vehicles often use integrated hub assemblies where the ABS sensor is built into the wheel bearing unit, meaning bearing replacement automatically includes a new sensor. These assemblies require careful installation to maintain proper sensor positioning and electrical connections for ABS system operation.
Separate ABS sensors mount independently from wheel bearings and can be replaced without disturbing bearing assemblies, though sensor replacement still requires proper gap adjustment and electrical connection verification. These sensors typically bolt to suspension components and read tone rings attached to wheel hubs or CV joints.
The replacement approach affects reset procedures because integrated assemblies require complete ABS system recalibration, while individual sensor replacement may only need basic code clearing if installation maintains proper positioning and connections. Understanding your vehicle’s configuration helps determine appropriate reset strategies.
Should I use OEM or aftermarket parts for wheel bearing replacement to avoid ABS issues?
OEM wheel bearing assemblies typically provide the most reliable ABS system compatibility because they maintain exact dimensional specifications, sensor positioning, and tone ring characteristics that the ABS control module expects for proper operation. These parts undergo extensive testing with vehicle-specific ABS systems to ensure seamless integration.
Quality aftermarket parts can work equally well if they meet or exceed OEM specifications, but some budget alternatives may have dimensional variations, different sensor characteristics, or tone ring differences that can cause ABS system compatibility issues requiring additional calibration or reset procedures.
The critical factors for ABS compatibility include precise sensor gap dimensions, tone ring tooth count and spacing, magnetic field strength specifications, and electrical resistance values that match original equipment parameters. Reputable aftermarket manufacturers typically provide this technical information for verification.
When using aftermarket parts, verify that sensor specifications match OEM requirements and that installation instructions address ABS system considerations. Some aftermarket assemblies may require specific reset procedures or calibration steps that differ from OEM replacement protocols, making manufacturer documentation essential for successful installation.
Sources:
Read More:
- How to Reset Akko Keyboard? Here’s The Complete Guide
- How to Reset Adobe Password? Here’s The Complete Guide
- How to Reset AOC Monitor? Quickly and Effectively