
Your keyboard is the single most crucial input device on your laptop. When even a few keys stop working, or worse, when the entire keyboard becomes unrespressive, your productivity grinds to a halt immediately.
Laptop keyboard problems can stem from debris lodged under keycaps, liquid spills that corrode circuitry, corrupt or outdated HID and PS/2 keyboard drivers, Windows accessibility features like Filter Keys or Sticky Keys causing typing lag, loose internal ribbon cables, or complete hardware failure requiring professional replacement.
This guide walks you through every diagnostic step, from testing your keyboard in BIOS to performing a static power drain, cleaning keys with isopropyl alcohol, reinstalling drivers in Device Manager, and determining whether your issue is software-based or requires a new keyboard module. You’ll learn practical workarounds using the On-Screen Keyboard and external USB keyboards, plus clear signals that tell you when to attempt a DIY fix versus seeking professional repair.
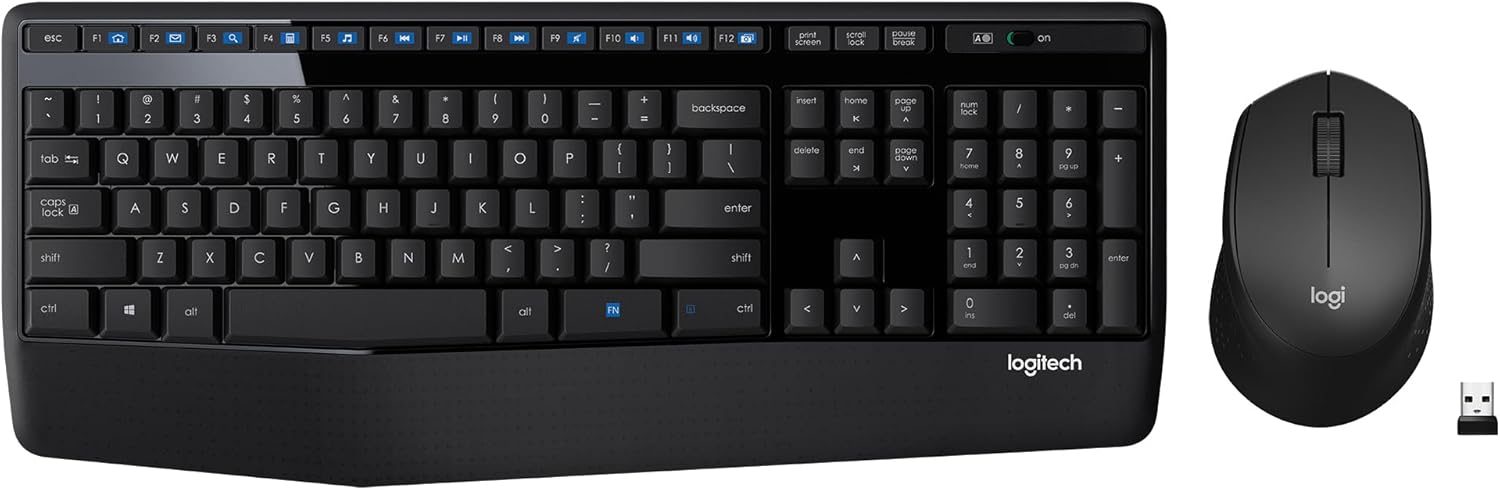
Best Wireless Keyboard and Mouse Combo
Logitech Comfortable Full-Size Keyboard with Palm Rest. Reliable 2.4GHz Wireless Connection up to 10m. Long Battery Life for Everyday Productivity.
Shop on Amazon
Key Takeaways
- A laptop keyboard problem can originate from either software issues (drivers, accessibility settings, corrupted files) or hardware damage (liquid corrosion, broken ribbon cables, failed scissor switches), requiring systematic diagnosis starting with external keyboard testing and BIOS checks.
- Test your keyboard in BIOS to isolate whether the issue is software-based or hardware-related, then disable accessibility features like Filter Keys and Sticky Keys, which commonly cause typing lag and ignored keystrokes in Windows.
- Debris, liquid spills, and stuck keys often respond to simple cleaning with compressed air and isopropyl alcohol, but white or green residue on contacts indicates irreversible corrosion that requires professional keyboard replacement.
- Reinstall or roll back keyboard drivers through Device Manager, run Windows built-in Keyboard troubleshooter, and boot into Safe Mode to identify whether third-party software (gaming utilities, RGB lighting apps) is hijacking keyboard input.
- When a laptop keyboard problem persists across BIOS, Safe Mode, and fresh drivers, the hardware is damaged and requires professional repair or replacement—investing in a reliable external mechanical keyboard is a cost-effective long-term alternative.
Identify the Symptom and Isolate the Cause
Check Power, Connections, and Wireless Pairing
If you’re using a wireless keyboard dongle or Bluetooth pairing, verify the connection first. Check the battery level indicator or swap in fresh batteries. Re-pair the device through Windows Settings > Bluetooth & devices to rule out a stale pairing profile.
For built-in laptop keyboards, confirm the laptop is receiving power. A dying battery or faulty AC adapter can cause erratic input behavior. Plug in your charger and observe whether the keyboard responds more reliably when the system is charging.
Perform a flea power reset by shutting down the laptop, disconnecting the charger, removing the battery (if removable), then holding the power button for 15–20 seconds. Reconnect power and boot normally. This discharge clears residual static that can interfere with the keyboard controller.
Test an External Keyboard and USB Ports
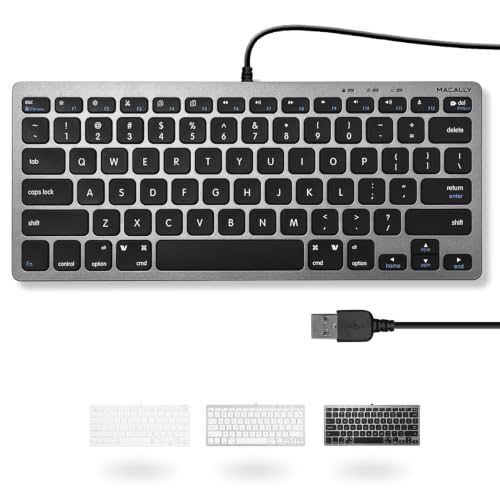
Plug in a wired USB keyboard to immediately determine whether the problem is isolated to your laptop’s built-in keyboard or affects all input devices. If the external keyboard works perfectly, you’ve confirmed the built-in keyboard is at fault.
Test multiple USB ports, including USB-A and USB-C. A failing port can mimic keyboard malfunction. If the external keyboard also fails across all ports, suspect a deeper motherboard issue or a corrupted USB controller driver.
This step saves you from unnecessary driver reinstallation or hardware disassembly when the real culprit is a damaged port or USB hub.
Determine Whether the Keyboard Works in BIOS
Restart your laptop and tap the BIOS entry key (commonly F2, Delete, F10, or Esc) during the boot logo. Once inside the BIOS or UEFI firmware interface, try typing and navigating with arrow keys. If the keyboard responds here, the hardware is functional, your issue is software-based.
BIOS testing bypasses Windows entirely, isolating driver conflicts, accessibility settings, and OS corruption. If keys fail in BIOS, you’re facing a hardware problem: damaged ribbon cable, faulty keyboard controller, or liquid corrosion.
Document which keys fail in BIOS. This information is invaluable if you proceed to professional repair or warranty claim.
Inspect for Debris, Liquid Damage, and Stuck Keys
Turn off the laptop and inspect the keyboard under bright light. Look for crumbs, dust, pet hair, or sticky residue beneath keycaps. Even a single grain of sand can jam a scissor-switch mechanism.
Gently pop off a keycap (research your laptop model’s keycap removal method to avoid breakage) and use compressed air to blow out debris. For sticky keys caused by spilled coffee or soda, dampen a lint-free cloth with 70% or higher isopropyl alcohol and clean around the affected keys.

“Spilled half a cup of water on my Dell XPS keyboard. After drying and cleaning with alcohol, only the spacebar stayed sticky, turned out the scissor clip was bent.” via r/Dell
If you detect liquid corrosion (white or green residue on contacts), the keyboard likely requires replacement. Corrosion spreads over time and cannot be fully reversed.
Apply Quick Windows and Keyboard Setting Fixes
Restart Windows and Check the Active App
Sometimes a frozen application or background process hijacks keyboard input. Close all apps and restart Windows to clear any temporary software glitches. After reboot, test typing in Notepad or a web browser search bar to confirm system-wide functionality.
If the keyboard works in some apps but not others, the issue is application-specific. Check for app updates or reinstall the problematic software.
Verify Keyboard Layout and Input Language
Windows can silently switch keyboard layouts, causing keys to output unexpected characters. Press Win + Space to cycle through installed input languages. Confirm you’re using the correct layout (e.g., US QWERTY vs. UK or International).
Go to Settings > Time & Language > Language & region and remove any unused keyboard layouts. This prevents accidental switching during gameplay or typing.
Disable Filter Keys and Accessibility Features
Filter Keys, Sticky Keys, and Toggle Keys are Windows accessibility features that alter keyboard timing and can cause typing lag, double characters, or ignored keystrokes. Navigate to Settings > Accessibility > Keyboard and toggle off:
- Sticky Keys: Allows modifier keys (Shift, Ctrl) to stay active without holding them.
- Filter Keys: Ignores brief or repeated keystrokes, designed for users with tremors.
- Toggle Keys: Plays a sound when Caps Lock or Num Lock is pressed.
Disable all three and test your keyboard immediately. Many users report instant resolution after turning off Filter Keys.
Check Keyboard Lock and Function Key Modes
Some laptops feature a Fn Lock or dedicated keyboard disable key (often Fn + F6 or Fn + Esc). If your entire keyboard is unresponsive except the power button, you may have accidentally toggled a lock mode.
Refer to your laptop manufacturer’s manual (Lenovo, HP, Dell, ASUS) to identify the correct unlock combination. Some gaming laptops include a physical switch or button to disable the keyboard during cleaning.
Use the On-Screen Keyboard While Troubleshooting
If your physical keyboard is completely dead, activate the On-Screen Keyboard (OSK) to continue diagnostics. Press Win + Ctrl + O or search “On-Screen Keyboard” in the Start menu. This software keyboard lets you click letters with your mouse or touchpad.
OSK is a temporary workaround while you troubleshoot drivers, perform updates, or wait for a replacement keyboard. It’s slower than physical typing but keeps you functional during repair.
Repair Drivers and Windows Input Services
Run Keyboard Troubleshooter
Windows includes a built-in diagnostic tool for keyboard issues. Go to Settings > System > Troubleshoot > Other troubleshooters and run the Keyboard troubleshooter. It automatically detects and repairs common driver conflicts, registry errors, and service failures.
While not a guaranteed fix, the troubleshooter often resolves issues caused by recent Windows updates or corrupted system files without manual intervention.
Reinstall or Update Keyboard Drivers
Open Device Manager (right-click Start > Device Manager) and expand Keyboards. You’ll typically see “Standard PS/2 Keyboard” or “HID Keyboard Device.” Right-click your keyboard entry and select Uninstall device. Check the box to delete driver software, then restart your laptop. Windows will automatically reinstall the default driver on boot.
If reinstalling doesn’t help, right-click the keyboard again and select Update driver > Search automatically for drivers. Windows will query Microsoft’s servers for the latest HID or PS/2 driver package.
For manufacturer-specific features (RGB backlighting, macro keys), visit your laptop maker’s support page and download the latest keyboard or chipset drivers directly. Dell, Lenovo, and HP provide dedicated driver update utilities like Dell SupportAssist or HP Support Assistant.
Roll Back a Keyboard Driver After an Update
If keyboard issues began immediately after a Windows or driver update, roll back to the previous version. In Device Manager, right-click your keyboard, select Properties > Driver tab > Roll Back Driver. This option is only available if a previous driver version is stored.
After rolling back, test the keyboard. If it works, temporarily pause Windows Update to prevent automatic driver reinstallation while you research the root cause.
Check Windows Updates and Manufacturer Software
Navigate to Settings > Windows Update and install all pending updates. Microsoft regularly patches input subsystem bugs that affect keyboard recognition and responsiveness. Restart after updates complete.
Some laptop manufacturers bundle keyboard firmware updates within BIOS or chipset packages. Check your OEM support site for the latest BIOS update and release notes mentioning keyboard fixes.
Diagnose Software Conflicts and Hardware Failure
Test in Safe Mode or a Clean Boot
Boot into Safe Mode to load Windows with minimal drivers and no third-party software. Restart your laptop, then repeatedly press F8 or Shift + F8 during boot (or use Settings > System > Recovery > Advanced startup). In Safe Mode, test the keyboard in Notepad.
If the keyboard works in Safe Mode but fails in normal mode, a background application or service is interfering. Perform a Clean Boot: open msconfig (System Configuration), go to the Services tab, check Hide all Microsoft services, then click Disable all. Restart and test. Re-enable services one by one to identify the culprit.
Common offenders include gaming macro software, RGB lighting utilities, and third-party antivirus programs that inject keyboard hooks.
“My Razer Synapse was blocking half my keystrokes after a Windows 11 update. Uninstalled it completely and the keyboard came back to life.” via r/razer
Recognize Signs of a Damaged Internal Keyboard
If your keyboard fails in BIOS, Safe Mode, and with fresh drivers, the hardware is likely damaged. Common failure indicators include:
- Entire rows or columns of keys non-functional: Suggests a broken ribbon cable trace.
- Random characters appearing without keypresses: Sign of short-circuited contacts from liquid damage.
- Physical damage: Cracked keycaps, warped keyboard deck, or visible corrosion under keys.
- Intermittent failure: Keys work when the laptop is tilted or pressed firmly, indicating a loose ribbon cable connector.
In these cases, software fixes won’t help. The keyboard membrane, scissor switches, or ribbon cable require replacement.
Know When to Seek Professional Repair or Replacement
Replacing a laptop keyboard is moderately complex. It requires disassembling the chassis, disconnecting the ribbon cable (often hidden under the motherboard), and installing a compatible replacement module. If you’re not comfortable with laptop disassembly, seek professional repair.
For out-of-warranty laptops, third-party keyboard modules cost $20–$60 on Amazon or eBay. But, installation difficulty varies by model. MacBook keyboards, for instance, often require replacing the entire top case assembly, costing $300+ at Apple.
For a permanent external solution, consider investing in a high-quality mechanical keyboard with USB-C connectivity. Brands like Keychron, Ducky, and Das Keyboard offer portable 60% or tenkeyless layouts perfect for laptop users who need reliable, tactile typing without dealing with internal hardware replacement.

Frequently Asked Questions
What are the main causes of laptop keyboard problems?
Laptop keyboard problems stem from debris under keycaps, liquid spills corroding circuitry, corrupt keyboard drivers, Windows accessibility features like Filter Keys, loose ribbon cables, or complete hardware failure. Testing in BIOS and with external keyboards helps isolate whether the issue is software-based or hardware-related.
How can I test if my laptop keyboard problem is software or hardware?
Restart your laptop and enter BIOS (F2, Delete, F10, or Esc during boot) to test keyboard functionality. If the keyboard works in BIOS, the issue is software-based. If it fails in BIOS, the hardware is damaged. Testing with an external USB keyboard also quickly identifies whether the built-in keyboard is at fault.
What Windows settings can cause keyboard lag or unresponsive keys?
Filter Keys, Sticky Keys, and Toggle Keys are accessibility features that alter keyboard timing and can cause typing lag or ignored keystrokes. Disable them via Settings > Accessibility > Keyboard. Many users report instant keyboard improvement after turning off Filter Keys.
How should I clean a sticky laptop keyboard after a liquid spill?
Turn off your laptop, gently remove affected keycaps, and use compressed air to blow out debris. For sticky residue, dampen a lint-free cloth with 70% or higher isopropyl alcohol and clean around the affected keys. However, if you see white or green corrosion on contacts, the keyboard likely requires professional replacement.
Can I fix a laptop keyboard problem by reinstalling drivers?
Yes. Open Device Manager, right-click your keyboard entry, select Uninstall device, and restart to allow Windows to reinstall default drivers. If that fails, update drivers via Device Manager or download manufacturer-specific drivers from your laptop maker’s support page for RGB or macro key features.
When should I replace my laptop keyboard instead of repairing it?
Replace your keyboard if it fails BIOS testing, shows entire rows of non-functional keys, displays random characters without keypresses, or has visible liquid corrosion. Replacement costs $20–$60 for third-party modules, though MacBooks may require $300+ top case assembly replacement at Apple. External mechanical keyboards are a permanent alternative.
Read More:
- Numbers on Keyboard Not Working? Here’s the 7 Proven Fixes
- Laptop Keyboard Not Working (Complete Fix Guide for All Brands)
- Laptop Keyboard One Key Not Working (Here’s How to Fix It in Minutes)
- Letters Keyboard Not Working? 7 Proven Fixes to Get You Typing Again
- Some Laptop Keys Not Working? Quick Fixes That Really Work