
Your Toyota Camry’s brake lights suddenly stopped working, leaving you worried about safety violations and potential rear-end collisions during your daily commute.
Toyota Camry brake light failures typically result from blown fuses, faulty brake light switches, burned-out bulbs, or damaged wiring connections. Most issues can be resolved by checking the 15-amp brake light fuse, inspecting bulbs for burnout, or replacing the brake light switch located under the dashboard.

Reasons They Fail
Toyota Camry brake lights experience several common failure modes that prevent proper illumination when you press the brake pedal. Understanding these root causes helps you diagnose problems systematically and implement effective solutions.
The brake light switch represents the most frequent point of failure in Camry brake light systems. This small component, located under the dashboard near the brake pedal, sends electrical signals to illuminate brake lights when you apply the brakes.
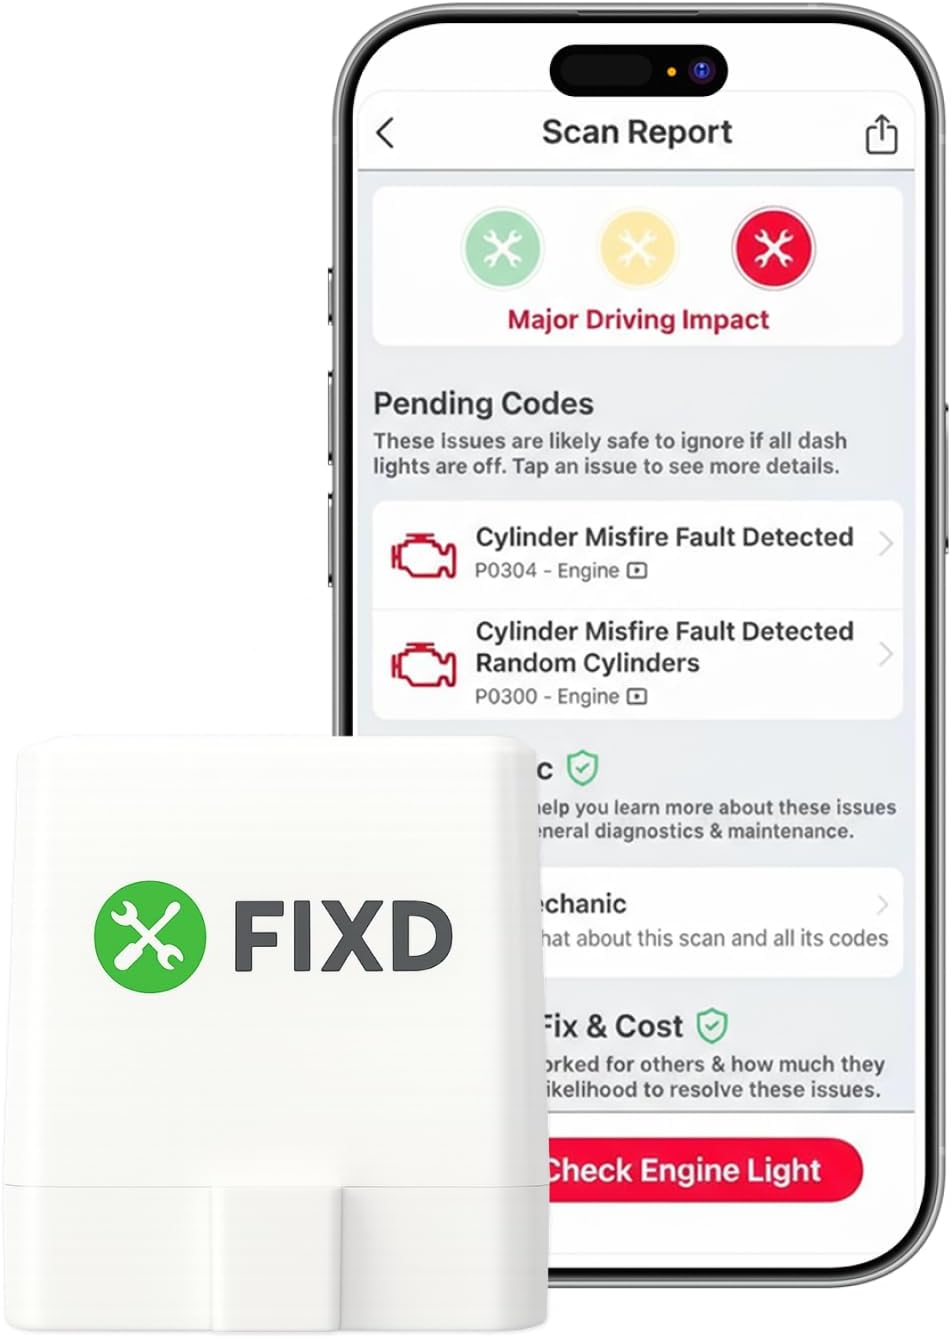
Best Bluetooth OBD2 Scanner
Detect 39,000+ Issues With Enhanced Codes. Save $1000s on car repairs & buying used vehicles by diagnosing problems yourself.
Shop on AmazonElectrical fuses protect brake light circuits from power surges and overloads. The 15-amp “STOP” fuse in your Camry’s passenger compartment fuse box controls brake light operation. When this fuse blows, all brake lights stop functioning simultaneously.
“Most likely the brake light switch is bad. Up under the dash next to the top of the brake pedal is where its at.”
Automotive Technician Advice
Brake light bulbs burn out naturally over time due to repeated heating and cooling cycles. Standard incandescent bulbs typically last 1,000-2,000 hours of operation before filament failure occurs.
Wiring harness deterioration affects brake light operation, particularly in the trunk area where wires flex repeatedly during normal use. Corroded connections and damaged insulation create electrical resistance that prevents proper current flow.
Fuse Location
The brake light fuse in Toyota Camry vehicles is located in the passenger compartment fuse box, positioned to the left of the steering wheel behind a removable cover panel.
Access the fuse box by opening the small panel cover located above the hood release lever. The fuse diagram on the inside of the cover identifies each fuse position and corresponding electrical circuit.
Look for the “STOP” fuse, typically positioned as fuse #22 with a 15-amp rating in most Camry model years. However, fuse locations may vary between different generations, so always consult your specific owner’s manual for accurate positioning.
Fuse inspection checklist:
- Remove fuse using the plastic fuse puller tool
- Examine the metal strip inside the transparent housing
- Look for breaks, burns, or melted areas in the metal element
- Test with a multimeter if visual inspection is inconclusive
- Replace only with identical 15-amp fuses
The JustAnswer Toyota troubleshooting guide provides detailed fuse location diagrams for various Camry model years.
Professional-grade fuse testing tools eliminate guesswork in fuse diagnosis. Many blown fuses appear normal visually but have internal failures that require electrical testing to detect properly.
Switch Problems
The brake light switch in Toyota Camry vehicles controls electrical power distribution to all brake lights through a pedal-activated mechanism. This critical component experiences wear from millions of brake applications over the vehicle’s lifetime.
Switch failure symptoms include complete brake light failure, intermittent operation, or brake lights that remain illuminated continuously. These conditions create safety hazards and may result in traffic citations for non-functioning brake lights.
Location identification requires accessing the area under the dashboard near the brake pedal assembly. The switch mounts directly to the brake pedal bracket and connects through a wiring harness with multiple colored wires.
Testing procedures involve disconnecting the switch connector and checking for continuity across the switch terminals. A functional switch shows continuity when the brake pedal is depressed and open circuit when released.
Replacement requires basic hand tools and typically takes 15-30 minutes for experienced DIY mechanics. The Beck Arnley Brake Light Switch provides OEM-quality replacement components with proper electrical specifications.
“The brake light switch which is operated by the driver’s brake pedal is OK.”
iFixit Technical Guide
Installation involves threading the new switch into the mounting bracket and adjusting the position for proper pedal engagement. Incorrect adjustment causes premature switch failure or improper brake light timing.
Bulb Replacement
Toyota Camry brake light bulb replacement requires accessing the taillight assemblies from inside the trunk compartment. Different model years use varying bulb types and socket configurations.
Begin by opening the trunk and locating the carpet-covered access panels behind each taillight assembly. Remove the fasteners or clips securing these panels to expose the bulb sockets and wiring harnesses.
Common Camry brake light bulb types include 7443, 3157, and LED modules depending on your vehicle’s model year and trim level. Always verify the correct bulb type before purchasing replacements to ensure proper fit and function.
Bulb replacement procedure:
- Turn off vehicle and engage parking brake
- Open trunk and remove access panel covers
- Locate brake light socket (usually red or amber colored)
- Twist socket counterclockwise to remove from housing
- Pull bulb straight out from socket base
- Insert new bulb and reinstall socket assembly
Socket corrosion frequently prevents proper electrical contact between bulbs and wiring harnesses. Clean corroded contacts using electrical contact cleaner and fine sandpaper before installing new bulbs.
LED conversion bulbs offer extended lifespan and reduced power consumption compared to traditional incandescent bulbs. However, some LED replacements cause hyperflashing or error codes in certain Camry model years.
| Model Year | Bulb Type | Socket Color | Replacement Cost |
|---|---|---|---|
| 2007-2011 | 7443 | Red | $5-10 |
| 2012-2017 | 7443 | Red | $5-10 |
| 2018-2024 | LED Module | N/A | $25-50 |
Professional bulb installation services charge $20-40 labor costs but include proper testing and warranty coverage. DIY replacement saves money but requires basic mechanical skills and appropriate tools.
Wiring Issues
Brake light wiring problems in Toyota Camry vehicles typically develop in high-stress areas where wires experience repeated flexing or environmental exposure. The trunk wiring harness represents the most vulnerable location for wire damage.
Diagnostic procedures begin with visual inspection of all visible wiring connections, looking for obvious damage, corrosion, or loose connections. Use a flashlight to examine wire routing through the trunk hinge area where flexing occurs.
Multimeter testing identifies specific circuit failures by measuring voltage and continuity at various points in the brake light system. Start testing at the fuse box and work toward the bulb sockets to isolate problem areas.
Common wiring failure points include the trunk hinge area, taillight socket connections, and ground wire attachment points. These locations experience the most stress and environmental exposure during normal vehicle operation.
The CarParts brake light wiring guide explains proper testing procedures and repair techniques for various wiring problems.
“If one or more brake lights aren’t working, but the other lights are operational, you can likely blame faulty bulbs, fuses, or sockets.”
CarParts Technical Team
Repair techniques vary depending on damage type and location. Simple connector cleaning resolves many corrosion-related problems, while damaged wire sections require splicing or harness replacement.
Professional wiring repair ensures proper electrical connections and prevents future failures. Improper DIY repairs often create additional problems that compromise brake light reliability and vehicle safety.
Testing Methods
Systematic brake light testing identifies specific component failures and guides effective repair strategies. Professional-grade diagnostic procedures eliminate guesswork and prevent unnecessary part replacement.
Begin testing with a visual inspection of all brake lights while an assistant operates the brake pedal. This simple test reveals which specific lights are malfunctioning and helps narrow the diagnostic focus.
Multimeter voltage testing measures electrical power at various circuit points to identify interruptions in current flow. Start at the fuse box and progress through the brake light switch, wiring harnesses, and bulb sockets.
Complete testing sequence:
- Visual brake light operation test with assistant
- Fuse continuity testing with multimeter
- Brake light switch operation verification
- Voltage measurement at bulb sockets
- Ground circuit integrity testing
- Wiring harness continuity checks
Advanced diagnostic tools include automotive scan tools that monitor brake light switch signals and identify system malfunctions. These tools access vehicle computer systems for comprehensive electrical system analysis.
Test light probes provide quick voltage verification without complex multimeter operations. Simply connect the probe to suspected circuits and observe the light indicator for power presence.
Circuit testing requires understanding basic electrical principles and proper tool usage. Incorrect testing procedures can damage vehicle electrical systems or create safety hazards for the technician.
Professional Help
Complex brake light problems may require professional diagnosis and repair when DIY methods fail to restore proper operation. Automotive technicians have specialized equipment and training for advanced electrical troubleshooting.
Dealership service departments provide manufacturer-specific expertise and access to technical service bulletins addressing known brake light issues. They use factory diagnostic equipment and genuine Toyota replacement parts.
Independent automotive shops offer competitive pricing and personalized service for brake light repairs. Many shops specialize in electrical system diagnosis and provide warranty coverage for completed work.
Mobile automotive services bring professional expertise directly to your location, providing convenience for busy schedules. These services typically handle routine brake light repairs and basic electrical diagnostics.
Warranty coverage may apply to brake light system failures, particularly for vehicles under manufacturer warranty or extended service contracts. Contact Toyota customer service to verify coverage before authorizing repairs.
Cost considerations include diagnostic fees, parts costs, and labor charges that vary significantly between service providers. Obtain written estimates before authorizing expensive repair work to avoid unexpected charges.
Video Credit: Lehew / YouTube
Prevention Tips
Regular brake light maintenance prevents unexpected failures and ensures continued vehicle safety. Implementing simple inspection routines identifies potential problems before they cause complete system breakdowns.
Monthly brake light functionality checks should include testing all brake lights with an assistant or using reflective surfaces to verify operation. This simple procedure catches failures early when they’re easier and less expensive to repair.
Socket cleaning removes corrosion buildup that interferes with electrical connections between bulbs and wiring harnesses. Use electrical contact cleaner and fine sandpaper to maintain clean, tight connections.
Quality replacement parts extend brake light system reliability compared to cheap aftermarket alternatives. The Duralast Brake Light Switch provides OEM-equivalent performance with proper electrical specifications.
Environmental protection involves keeping trunk areas clean and dry to prevent moisture infiltration into electrical connections. Water intrusion accelerates corrosion and creates intermittent electrical problems.
“All my brake lights went out at the same time. I researched and ended up replacing the yellow box, brake light relay or sensor that is in the trunk. It worked!”
Toyota Nation Forum User
Professional inspection services identify developing problems before they cause roadside breakdowns. Annual electrical system checks catch worn components and deteriorating connections early.
Frequently Asked Questions
Why does only one brake light work on my Toyota Camry?
Single brake light failures typically indicate bulb burnout or socket problems rather than electrical system issues. Start by removing the non-working bulb and inspecting the filament for breaks or darkening that indicates failure. Check the socket for corrosion, debris, or damaged contacts that prevent proper electrical connection.
Socket corrosion creates high electrical resistance that prevents adequate current flow to illuminate the bulb properly. Clean corroded contacts using electrical contact cleaner and fine sandpaper to restore proper conductivity. Apply dielectric grease to prevent future corrosion buildup.
If the bulb and socket appear normal, test for voltage at the socket using a multimeter or test light. Absence of voltage indicates wiring problems in the circuit feeding that specific brake light, requiring professional diagnosis to locate the interruption.
How much does Toyota Camry brake light repair typically cost?
Simple brake light bulb replacement costs $5-15 for DIY repairs, including the cost of replacement bulbs. Professional installation adds $20-40 in labor charges but includes proper testing and warranty coverage for the work performed.
Brake light switch replacement ranges from $15-50 for the part plus $50-100 in labor for professional installation. Switch replacement requires accessing cramped areas under the dashboard and proper adjustment for correct operation.
Complex wiring repairs can cost $100-300 depending on the extent of damage and accessibility of the problem area. Trunk wiring harness replacement represents the most expensive repair due to the labor-intensive nature of the work required.
Can I drive my Toyota Camry with broken brake lights?
Driving with non-functional brake lights creates serious safety hazards and legal liability issues. Other drivers cannot see your braking intentions, significantly increasing rear-end collision risks. Most states impose fines ranging from $25-200 for brake light violations.
Temporary repairs using reflective tape or emergency flashers do not provide adequate warning to following traffic. These makeshift solutions may help avoid citations but don’t address the underlying safety concerns created by brake light failures.
Emergency situations requiring driving with failed brake lights should involve extreme caution, reduced speeds, and increased following distances. Schedule immediate repairs to restore proper brake light function and vehicle safety compliance.
Where is the brake light relay located in a Toyota Camry?
Most Toyota Camry models do not use brake light relays, instead controlling brake lights directly through the brake light switch and fusing. However, some model years and trim levels may include relays in the engine bay fuse box or junction box locations.
Check your owner’s manual for relay locations specific to your model year, as configurations vary between different Camry generations. The engine bay fuse box typically contains high-current relays, while smaller relays may be located in interior junction boxes.
If your Camry uses brake light relays, they’re usually labeled clearly in the fuse box diagram. Relay testing requires swapping with a known good relay of the same type or using specialized relay testing equipment available at automotive supply stores.
How often should I replace Toyota Camry brake light bulbs?
Standard incandescent brake light bulbs typically last 1-2 years under normal driving conditions, depending on usage frequency and environmental factors. City driving with frequent braking reduces bulb life compared to highway driving with less brake application.
LED brake light systems last significantly longer, often 5-10 years before requiring replacement. However, LED systems may require complete module replacement rather than simple bulb changes, increasing replacement costs but reducing maintenance frequency.
Preventive bulb replacement involves changing bulbs before complete failure occurs, typically when light output dims noticeably or the filament appears darkened. This proactive approach prevents unexpected roadside failures and maintains consistent brake light brightness for maximum safety.
Sources:
Read More:
- Toyota Camry Screen Not Working? Simple Fixes That Work
- Toyota Camry Bluetooth Not Working (Proven Solutions That Work)
- Toyota Camry Radio Not Working? Here’s Your Complete Fix Guide