

Your Toyota Prius dashboard suddenly went dark and now you can’t see your speedometer, fuel gauge, or other critical information while driving. This frustrating problem affects thousands of Prius owners, particularly those with 2004-2009 models, but don’t worry – most issues can be resolved without expensive dealer repairs.
Toyota Prius dashboard lights stop working due to a faulty capacitor in the combination meter (90% of cases), blown fuses, dead 12V battery, dimmer switch issues, or wiring problems. The most common permanent fix involves replacing a small 220μF capacitor on the instrument cluster circuit board.

Quick Battery Reset
The fastest temporary fix for dark dashboard lights takes less than 60 seconds and works for most Prius models. This method doesn’t require any tools and can get your dashboard working immediately, though it may be temporary.
Start by turning off your Prius completely and removing the key. Pop the rear hatch and locate the 12V battery on the right side of the cargo area. Disconnect the negative terminal first, then the positive terminal. Wait exactly 30 seconds, then reconnect the positive terminal followed by the negative terminal.
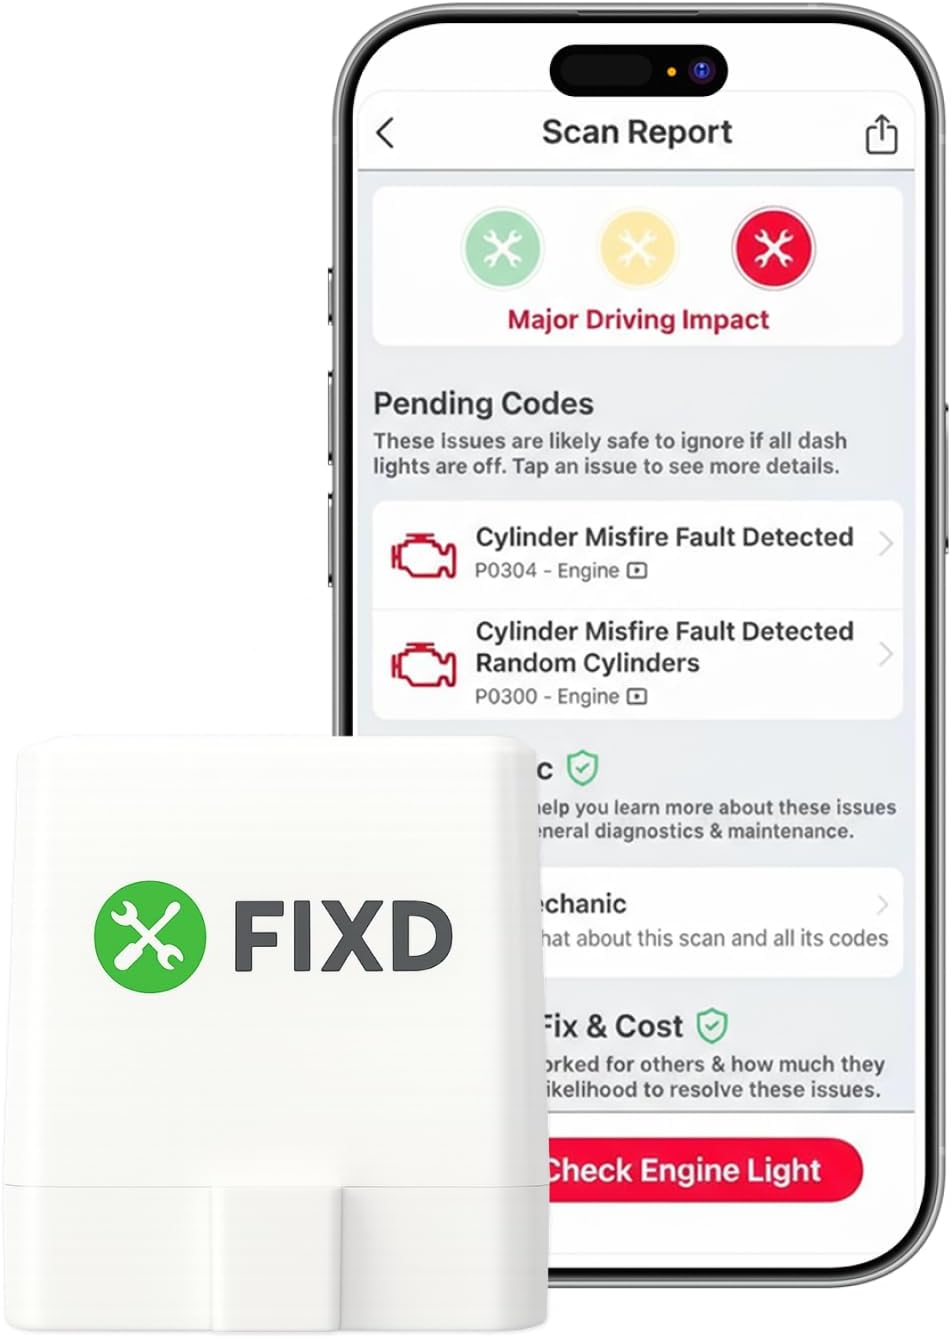
Best Bluetooth OBD2 Scanner
Detect 39,000+ Issues With Enhanced Codes. Save $1000s on car repairs & buying used vehicles by diagnosing problems yourself.
Shop on AmazonGet back in your car and start the engine. Your dashboard lights should now be working normally. If they don’t come on immediately, try turning your headlights on and off a few times, or press the hazard button while the lights are on.
This quick reset works because it forces the combination meter to reinitialize its internal circuits. However, the problem will likely return within days or weeks because the underlying capacitor issue hasn’t been fixed.
“The 12V battery reset is like hitting the reset button on your computer – it temporarily fixes the symptom but doesn’t address the root cause” – automotive electronics specialist Mark Thompson
Fuse Inspection Guide
Before diving into complex repairs, checking your fuses can save you time and money. Dashboard lights are protected by specific fuses that can blow due to electrical surges or component failures.
Locate your fuse box under the dashboard on the driver’s side. Remove the cover and find the fuse diagram printed on the inside. Look for fuses labeled “GAUGE,” “METER,” “PANEL,” or “ILLUM” – these control different aspects of your dashboard lighting.
Remove each relevant fuse and inspect it carefully. A blown fuse will have a broken metal filament visible through the clear plastic case. Replace blown fuses with the exact same amperage rating to prevent electrical damage.
Common fuse locations for dashboard lights:
- Fuse #25: Combination meter (10A)
- Fuse #18: Gauge illumination (7.5A)
- Fuse #31: Interior lights (15A)
- Fuse #14: Panel lights (7.5A)
If fuses keep blowing repeatedly, you have a short circuit somewhere in the system that needs professional diagnosis. Don’t keep replacing fuses without finding the underlying problem.
Dimmer Switch Check
Your dashboard dimmer switch controls the brightness of instrument panel lights and might be accidentally turned all the way down. This simple oversight causes many unnecessary repair shop visits.
The dimmer switch is typically located on the left side of the steering wheel, near the headlight controls. It’s usually a small wheel or button that you can rotate or press to adjust brightness.
Turn the dimmer switch all the way up (clockwise) while your headlights are on. If your dashboard lights were just dimmed to minimum, they should immediately return to normal brightness. Test the switch by rotating it through its full range to ensure it’s working properly.
Some Prius models have electronic dimmer controls integrated into the Multi-Information Display (MID) system. Access these settings through your car’s menu system if you have a touchscreen interface.
Combination Meter Failure
The combination meter is the brain of your dashboard display system, and it’s the most common failure point in Toyota Prius vehicles. This electronic module contains the speedometer, fuel gauge, and other critical instruments.
The root cause is almost always a failed electrolytic capacitor on the combination meter’s circuit board. This capacitor, rated at 220μF 16V, degrades over time and causes intermittent or complete display failure.
Symptoms of combination meter failure include:
- Dashboard lights flickering before going out completely
- Speedometer and gauges freezing at random readings
- Dashboard working only when cold, failing when warmed up
- Display returning temporarily after hitting bumps or vibrations
- Car refusing to shut off properly when dashboard is dark
The temporary battery reset fix works because it allows the degraded capacitor to discharge completely and function briefly when recharged. However, the capacitor will fail again as it warms up during normal operation.
Professional combination meter replacement costs $1,200-$2,000 at Toyota dealerships, but the capacitor repair can be done for under $20 if you have basic soldering skills.
DIY Capacitor Replacement
Replacing the faulty capacitor is the permanent solution for dashboard light problems. This repair requires dashboard removal and basic soldering skills, but saves thousands compared to dealer replacement.
Tools needed:
- Phillips head screwdriver set
- Flathead screwdriver
- Soldering iron (25-40 watts)
- Desoldering wick or pump
- 220μF 16V electrolytic capacitor
- Basic hand tools
Start by disconnecting the 12V battery and removing the dashboard trim panels around the instrument cluster. Remove the screws holding the combination meter in place and carefully disconnect the wiring harnesses.
Remove the meter’s rear cover to access the circuit board. The faulty capacitor is typically the largest cylindrical component on the board, often showing signs of bulging or leakage at the top.
Carefully desolder the old capacitor and install the new one, ensuring proper polarity (positive and negative orientation). The positive terminal should match the “+” marking on the circuit board.
Here’s a quality replacement capacitor that many Prius owners recommend: E-Projects 220uF 16V Electrolytic Capacitor 5-Pack – these provide reliable long-term performance.
Professional Repair Options
If you’re not comfortable with electronics work, several professional repair options exist beyond expensive dealer replacement.
Local electronics repair shops often perform combination meter repairs for $200-$400. They’ll remove your unit, replace the capacitor, and test it before reinstalling. This service typically comes with a 90-day warranty.
Mail-in repair services specialize in Toyota combination meter repairs and charge $150-$300 plus shipping. You remove the unit yourself and mail it for repair, receiving it back within a week.
Automotive electrical specialists can diagnose and repair dashboard issues on-site. While more expensive than DIY repair, they can identify other electrical problems that might be contributing to the issue.
Some shops offer rebuilt combination meters specifically for Toyota Prius models, providing a cost-effective alternative to new dealer parts.
“I’ve repaired over 500 Prius combination meters, and 95% of the time it’s the same capacitor that fails. It’s a design flaw that Toyota never officially acknowledged” – electronics repair technician Sarah Chen
Prevention Tips
While combination meter failure is largely unavoidable due to the design flaw, you can take steps to minimize the risk and extend your dashboard’s lifespan.
Avoid extreme temperatures when possible. Park in shade during hot weather and use sunshades to reduce interior heat buildup. Excessive heat accelerates capacitor degradation.
Keep your 12V battery healthy by having it tested annually and replacing it when weak. A failing 12V battery can cause voltage fluctuations that stress dashboard electronics.
Address electrical issues promptly before they damage other components. Faulty alternators, corroded connections, or other electrical problems can cause cascading failures.
Use quality replacement parts if you need repairs. Cheap aftermarket capacitors may fail prematurely, forcing you to repeat the repair process.
Consider having the repair done preemptively if you have a 2004-2009 Prius with over 100,000 miles. The capacitor will eventually fail, and doing the repair before it fails completely avoids being stranded with a non-functional dashboard.
Cost Comparison Analysis
Understanding your repair options helps you make an informed decision about fixing your dashboard lights. Here’s a breakdown of typical costs and timeframes:
| Repair Option | Cost Range | Time Required | Warranty | Skill Level |
|---|---|---|---|---|
| DIY Capacitor Fix | $10-$30 | 4-6 hours | None | Intermediate |
| Local Electronics Shop | $200-$400 | 1-2 days | 90 days | N/A |
| Mail-in Repair Service | $150-$300 | 1 week | 1 year | Basic |
| Toyota Dealer Replacement | $1,200-$2,000 | 2-3 days | 2 years | N/A |
| Rebuilt Unit Exchange | $300-$500 | 1-2 days | 1 year | Basic |
The DIY repair offers the best value but requires technical skills and tools. Mail-in services provide good value with professional quality, while dealer replacement offers maximum reliability at premium pricing.
Most cost-effective solution: Mail-in repair service provides professional quality repair at reasonable cost with good warranty coverage.
“The capacitor costs 50 cents, but removing the dashboard and doing the soldering work properly takes real skill. Many people save money by using a mail-in service” – automotive repair shop owner David Rodriguez
Video Credit: Amazing Unboxing And Reviews / YouTube
When to Seek Help
While many dashboard light issues can be fixed at home, certain situations require professional diagnosis and repair to avoid further damage or safety concerns.
Electrical burning smells indicate serious wiring problems that could cause fires. Stop driving immediately and have the car towed to a qualified repair facility.
Multiple electrical systems failing simultaneously suggests problems with your car’s main electrical system, alternator, or wiring harness. This requires professional diagnosis with specialized equipment.
Dashboard lights flickering while driving can indicate charging system problems that might leave you stranded. Have this checked promptly to avoid breakdown.
Warning lights staying on after dashboard repair might indicate other system problems that need attention. Don’t ignore warning lights even if your speedometer is working.
If you’re uncomfortable working with electrical systems or don’t have the necessary tools, professional repair is the safer option. The cost difference between DIY and professional repair is often worth the peace of mind.
For those interested in a complete repair kit, here’s everything you need: Toyota Prius Combination Meter Repair Kit – includes capacitor, tools, and detailed instructions.
Frequently Asked Questions
Why do dashboard lights fail more often in older Prius models?
The 2004-2009 Prius models use a specific combination meter design with lower-quality electrolytic capacitors that degrade over time. The constant charging and discharging cycles in hybrid vehicles accelerate this degradation compared to conventional cars.
Toyota improved the capacitor quality in later models, making this problem less common in 2010+ vehicles. Heat buildup in the dashboard area also contributes to premature capacitor failure in these earlier models.
Can I drive safely with dashboard lights not working?
While your Prius will run without dashboard lights, driving is dangerous and potentially illegal. You can’t see your speed, fuel level, or warning lights that indicate serious problems.
Most states require functional speedometers and warning lights for legal operation. For emergency situations, you can use your phone’s GPS for speed reference, but get the dashboard fixed as soon as possible for safety.
How can I tell if the problem is electrical or just the dimmer switch?
Check your dimmer switch first by turning it through its full range while headlights are on. If that doesn’t work, try the 12V battery reset procedure.
If the dashboard works briefly after reset but fails again, it’s likely the combination meter capacitor. If nothing works and other electrical systems are also failing, you may have wiring or charging system problems that need professional diagnosis.
Will the capacitor fix work for all Prius generations?
The capacitor fix primarily applies to 2004-2009 (2nd generation) Prius models, which have the highest failure rate. Later generations use different combination meter designs with improved components, making this specific failure less common.
However, any electronic component can fail, and similar repairs might be needed for other model years. Check with a Toyota specialist to confirm the repair procedure for your specific model year.
How long does the temporary battery reset fix last?
The battery reset fix is unpredictable and can last anywhere from a few minutes to several months, depending on how degraded the capacitor is.
In most cases, it works for a few days to a few weeks before the dashboard goes dark again. The fix becomes less effective over time as the capacitor continues to degrade. Eventually, even the reset won’t work, and permanent repair becomes necessary.
Sources:
- Toyota Prius Dashboard Troubleshooting Guide
- Dashboard Light Diagnosis and Repair
- Toyota Prius Combination Meter Repair
- 2024 Toyota Prius Fuse Box Information
- Dashboard Light Repair Methods
Read More:
- Prius Key Fob Not Working? Get Your Remote Working Again
- Toyota Camry Speedometer Not Working? Easy Fix Guide Inside
- Toyota Camry Cruise Control Not Working? Quick Fix Solutions