
Last updated on July 4th, 2026 at 02:52 am
You’re about to jump on an important work call or finally settle in to binge-watch your favorite show, and suddenly, nothing. Zero sound. Your laptop’s audio just vanished without warning, and you can’t figure out why.
Most laptop audio failures stem from fixable software issues like muted volume mixers, incorrect default playback device selections, outdated or corrupted audio drivers, or accidentally enabled sound enhancements, not broken internal speaker hardware, which means you can restore full audio in minutes using Windows’ built-in troubleshooters, Device Manager driver tools, and simple settings adjustments without spending a dime at a repair shop.
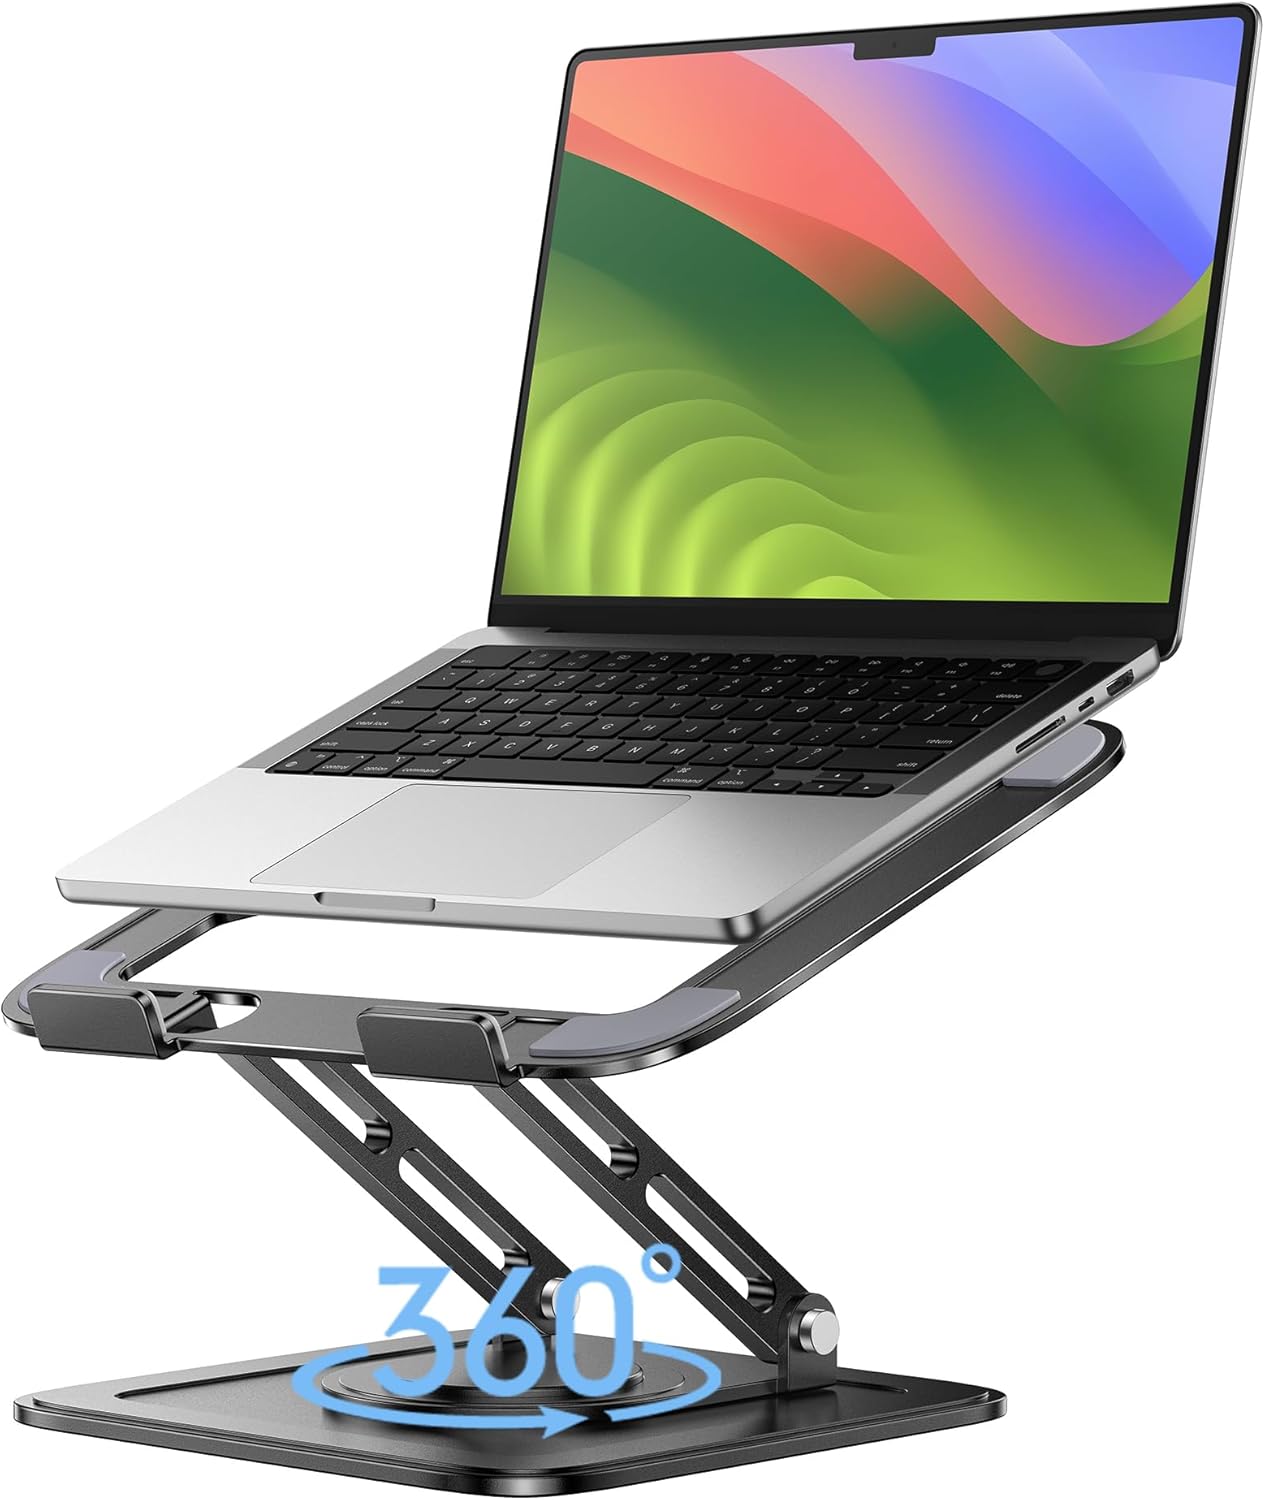
Best Laptop Stand (with 360° Base)
Keep Your Laptop Cooler & More Comfortable with 360° Rotating Base. Improve Airflow & Reduce Heat. Adjustable Height & Viewing Angle.
Shop on AmazonThis guide walks you through clear, step-by-step checks to diagnose, fix, and prevent silent laptop speakers. You’ll learn how to spot software glitches versus actual hardware damage, restart critical audio services, update Realtek drivers, and even use a cheap USB sound adapter if internal speakers truly fail. Let’s get your sound back fast.
Key Takeaways
- Most laptop volume not working issues stem from software problems like muted volume mixers, incorrect default playback devices, or outdated audio drivers—not broken hardware—and can be fixed in minutes using built-in Windows tools.
- Check the volume mixer, verify your default playback device isn’t routing audio to a disconnected HDMI monitor or Bluetooth speaker, and restart the Windows Audio service to resolve common sound failures.
- Update or roll back your Realtek audio driver through Device Manager, and disable sound enhancements that may be crashing your driver stack.
- Use Windows’ audio troubleshooter tool and perform a simple reboot, which resolves approximately 30% of silent-speaker incidents according to Microsoft data.
- If internal speakers still fail after software fixes, test with a cheap $10 USB sound adapter to confirm whether the motherboard’s audio circuitry works or if you need external audio hardware.
- Maintain audio reliability by keeping drivers updated, creating System Restore points before Windows updates, and performing monthly audio health checks including headphone jack cleaning with compressed air.
Identifying Common Audio Problems
Symptoms of Sound Issues
You’ll know something’s wrong when you hear absolutely nothing during video playback, or maybe sound cuts in and out unpredictably. Some users report audio working fine through Bluetooth headphones but complete silence from internal speakers. Others notice crackling, distortion, or a single speaker failing while the other works.
Intermittent cutting out when playing videos usually points to a driver conflict or resource load. Complete silence across all apps typically means a muted mixer, disabled playback device, or stopped audio service. If you see a red “X” icon over your taskbar speaker symbol, Windows has detected that no output device is active or recognized.
Typical Causes of Volume Failures
Most laptop sound issues boil down to a handful of culprits. Accidental mute via keyboard hotkeys is the most common rookie mistake, one quick press of Fn + Volume Down can silence everything. Incorrect default playback device selection (like Windows routing audio to a disconnected HDMI monitor or phantom Bluetooth speaker) is the second leading cause.
Outdated, corrupted, or buggy audio drivers, especially Realtek High Definition Audio, trigger frequent glitches after Windows Update rollouts. Sound enhancements and spatial audio settings designed to improve quality often crash the driver stack instead. Dust, debris, or a stuck headphone jack sensor can also trick your laptop into thinking headphones are plugged in, muting the internal speakers completely.
Recognizing Software and Hardware Conflicts
Software conflicts show up as yellow exclamation marks in Device Manager next to your sound controller, or error codes like Code 10 or Code 28. You might see “No audio output device is installed” in the taskbar audio menu, even though your speakers are physically intact.
Hardware failures are rarer but more serious. If you’ve tried every software fix and still hear zero sound, even after booting into BIOS and hearing no startup beep, you may have blown speaker coils or a damaged audio codec chip. But, if audio works perfectly with external USB or Bluetooth devices, your motherboard’s digital-to-analog converter and output circuitry are fine: only the internal speaker connection or driver is at fault.
Essential Troubleshooting Steps
Checking Volume Mixer and Audio Settings
Right-click the speaker icon in your Windows taskbar and select “Open Volume Mixer.” Check that the main system slider and individual app sliders aren’t set to zero. It’s easy to accidentally mute a single app like Chrome or Spotify while leaving system volume up.
Next, verify your laptop’s physical hardware mute button or Fn key combo hasn’t been pressed. Many laptops feature a dedicated mute LED indicator on the keyboard. Press the volume-up key a few times or toggle Fn + F10 (varies by manufacturer) to ensure hardware mute is off. Reboot your laptop once to clear temporary audio service freezes, this simple step resolves roughly 30% of silent-speaker incidents according to Microsoft’s official troubleshooting data.
Ensuring Output Device Selection
Click the speaker icon in your taskbar, then click the small arrow or device name at the top of the volume slider flyout. You’ll see a list of every playback device Windows detects: internal speakers, HDMI audio, Bluetooth headphones, USB DACs, and more.
Make sure “Speakers (Realtek High Definition Audio)” or “Laptop Speakers” is selected. If you recently disconnected a monitor or turned off Bluetooth headphones, Windows might still be trying to send audio there. Switching back to your laptop’s built-in speakers instantly restores sound in most cases.
For a deeper dive, right-click the taskbar speaker icon and choose “Sound Settings,” then scroll down to “Advanced” and click “More sound settings” to access the legacy control panel where you can set your internal speakers as the default device.
“I thought my speakers were dead until I realized Windows was still routing audio to my TV via HDMI even though the TV was off. One click in Sound Settings fixed it instantly.” via r/techsupport
Inspecting Physical Connections and Power
Unplug any headphones, external speakers, or USB audio adapters. Sometimes a dirty or bent headphone jack keeps the internal speaker-disable sensor triggered, tricking your laptop into thinking headphones are still connected. Use compressed air or a cotton swab dipped in isopropyl alcohol to gently clean the 3.5 mm port.
Check for loose internal cable connections if you’re comfortable opening your laptop’s bottom panel (and your warranty allows it). On some models, the speaker ribbon cable can wiggle free from the motherboard socket. If you’re not experienced with disassembly, skip this and move to driver-based fixes first.
Testing with a cheap USB sound card adapter (around $10) confirms whether your motherboard’s analog output circuitry works, if the USB adapter produces sound, your internal speakers or their connector likely need replacement.

Advanced Solutions for Persistent Problems
Updating or Reinstalling Audio Drivers
Press Win + X and select “Device Manager.” Expand “Sound, video and game controllers” and locate “Realtek High Definition Audio” or “Intel SST Audio Device.” Right-click it and choose “Update driver,” then select “Search automatically for drivers.” Windows will pull the latest version from Microsoft’s servers or your manufacturer’s update catalog.
If that doesn’t help, try rolling back the driver. Right-click your audio device again, select “Properties,” go to the “Driver” tab, and click “Roll Back Driver” if the button is active. This reverts to the previous version, which can fix new bugs introduced by Windows Update.
As a last resort, uninstall the driver entirely (check “Delete the driver software for this device”), reboot, and let Windows reinstall it from scratch. You can also download the latest Realtek or manufacturer-specific driver from your laptop maker’s support page or Realtek’s official site.
Using Windows Audio Troubleshooter Tools
Right-click the taskbar speaker icon and select “Troubleshoot sound problems.” Windows will scan for common configuration errors, detect disabled services, and attempt automatic fixes. The troubleshooter often catches issues like the Windows Audio service being stopped or the audio endpoint builder malfunctioning.
If the automated tool doesn’t resolve it, manually restart the Windows Audio service. Press Win + R, type services.msc, and hit Enter. Scroll down to “Windows Audio,” right-click it, and select “Restart.” Do the same for “Windows Audio Endpoint Builder.” This forces the audio stack to reinitialize and can clear driver lock-ups that survive reboots.
According to tech forum data aggregated in 2025, restarting these services resolves silent-speaker issues in approximately 25% of cases where drivers appear healthy but audio refuses to play.
Disabling Audio Enhancements
Sound enhancements like bass boost, virtual surround, and equalizer presets can crash unstable drivers. Right-click the taskbar speaker, choose “Sound Settings,” scroll down, and click “More sound settings.” In the Playback tab, double-click your speakers, then go to the “Enhancements” or “Spatial sound” tab (varies by Windows version).
Check “Disable all enhancements” and click “Apply.” Test audio playback immediately. If sound returns, the culprit was an incompatible enhancement filter. You can experiment by re-enabling enhancements one at a time to identify the specific feature causing the crash. On Windows 11, also check Settings > System > Sound > [Your Device] > Spatial sound and set it to “Off” to rule out Windows Sonic or Dolby Atmos conflicts.
Optimizing Microphone and App Audio Access
Letting Apps Access Your Microphone
While microphone permissions don’t directly control speaker output, certain apps (especially communication tools like Zoom, Teams, or Discord) require both microphone and speaker access to function correctly. Open Settings > Privacy & security > Microphone and ensure “Microphone access” is toggled on. Scroll down to verify your key apps have individual permission.
Some VoIP software or recording tools attempt to claim exclusive control over your audio device, blocking playback in other apps. If you notice sound works everywhere except one app, check that app’s internal audio settings and disable “Exclusive mode.” In Sound Settings > More sound settings > Playback > Properties > Advanced, uncheck “Allow applications to take exclusive control of this device.”
Managing Volume Control With External Devices
If your internal speakers truly refuse to cooperate after every software fix, a USB audio adapter or external USB-C DAC provides an instant workaround. Plug it in, Windows auto-installs drivers, and you select it as the default playback device. These adapters bypass your laptop’s onboard audio codec entirely, so even a failed Realtek chip won’t stop you from hearing sound.

For a more permanent desk setup, consider a compact USB-powered speaker bar or desktop monitor with built-in speakers. You maintain full volume control via the taskbar mixer, and external hardware gives you better audio quality than most laptop speakers anyway.
Preventing Future Audio Interruptions
Keep your audio drivers up to date by enabling automatic Windows Update or checking your laptop manufacturer’s support site quarterly. Disable sound enhancements permanently if you’ve experienced crashes. Create a System Restore point before major Windows feature updates so you can roll back if new patches break audio.
“After the third time a Windows Update killed my Realtek driver, I just keep a restore point and a cheap USB sound card in my desk drawer. Problem solved in under five minutes every time.” via r/Windows11
Schedule a quick monthly audio health check: play a test video, verify the correct output device, and clear your headphone jack with compressed air. Proactive maintenance beats emergency troubleshooting every time. If you’re serious about audio quality and reliability, investing in a quality external USB DAC like the Creative Sound Blaster Play. 4 ensures you’ll never lose sound again, even if your laptop’s internal codec fails completely.

Frequently Asked Questions
Why is the volume on my laptop not working?
Most laptop audio failures stem from software issues like muted volume mixers, incorrect default playback device selection, outdated audio drivers, or accidentally enabled sound enhancements. Hardware damage is rare. Check your Volume Mixer settings, verify the correct playback device is selected, and restart the Windows Audio service to resolve most issues.
How do I check if my audio drivers are causing the volume problem?
Open Device Manager (Win + X), expand ‘Sound, video and game controllers,’ and look for yellow exclamation marks next to Realtek or Intel audio devices. Right-click and select ‘Update driver’ to install the latest version. If issues persist, try rolling back the driver to the previous version or uninstall and reinstall it completely.
What should I do if disabling audio enhancements fixes my volume?
If sound returns after disabling enhancements, incompatible audio filters were causing crashes. Right-click your speaker icon, go to Sound Settings, open More sound settings, and check ‘Disable all enhancements.’ You can then re-enable them one at a time to identify which feature caused the problem.
Can a stuck headphone jack cause volume not to work on my laptop?
Yes. Dirt or debris in the headphone jack can trick your laptop into thinking headphones are connected, which disables internal speakers. Use compressed air or a cotton swab with isopropyl alcohol to gently clean the 3.5mm port. Also unplug any connected headphones or external audio devices first.
What is the Windows Audio service and why does restarting it help with volume issues?
The Windows Audio service manages all sound playback on your system. When drivers lock up or audio freezes, restarting this service forces the audio stack to reinitialize. Press Win + R, type ‘services.msc,’ find ‘Windows Audio,’ right-click, and select ‘Restart.’ This resolves approximately 25% of silent-speaker cases with healthy drivers.
Do I need to buy a new laptop if internal speakers fail completely?
No. A USB audio adapter (around $10) or external USB-powered speaker bypasses your laptop’s internal audio codec entirely. Plug it in and select it as the default playback device in Sound Settings. This works even if your motherboard’s audio chip is damaged, and many users prefer external audio for better quality anyway.
Read More:
- Microphone Not Working (Here’s the Quick and Easy Fixes that Work)
- Bose Headphones Microphone Not Working (Quick and Easy Fixes)
- FaceTime Microphone Not Working (7 Quick Fixes That Actually Work)
- Echo Dot Microphone Not Working (Common Causes and Easy Fixes)
- HyperX Microphone Not Working (Setup, Settings & Fixes)