
You’re typing an urgent email, and suddenly, nothing. Several keys just refuse to respond. It’s not the whole keyboard: just that frustrating cluster of letters, the number row, or maybe your function keys have gone completely silent.
When laptop keyboard certain keys not working, the cause is usually physical debris trapped under keycaps, corrupted or outdated keyboard drivers, incorrect input language settings, enabled accessibility features like Filter Keys, or a failing keyboard matrix circuit trace, isolating the root cause through systematic cleaning, driver reinstallation, online keyboard testing, settings audits, and internal ribbon cable inspection determines whether you need a simple software fix or full keyboard replacement.
This guide walks you through high-yield diagnostics and fixes that help you quickly separate simple software glitches from genuine hardware failures, so you can restore every key, or know exactly when to call in professional repair.
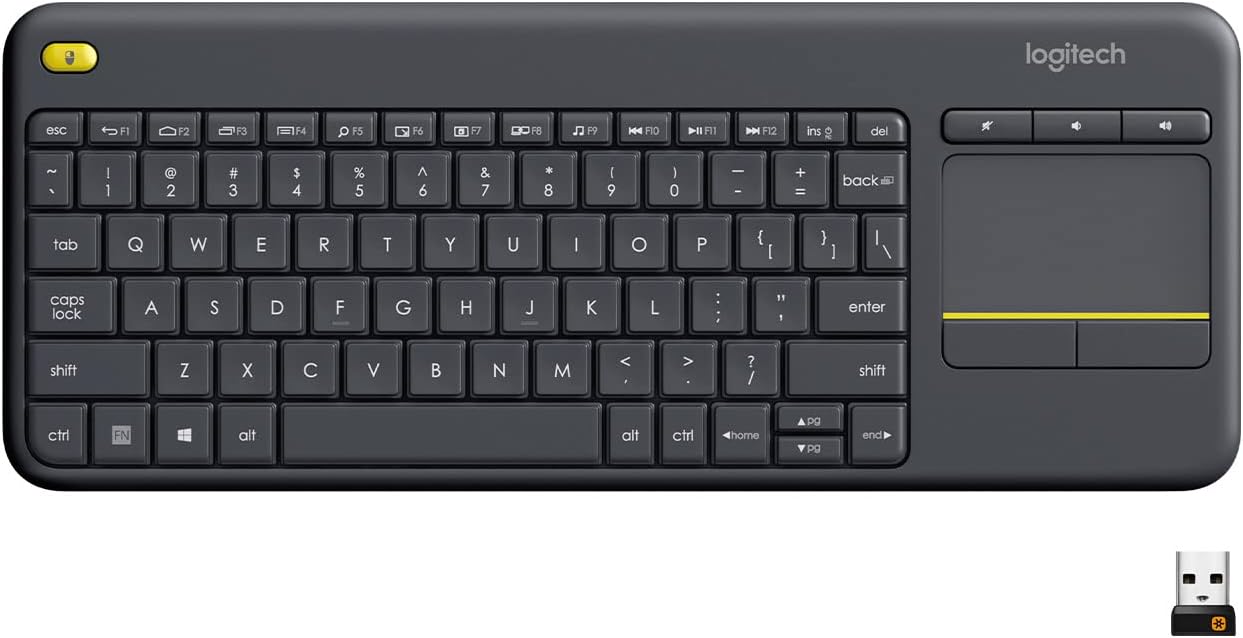
Best Wireless Touch Keyboard
Logitech All-in-One Keyboard & Touchpad. Perfect for Smart TVs & PCs. Reliable 10m Wireless Connection. Up to 18 Months Battery Life
Shop on Amazon
Key Takeaways
- Test individual keys using an online keyboard tester or on-screen keyboard to confirm hardware failure versus software glitches when laptop keyboard certain keys not working.
- Run Windows keyboard troubleshooter or reset macOS NVRAM to fix corrupted drivers and accessibility features like Filter Keys that block specific keystroke inputs.
- Verify your keyboard language layout settings—switching between QWERTY, Dvorak, or accidental language installs is the leading cause of missing key clusters.
- Clean physical debris and residue under keycaps using compressed air and 70% isopropyl alcohol to resolve mechanical failures without replacement.
- Connect an external USB keyboard to isolate whether the problem is internal hardware damage or a system-wide software issue requiring driver reinstallation.
- Seek professional repair or invest in a mechanical keyboard replacement if multiple keys fail after driver updates, OS cleaning, and hardware inspection confirm irreversible damage.
Diagnosing Specific Key Failures
Testing Individual Keys for Functionality
Start by opening an online keyboard tester in your browser. Press each suspect key slowly and watch the on-screen highlight. If certain keys light up intermittently or not at all, you’ve confirmed a malfunction, not user error or a frozen app.
Alternately, launch Notepad or TextEdit and type the entire alphabet, all ten digits, and every function key. Missing characters pinpoint the exact dead zones. This simple five-minute test separates genuine key failures from application-level shortcuts or custom macro conflicts.
Identifying Hardware vs Software Causes
Plug in an external USB keyboard. If every key works perfectly on the external board, your laptop’s internal keyboard has a hardware issue, likely a damaged ribbon cable, worn membrane layer, or broken circuit trace in the keyboard matrix.
But if the same keys fail on the external keyboard, you’re looking at a software or driver problem: corrupted HID drivers, rogue background scripts, or operating-system-level input filters. This quick swap test saves hours of trial-and-error guessing.
Using the On-Screen Keyboard and OSK
Windows 10 and 11 ship with an On-Screen Keyboard (OSK). Press Win + Ctrl + O or search “On-Screen Keyboard” in Start. Click each dead key on the virtual board. If the character appears on screen, your physical key contacts are broken, the OS still recognizes the scan code.
MacOS users can enable the Accessibility Keyboard in System Preferences > Accessibility > Keyboard. Same logic: if the virtual key works but the physical one doesn’t, you’ve isolated a hardware fault beneath the keycap.
Recognizing Dead Keys and Stuck Keys
Dead keys produce no input, no matter how hard you press. Stuck keys repeat endlessly or register multiple presses from a single tap. Both symptoms often share a root cause: debris, spilled liquid residue, or a damaged dome switch beneath the keycap.
Carefully pop off a non-working keycap using a plastic spudger (never metal). Inspect for crumbs, pet hair, or sticky film. Even a single grain of sand can block the tiny plunger that completes the circuit. If you see corrosion or a torn membrane, the keyboard assembly likely needs replacement.
Resolving Common Software and Driver Problems
Running the Keyboard Troubleshooter
Windows includes a built-in troubleshooter. Open Settings > Update & Security > Troubleshoot > Additional troubleshooters > Keyboard, then click Run. The wizard scans for driver conflicts, incorrect registry entries, and misconfigured HID services.
“Ran the built-in troubleshooter and it auto-fixed a filter-key toggle I didn’t even know was on. My number row came back instantly.” via r/techsupport
MacOS doesn’t offer a one-click troubleshooter, but resetting NVRAM (hold Option + Command + P + R at boot for 20 seconds) clears firmware-level keyboard settings that sometimes corrupt language layouts or modifier-key mappings.
Updating and Reinstalling Keyboard Drivers
Open Device Manager (Win + X > Device Manager), expand Keyboards, right-click your HID keyboard device, and select Update driver > Search automatically. Windows queries Microsoft’s server for the latest signed driver.
If that fails, right-click again and choose Uninstall device. Restart your laptop: Windows reinstalls the default inbox driver on boot. This nuclear option clears corrupted driver caches and registry keys that block specific scan codes from reaching the OS.
Utilizing SFC and Advanced System Tools
Open Command Prompt as Administrator and run sfc /scannow. System File Checker scans protected OS files, including keyboard input stack libraries, and replaces any corrupted binaries from the Windows component store.
For stubborn cases, follow up with DISM /Online /Cleanup-Image /RestoreHealth, which repairs the component store itself. Combined, these two commands fix driver-signature mismatches and DLL corruption that silently break certain key scan codes.
Managing Filter, Sticky, and Toggle Keys
Press Shift five times rapidly. A popup asks if you want to enable Sticky Keys. Click No and open Ease of Access > Keyboard (Win 10/11) or Accessibility > Keyboard (macOS). Disable Filter Keys, Sticky Keys, and Toggle Keys.
Filter Keys ignores brief or repeated keystrokes, which can make fast typists’ inputs vanish. Sticky Keys locks modifiers, sometimes blocking letter clusters. Both accessibility features are helpful for motor-impaired users but disastrous if activated accidentally.
Addressing Keyboard Layout and Settings Issues
Checking Keyboard Language and Layout Options
Click the language indicator in your system tray (bottom-right on Windows, top-right on macOS). You might see “ENG US” or “ENG UK.” Switching layouts, US QWERTY versus UK QWERTY, remaps symbols like @, ", and #, making it seem like certain keys are dead.
Open Settings > Time & Language > Language > Preferred languages and ensure only one keyboard layout is installed. Remove any accidental Arabic, Cyrillic, or Dvorak layouts. Restart and test. Language-layout conflicts are the number-one silent killer of specific key clusters.
Adjusting Fn Behavior and Function Keys
Many laptops ship with Fn Lock enabled by default, swapping F1–F12 function keys for media and brightness shortcuts. Press Fn + Esc (Lenovo, HP, Dell) or Fn + Caps Lock (ASUS) to toggle.
Some BIOS/UEFI firmware lets you invert this behavior permanently. Restart, press F2 or Del during POST, navigate to System Configuration > Action Keys Mode, and disable it. Save and exit. Your function keys will now work as true F-keys by default.
Customizing Advanced Keyboard Settings
Windows hides repeat-delay and repeat-rate sliders in Control Panel > Keyboard. If certain keys feel sluggish or double-tap, move the Repeat delay slider left (shorter) and Repeat rate slider right (faster). Click Apply and test in Notepad.
MacOS users: go to System Preferences > Keyboard and adjust Key Repeat and Delay Until Repeat. Extreme settings can make keys appear unresponsive because the OS waits too long to register the second press.
Editing the Scancode Map for Key Remapping
If a critical key is permanently dead, say, the E key, you can remap a rarely used key (like Caps Lock or Right Alt) to produce “E” instead. Download Microsoft PowerToys (free, open-source), launch Keyboard Manager, and click Remap a key.
Select the source key (Caps Lock) and target key (E), then click OK. Changes take effect immediately. This workaround buys you time until you replace the keyboard assembly, and it’s fully reversible if you change your mind later.
Physical Causes and Maintenance
Cleaning and Inspecting for Physical Obstructions
Power off your laptop completely. Hold it at a 75-degree angle and spray short bursts of compressed air between the keys, moving left to right across each row. You’ll see dust clouds, crumbs, and hair strands fly out, often enough debris to fill a small cup.

For sticky residue (spilled soda, coffee), dampen a microfiber cloth with 70% isopropyl alcohol and gently wipe under lifted keycaps. Never pour liquid directly onto the keyboard. Let it air-dry for 30 minutes before powering on. Regular monthly cleaning prevents 80% of mechanical key failures.
“Popped off the keycaps and found a whole Cheerio under my ‘G’ key. Cleaned it out with alcohol and a Q-tip, works perfectly now.” via r/laptops
Troubleshooting External Keyboards and HID Devices
If your laptop keyboard remains unresponsive after every software fix, connect a wireless mechanical keyboard via Bluetooth or USB-A. Mechanical switches offer longer lifespans (50–100 million keystrokes) and are user-replaceable, making them an ideal desk upgrade for remote workers and coders.

Ensure the external board uses a different HID driver stack. Some cheap USB keyboards share the same generic Microsoft driver, inheriting the same corruption. Premium boards (Logitech, Keychron, Das Keyboard) ship signed vendor drivers that bypass Windows’ default HID stack entirely.
When to Seek Professional Repair
If you’ve cleaned, updated drivers, reset settings, and tested with OSK, and multiple keys still fail, you’re looking at a hardware fault: torn membrane, cracked PCB trace, or disconnected ribbon cable. DIY ribbon-cable reseating is possible on older ThinkPads and HP ProBooks, but modern ultrabooks use glued-down assemblies.
Authorized service centers (Lenovo Depot, Dell ProSupport, Apple Genius Bar) replace the entire top-case assembly, which includes the keyboard, palmrest, and touchpad. Typical turnaround is 3–5 business days. For out-of-warranty laptops older than four years, a third-party USB mechanical keyboard often costs less than half the repair quote and delivers superior typing feel.
Frequently Asked Questions
What causes laptop keyboard certain keys not working?
Common causes include physical debris under keycaps, corrupted keyboard drivers, incorrect input language settings, enabled accessibility features like Filter Keys, or a failing keyboard matrix circuit trace. Systematic testing helps identify whether it’s a software or hardware issue requiring different solutions.
How can I test if specific laptop keys are actually broken?
Open an online keyboard tester or launch Notepad and type all letters, numbers, and function keys to identify dead zones. For hardware confirmation, connect an external USB keyboard; if the same keys fail externally, it’s a software problem. If they work externally, your laptop’s internal keyboard has hardware damage.
Can Filter Keys or Sticky Keys make laptop keyboard keys seem unresponsive?
Yes. Filter Keys ignores brief keystrokes, and Sticky Keys locks modifiers, both making fast typing vanish. Disable them via Ease of Access > Keyboard (Windows) or Accessibility > Keyboard (macOS). Language-layout conflicts are also the number-one silent killer of specific key clusters.
How do I fix laptop keyboard keys not working using Windows built-in tools?
Run the Keyboard Troubleshooter (Settings > Troubleshoot > Keyboard), update drivers via Device Manager, or reinstall by uninstalling the HID keyboard device. For corruption, run System File Checker (sfc /scannow) and DISM to repair protected OS files affecting keyboard input.
What should I do if cleaning and software fixes don’t restore my laptop keyboard keys?
If multiple keys still fail after cleaning, driver updates, and on-screen keyboard testing, it’s likely a hardware fault: torn membrane, cracked PCB, or disconnected ribbon cable. Contact authorized service centers (Lenovo Depot, Dell ProSupport, Apple Genius Bar) for top-case assembly replacement, or use an external mechanical keyboard.
Why do my function keys not work, and how can I fix them?
Fn Lock may be enabled, swapping F1–F12 for media shortcuts. Press Fn + Esc (Lenovo/HP/Dell) or Fn + Caps Lock (ASUS) to toggle. You can also enter BIOS/UEFI during boot (F2 or Del) and disable Function Key Mode in System Configuration for permanent changes.
Read More:
- USB Port on Laptop Not Working (Here’s Why and and Ways to Fix It)
- Touchpad on Laptop Not Working (Essential Checks When Your Touchpad Fails)
- Letters Keyboard Not Working? 7 Proven Fixes to Get You Typing Again
- Numbers on Keyboard Not Working? Here’s the 7 Proven Fixes
- Laptop Keyboard Not Working (Complete Fix Guide for All Brands)