
Your ASUS laptop keyboard just stopped responding mid-sentence. You’re staring at a blinking cursor, frantically pressing keys that do absolutely nothing. Frustrating doesn’t even begin to cover it.
Most ASUS laptop keyboard failures aren’t hardware disasters, they’re software glitches, stuck settings, or driver conflicts you can fix yourself in under 15 minutes. Simple restarts, driver updates, accessibility setting checks, and BIOS tests solve 70–80% of unresponsive keyboard issues without opening your laptop or spending a dime.
This guide walks you through quick diagnostic steps, practical software fixes, and smart hardware checks so you can get back to typing, whether you’re on a ZenBook, VivoBook, ROG, or TUF model, without the panic or the repair bill.
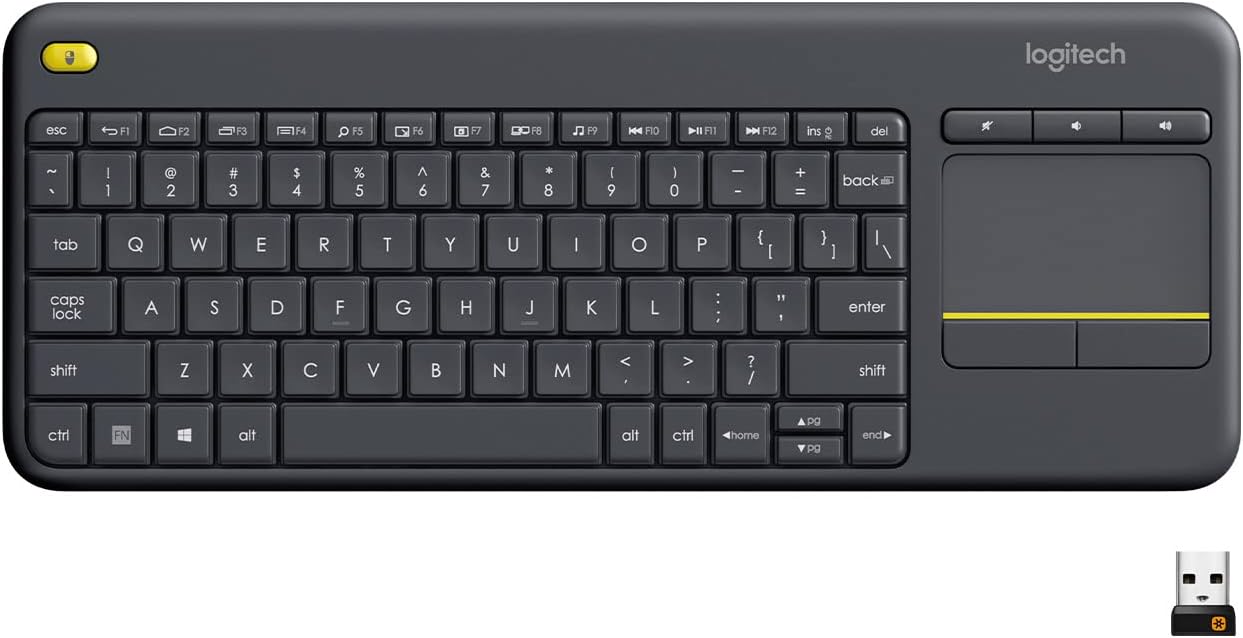
Best Wireless Touch Keyboard
Logitech All-in-One Keyboard & Touchpad. Perfect for Smart TVs & PCs. Reliable 10m Wireless Connection. Up to 18 Months Battery Life
Shop on Amazon
Key Takeaways
- Most ASUS laptop keyboard not working issues are software-related glitches, driver conflicts, or accessibility settings rather than hardware failures, and can be fixed in under 15 minutes.
- Test your keyboard in BIOS and Safe Mode to determine whether the issue is hardware-based or software-based before attempting complex repairs.
- Update or reinstall keyboard drivers through Device Manager, and check for accessibility settings like Filter Keys, Sticky Keys, and Fn + NumLk overlays that may be blocking input.
- If your ASUS keyboard works in BIOS but not Windows, the problem is driver or third-party software interference, not physical damage.
- For stuck or dead keys, use compressed air to clean debris, pop off keycaps for deeper cleaning with isopropyl alcohol, or replace individual keys for under $10 before considering full keyboard replacement.
- Prevent future keyboard issues by creating system restore points before Windows updates, cleaning monthly with compressed air, keeping liquids away from your laptop, and running Windows Hardware Troubleshooter regularly.
Identifying the Root Cause
Before you jump into fixes, you need to figure out what’s actually broken. An unresponsive ASUS keyboard can stem from temporary Windows hiccups, driver mismatches, or genuine hardware damage. Understanding the difference saves you time and prevents unnecessary panic.
Temporary System Glitches
Sometimes Windows just freezes input devices. A stuck process, a background update loop, or a memory overload can lock your keyboard without warning. You’ll notice your touchpad still works, but keys don’t respond, not even Caps Lock lights.
This type of glitch usually appears after a forced shutdown, sleep mode bug, or driver conflict triggered by a Windows Update. If your keyboard worked perfectly yesterday and stopped today without physical trauma, software is the likely culprit. A simple restart often clears these temporary signal blocks.
Driver and Software Conflicts
Outdated or corrupted keyboard drivers are a top offender. Windows Update sometimes installs generic PS/2 keyboard drivers that clash with ASUS-specific input hardware, especially on ROG or TUF models with custom hotkey layouts.
You might also have accidentally enabled Filter Keys, Sticky Keys, or a keyboard lock combination (Fn + a function key) without realizing it. These accessibility features can disable input or slow response times dramatically. Check Device Manager for yellow exclamation marks next to your keyboard listing, that’s your smoking gun.
“My ASUS VivoBook keyboard stopped working after a Windows update. Device Manager showed a code 10 error. Rolling back the driver fixed it instantly.” via r/ASUS
Hardware Failures and Physical Damage
Physical issues include spilled liquids, accumulated dust, or a loose internal ribbon cable connecting your keyboard to the motherboard. If only specific keys fail (like the spacebar or Enter key), you’re likely dealing with stuck switches or debris under keycaps.
A completely dead keyboard, no lights, no response even in BIOS, points to ribbon cable disconnection or full keyboard module failure. If an external USB keyboard works perfectly but your built-in one doesn’t, hardware is the root cause. This distinction is critical before you start troubleshooting software.
Step-by-Step Troubleshooting
Now you’re ready to test systematically. These steps move from simplest to more involved, helping you isolate the issue without guessing.
Restart and Power Cycle Procedures
Start with a full power cycle. Save your work (if you can use an external keyboard or the on-screen keyboard), then shut down completely. Unplug your charger, hold the power button for 30 seconds to drain residual charge, then restart.
This clears embedded controller (EC) memory and resets hardware state. It’s the laptop equivalent of “turning it off and on again,” but done properly. Many users skip the 30-second hold and miss the reset entirely.
Checking Num Lock, Fn, and Accessibility Settings
ASUS laptops often use Fn + NumLk or Fn + F11 to toggle a numeric keypad overlay on letter keys. If you’re typing “J” and getting “1,” this overlay is active. Press Fn + NumLk to disable it.
Next, open Settings > Ease of Access > Keyboard (or Accessibility in Windows 11). Turn off Filter Keys, Sticky Keys, and Toggle Keys. These features can delay or block normal input. Also check if you’ve accidentally locked the keyboard using a custom ASUS hotkey combo (check your user manual or ASUS support page for model-specific shortcuts).
Testing in BIOS and Safe Mode
Restart your laptop and press F2 or Del repeatedly during boot to enter BIOS/UEFI. Try typing in the BIOS menu. If keys work here, your hardware is fine, Windows or drivers are the problem.
If keys don’t work in BIOS either, you’re dealing with hardware failure or a loose ribbon cable. Next, boot into Safe Mode (hold Shift while clicking Restart, then Troubleshoot > Advanced options > Startup Settings > Safe Mode). Safe Mode loads minimal drivers. If your keyboard works here, a third-party app or driver is interfering.
Essential Fixes and Advanced Solutions
Once you’ve isolated the cause, these fixes target the most common software and firmware issues.
Updating or Reinstalling Keyboard Drivers
Open Device Manager (right-click Start > Device Manager). Expand “Keyboards,” right-click your keyboard device, and select “Update driver.” Choose “Search automatically.” If Windows finds nothing, try “Browse my computer” > “Let me pick” > select an older driver version to roll back.
If that fails, uninstall the driver entirely (right-click > Uninstall device), then restart. Windows will reinstall a fresh driver automatically. This clears corrupted driver files that cause code 10 or code 19 errors.
For persistent issues, download the latest ASUS keyboard or chipset driver directly from the ASUS Download Center using your exact model number (check the bottom of your laptop).
Using ASUS Utilities and Firmware Tools
ASUS laptops include utilities like MyASUS or Armoury Crate (for ROG models). Open MyASUS, go to System Diagnosis > Hardware, and run the keyboard test. It’ll flag dead keys or signal loss.
Some users report that reinstalling the ASUS System Control Interface driver or updating BIOS firmware fixes keyboard hotkey conflicts. Check the ASUS support page for your model, download the latest BIOS update, and follow the official installation guide carefully, BIOS updates carry risk if done incorrectly, so only proceed if you’re confident.
“After updating my ROG Zephyrus BIOS, the Fn keys started working again. Apparently the old firmware had a bug.” via ASUS ROG Forum
Resolving Backlight and Hotkey Issues
If your keyboard types but the backlight won’t turn on, try Fn + F3 or Fn + F4 (varies by model). Install Armoury Crate or ASUS Keyboard Hotkeys driver to restore full backlight control.
Hotkey failures (volume, brightness) usually trace back to missing ATK (ASUS Keyboard) drivers. Download and install ATK Package from ASUS support to restore hotkey functionality.
Repair, Replacement, and Prevention
When software fixes don’t work, it’s time to address hardware.
Cleaning and Physically Inspecting the Keyboard
Shut down and unplug your laptop. Use compressed air to blow out dust and crumbs from under the keys. Hold the can upright and spray in short bursts at an angle. This dislodges debris blocking key switches.

For sticky keys, gently pop off the keycap (use a plastic spudger or your fingernail, careful not to break clips), clean under it with isopropyl alcohol on a cotton swab, then snap it back. If you’ve spilled liquid, power off immediately, flip the laptop upside down, and let it dry for 48 hours before attempting to power on.
Single Key and Full Keyboard Replacement Options
If one or two keys are dead after cleaning, you can buy replacement keycaps and switches on Amazon or Laptop Keys (search by your exact ASUS model). Swapping individual keys is straightforward and costs under $10.
For a fully dead keyboard, you’re looking at a keyboard module replacement. ASUS sells official replacement keyboards, or you can find third-party modules for $30–$80. Installation requires opening the bottom panel and disconnecting the ribbon cable, doable, but not beginner-friendly. Watch a teardown video for your specific model first.
If you’re not comfortable opening your laptop, consider an external USB mechanical keyboard as a permanent or temporary workaround. It’s cheaper than a repair shop and often more comfortable for daily typing.

Preventive Maintenance Tips
Keep food and drinks away from your laptop. Clean your keyboard monthly with compressed air. Update ASUS drivers and Windows regularly to avoid conflicts. Use a keyboard cover if you’re in a dusty environment.
Run Windows Hardware Troubleshooter (Settings > Update & Security > Troubleshoot > Keyboard) every few months to catch early driver issues. And always create a system restore point before major Windows updates, if a new patch breaks your keyboard, you can roll back safely.
By following these steps, you’ll either fix your ASUS keyboard yourself or know exactly when to seek professional help, saving time, money, and a whole lot of frustration.
Frequently Asked Questions
Why is my ASUS laptop keyboard not working after a Windows update?
Windows Update often installs generic PS/2 keyboard drivers that clash with ASUS-specific hardware. Check Device Manager for yellow exclamation marks, update or rollback the driver, and if needed, download the latest ASUS keyboard driver from the ASUS Download Center for your model.
How do I fix an ASUS keyboard not responding without opening the laptop?
Start with a full power cycle: shut down, unplug the charger, hold the power button for 30 seconds, then restart. Test in BIOS by pressing F2 during boot. If keys work there, the issue is software. If not, check accessibility settings (Num Lock, Filter Keys, Sticky Keys) and reinstall keyboard drivers.
What does a Device Manager code 10 error mean for an ASUS keyboard?
Code 10 indicates a corrupted or conflicting keyboard driver. Right-click the keyboard device in Device Manager, select ‘Uninstall device,’ restart to let Windows reinstall it, or manually roll back to a previous driver version. This resolves 70–80% of ASUS keyboard failures.
Can I test if my ASUS keyboard hardware is actually broken?
Yes. Restart and enter BIOS by pressing F2 or Del during boot, then try typing there. If keys work in BIOS but not Windows, the hardware is fine—it’s a software or driver issue. If keys don’t work in BIOS, you’re likely dealing with hardware failure or a loose ribbon cable.
Should I update my ASUS laptop BIOS to fix keyboard issues?
BIOS updates can fix keyboard and hotkey conflicts, but carry risk if done incorrectly. Only proceed if confident. Check the ASUS support page for your model, download the latest BIOS update, and follow the official installation guide carefully. Create a system restore point first as a safety measure.
What’s the cheapest way to replace an ASUS keyboard that won’t work?
For individual dead keys, replacement keycaps cost under $10 on Amazon. For a full keyboard module replacement, ASUS official keyboards or third-party options cost $30–$80. Installation requires opening the laptop. Alternatively, an external USB mechanical keyboard is cheaper and often more comfortable long-term.
Read More:
- Numbers on Keyboard Not Working? Here’s the 7 Proven Fixes
- Razer Keyboard Keys Not Working (Pro Fixes for Synapse and Switch Failures)
- Laptop Keyboard Not Working (Complete Fix Guide for All Brands)
- Letters Keyboard Not Working? 7 Proven Fixes to Get You Typing Again
- Volume Button on Keyboard Not Working? Fix It in Minutes