
When your Harley’s ABS light flashes on during a ride, it’s not just an annoying dashboard icon—it could signal a potentially dangerous malfunction that demands immediate attention.
The most common Harley ABS system malfunction is the Hydraulic Control Unit (HCU) failure, which can cause complete loss of front or rear brakes, frozen brake levers, or unpredictable braking performance. Unlike other motorcycle manufacturers’ ABS systems, a Harley ABS failure often results in completely non-functional brakes rather than just disabling the anti-lock feature.

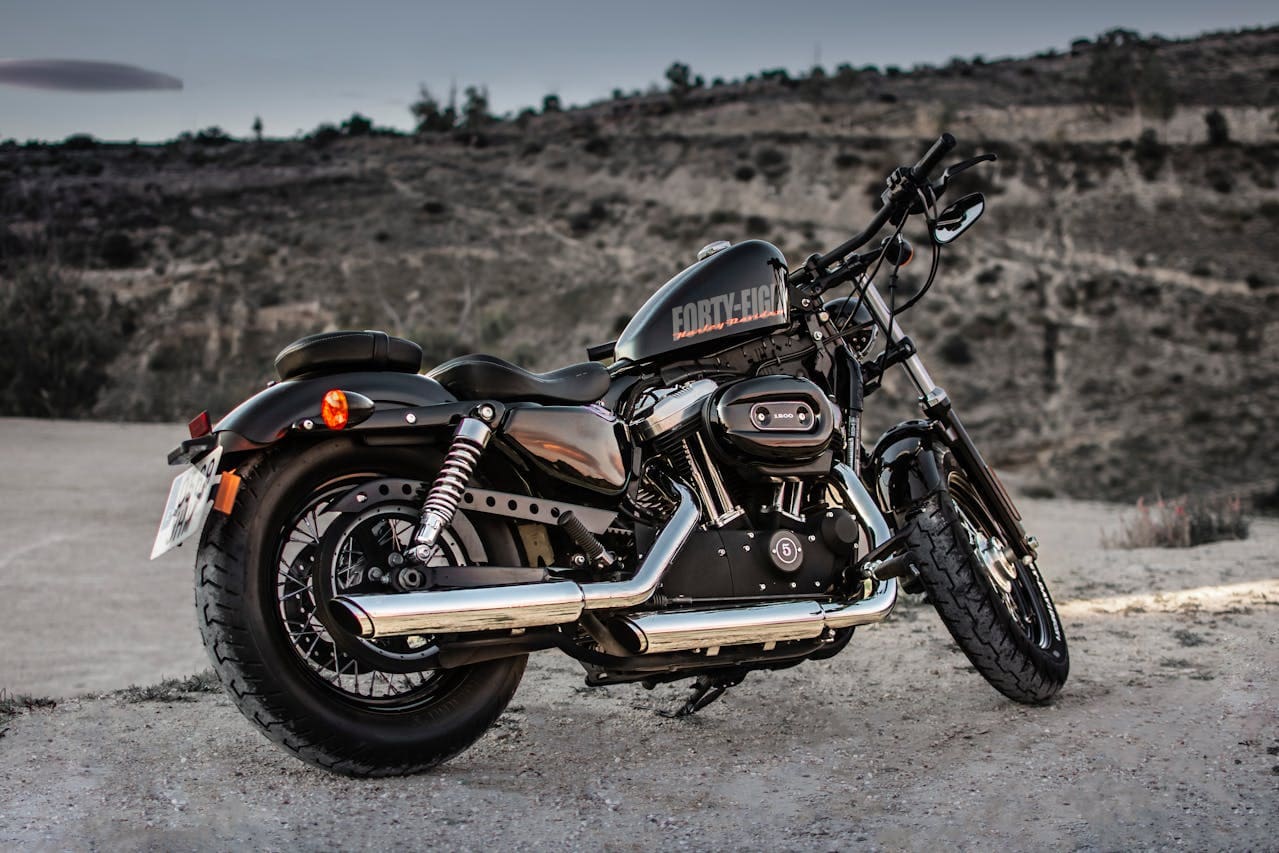
How ABS Works
Your Harley’s Anti-Lock Braking System isn’t just a luxury feature—it’s sophisticated safety technology designed to prevent wheel lockup during hard braking. Understanding how the system functions helps explain why failures can be so dangerous.
The ABS system constantly monitors wheel speed through sensors mounted at both wheels. When you apply the brakes forcefully, the system detects any impending wheel lockup and automatically modulates brake pressure several times per second. This pulsation allows your tires to maintain traction with the road surface instead of skidding.
Unlike standard brakes that provide direct hydraulic connection between your brake levers and calipers, ABS routes brake fluid through an electronic control module containing solenoid valves. These valves can rapidly open and close to adjust pressure, creating the characteristic pulsing sensation during emergency stops.
Harley Davidson implemented ABS on touring models starting in 2008, with significant redesigns in 2014 that introduced linked braking capabilities. The system now coordinates front and rear braking force distribution automatically, regardless of which brake control the rider activates.
ABS totally improves stopping distance in panic situations. John Maxwell
Warning Signs
Recognizing ABS problems early can prevent dangerous riding situations and costly repairs. Several distinctive symptoms indicate potential ABS system malfunction that requires immediate attention.
The most obvious warning sign is an illuminated ABS light on your instrument panel. While a momentary flash during startup is normal system testing, a continuously illuminated light indicates the onboard diagnostics have detected a fault. If this happens, it’s essential to take action rather than hope the problem will resolve itself.
Beyond dashboard warnings, abnormal brake lever feel provides another crucial indicator. A front brake lever that becomes extraordinarily stiff or completely frozen signals internal HCU failure. This dangerous condition prevents proper brake operation and requires immediate attention before riding.
Unpredictable brake engagement creates particularly hazardous situations. Some riders report normal brake operation initially, followed by sudden brake release or unexpected brake application. This erratic behavior happens when partially failed solenoid valves begin sticking intermittently.
Strange brake performance changes after tire replacements or wheel modifications often indicate sensor-related issues. The ABS system relies on precise wheel speed comparisons, and changes to wheel diameter can confuse the system’s calibration.
Finally, unusual mechanical sounds during braking deserve attention. While ABS activation normally produces clicking noises during emergency stops, grinding, scraping, or continuous clicking during normal braking indicates mechanical problems within the HCU.
HCU Failures
The Hydraulic Control Unit represents the heart of your ABS system and unfortunately serves as the primary failure point in most malfunction scenarios. This complex component contains multiple solenoid valves, hydraulic passages, and electronic controls that can fail in several ways.
Internal valve corrosion causes the majority of HCU failures in Harley Davidson ABS systems. When brake fluid absorbs moisture over time, internal metal components begin corroding. This corrosion creates metal particles that jam the precision solenoid valves in either open or closed positions, preventing proper brake pressure modulation.
What makes this situation especially concerning is the critical design flaw in the Harley system. While most automotive ABS systems default to standard braking when components fail, Harley’s design can leave riders with completely non-functional brakes if a valve freezes closed. This “fail deadly” rather than “fail safe” approach creates serious safety concerns.
Frozen front brake levers represent one of the most frightening HCU failure modes. When an internal valve becomes stuck closed, hydraulic pressure cannot transmit from the brake lever to the caliper. This results in a completely rigid lever that prevents any braking force application—a terrifying experience at highway speeds.
Conversely, the opposite situation occurs when valves freeze open, resulting in brake pressure bleeding off immediately after application. Riders experience this as a brake lever that depresses normally but provides minimal stopping power, increasing stopping distances dramatically.
Want proof: First call any HD dealer, ask for “service”, describe the frozen front brake lever, & they will advise, “Failed HCU, ya want us to order you one.” V-Twin Forum User
Maintenance Matters
Proper maintenance significantly reduces ABS malfunction risks and extends component lifespan. Following these preventive practices helps avoid costly repairs and dangerous riding situations.
Regular brake fluid changes provide the single most important preventive measure against HCU failure. Harley Davidson recommends complete fluid replacement every two years, regardless of mileage. DOT 4 brake fluid absorbs moisture from the atmosphere over time, eventually causing internal component corrosion. Fresh fluid prevents this deterioration.
Beyond fluid changes, professional ABS bleeding procedures differ significantly from standard brake bleeding techniques. The system requires dealer-level diagnostic equipment that cycles solenoid valves while purging air bubbles. DIY bleeding attempts often leave air trapped in critical valve assemblies, causing poor performance.
Additionally, using only DOT 4 fluid specified by Harley Davidson maintains proper system function. Never substitute DOT 5 silicone fluid in ABS-equipped motorcycles, as it causes seal degradation and valve failures. Always verify brake fluid compatibility before adding fluid to the reservoir.
Regular inspection of wheel sensors and wiring protects against common electrical failures. Metal debris accumulation on magnetic sensors disrupts proper wheel speed detection. Clean sensors carefully with electronic contact cleaner without damaging delicate components.
Finally, monitor battery voltage consistently, as low voltage conditions can trigger ABS system errors. The electronic controller requires stable power supply for proper operation. Weak batteries during cold weather commonly trigger false ABS warnings.
Diagnostic Steps
Systematic troubleshooting helps identify specific ABS problems before committing to expensive repairs. Following these diagnostic procedures reveals whether issues stem from simple maintenance needs or more serious component failures.
Start by checking for stored trouble codes using a compatible diagnostic scanner. Professional tools provide specific error codes that pinpoint failed components or circuit problems. Common codes include C1032 (circuit failure), C1029 (wheel speed sensor error), and B0073 (control module failure).
Once you’ve retrieved any error codes, test brake fluid condition using electronic moisture detection tools. Contaminated fluid appears darker than fresh fluid and may contain visible particles. Moisture content exceeding manufacturer specifications indicates immediate replacement need.
After checking fluid condition, inspect wheel speed sensor connections and wiring throughout the motorcycle. Damaged wires, corroded terminals, or loose connectors frequently cause intermittent ABS malfunctions. Pay special attention to areas where wiring flexes during steering movement.
- Disconnect battery negative terminal before inspecting connectors
- Clean all connections using electronic contact cleaner
- Check for damaged wiring insulation or pinched cables
- Verify proper sensor mounting and alignment
Next, evaluate electrical system voltage under various conditions. Low voltage during startup or high electrical loads can cause controller errors. A properly functioning charging system should maintain 13.5-14.5 volts during operation.
Monitor brake lever feel and response during gentle test rides in safe environments. Progressive pressure increase indicates proper hydraulic system function. Sudden changes in resistance or pressure loss suggest internal HCU valve problems.
Repair Options
When facing ABS system malfunctions, riders have several repair pathways with varying costs, complexity, and implications for motorcycle functionality. Understanding these options helps make informed decisions based on riding preferences and budget constraints.
Factory replacement HCU installation represents the manufacturer-recommended solution. New units cost approximately $700-1,200 plus 3-5 hours labor ($300-500), making this the most expensive option. However, this maintains full ABS functionality and warranty coverage if performed by authorized dealers.
Alternatively, professional rebuilding services from specialized repair facilities offer significant cost savings. Companies like Module Masters and UpFix repair existing units for $300-500 plus removal/installation costs. These services typically include cleaning, valve replacement, and electronic component testing with warranty coverage.
For those seeking more economical solutions, conversion to conventional braking systems provides a permanent fix for riders preferring simplicity over electronic assistance. This modification involves bypassing the ABS module with direct hydraulic connections between master cylinders and brake calipers. While eliminating ABS functionality, it restores reliable brake operation at approximately $250-400 including parts and labor.
Additionally, DIY bypass procedures exist for mechanically inclined riders willing to modify brake hydraulics. This approach requires special fittings to create direct fluid paths, bleeding tools for proper system preparation, and acceptance of permanent ABS deactivation. Total parts cost typically runs $50-100 plus several hours of labor.
Harley Davidson ABS module repair services provide another alternative to full replacement for budget-conscious riders, with most companies completing repairs within 24-48 hours.
I had to go searching for fittings that would fit the banjo bolts that are on the ABS lines because we’re totally going to do away with the ABS block. Everyday Man
Year-Specific Issues
Harley Davidson ABS systems evolved significantly between introduction and current models, with different years experiencing unique problem patterns. Understanding model-year differences helps diagnose issues specific to your motorcycle.
The 2008-2013 models utilized first-generation ABS without linked braking functionality. Common issues included wheel speed sensor connection failures, particularly at the front wheel where wire routing caused repeated flexing with handlebar movement. John Maxwell, a Harley technician, notes: “That front wheel speed sensor connector is located where the handlebars lock, and every time you park your bike, that wire gets bent a little bit each time.”
In 2014, Harley implemented significant ABS system upgrades introducing “Reflex Linked Braking” that coordinates front/rear brake application regardless of which control the rider activates. This generation experiences fewer wiring failures but more HCU internal valve problems, particularly affecting bikes with aftermarket wheel modifications.
The 2016-2018 models incorporated revised HCU designs addressing some previous failure modes. However, these years still experience electronic control module failures when moisture penetrates control unit housings. Diagnostic capabilities improved with these models, providing more specific error codes for troubleshooting.
Aftermarket wheel modifications significantly impact ABS operation across all model years. Larger diameter front wheels (21-inch or greater) create calibration problems because the system expects specific wheel rotation rates relative to vehicle speed. This mismatch triggers false ABS activation during normal braking.
The 2019 and newer models incorporate fully redesigned systems with improved moisture protection and more sophisticated valve mechanisms. While these experience fewer catastrophic failures, they present more complex diagnostic challenges when problems occur due to increased integration with other motorcycle systems.
Video Credit: John Maxwell / YouTube
Frequently Asked Questions
Can I still ride with an ABS warning light on?
While technically possible to ride with an illuminated ABS warning light, doing so means your Anti-Lock Braking System is disabled and no longer protecting you from wheel lockup during emergency braking. The underlying issue could range from a simple sensor error to impending complete brake failure.
Most critical concerns involve the Hydraulic Control Unit (HCU), which can fail catastrophically without warning. Reports from numerous riders document cases where functional brakes suddenly failed completely after initial warning signs were ignored. Your brakes might work normally today but completely fail tomorrow if internal valves deteriorate further.
The safest approach involves diagnosing and addressing ABS warnings immediately, especially on 2008-2015 models known for problematic HCU designs. Consider trailering your motorcycle to a service facility rather than risking a failure during transit.
How much does ABS module replacement cost?
Complete ABS module replacement represents one of the most expensive service procedures for Harley Davidson motorcycles. New OEM Hydraulic Control Units typically cost between $700-1,200 depending on your specific model and year, with dealer labor adding $300-500 for 3-5 hours installation time.
Aftermarket alternatives offer significant savings, with remanufactured units available from specialty providers for $400-600 plus installation. Some companies also offer repair services for your existing unit, returning the refurbished component within 24-48 hours for $300-450 depending on required internal components.
DIY installation can reduce labor costs but requires specialized brake bleeding equipment to properly prepare the system for operation. Most dealers use computerized ABS bleeders that cycle valves during the bleeding process—equipment typically unavailable to home mechanics.
Is Harley’s ABS system reliable?
Harley Davidson’s ABS system reliability varies significantly by generation and model year. First-generation systems (2008-2013) experienced higher failure rates due to wiring connection issues and internal valve corrosion problems. The 2014-2018 models show improved wiring durability but continued HCU valve issues.
Statistical reliability comparisons with other manufacturers reveal Harley’s systems experience approximately 3-5 times more failures than comparable Japanese and European motorcycles with ABS. This higher failure rate stems primarily from valve design differences and less effective moisture protection within the hydraulic components.
Proper maintenance dramatically improves reliability across all model years. Bikes receiving regular fluid changes every two years show significantly lower failure rates than those with neglected maintenance. Professional system bleeding using manufacturer-approved equipment also extends component lifespan considerably.
Sources:
- Harley Davidson Forums Speedometer Troubleshooting
- Fix My Hog ABS Modulator Failure
- V-Twin Forum ABS Issues
- JustAnswer Motorcycle ABS Repair
- Harley Davidson Technical Service Information
Read More:
- Harley Battery Drains Fast? The Complete Fixing Guide
- Harley Heated Grips Not Working? Fix It Fast With This Guide
- Harley Davidson Issues (What Every Rider Should Know)