
Last updated on April 5th, 2026 at 10:21 am
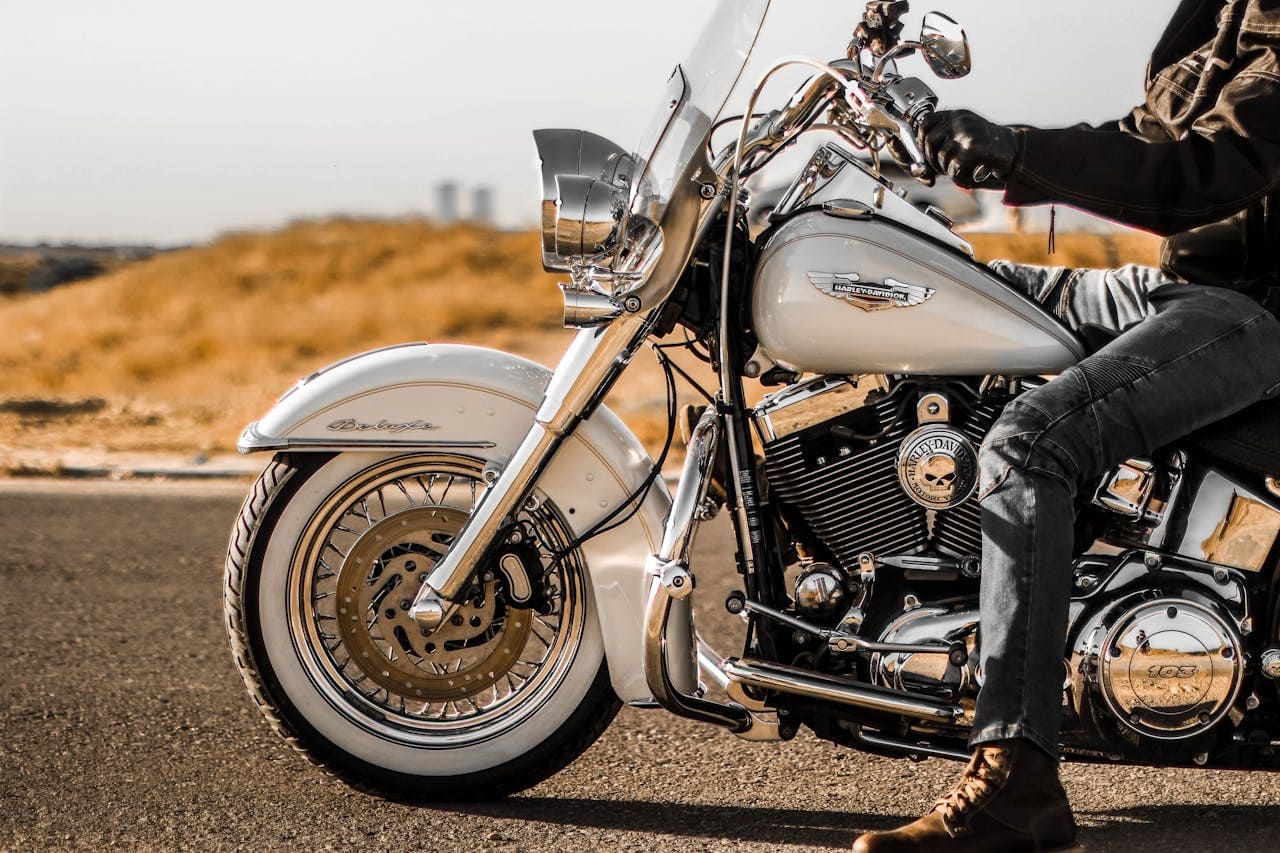
When your Harley Davidson brake lights suddenly stop functioning, you’re facing both a safety hazard and potential legal trouble on the road.
Harley brake light failures typically result from blown fuses, faulty brake switches, burnt bulbs, or damaged wiring connections. The rear brake switch behind the master cylinder is the most common failure point, while electrical issues like corroded connections and blown fuses also frequently prevent proper brake light operation.
Switch Failures
Several factors can cause your brake lights to malfunction completely. Understanding these root causes helps you identify the correct solution faster and avoid dangerous situations on the road.
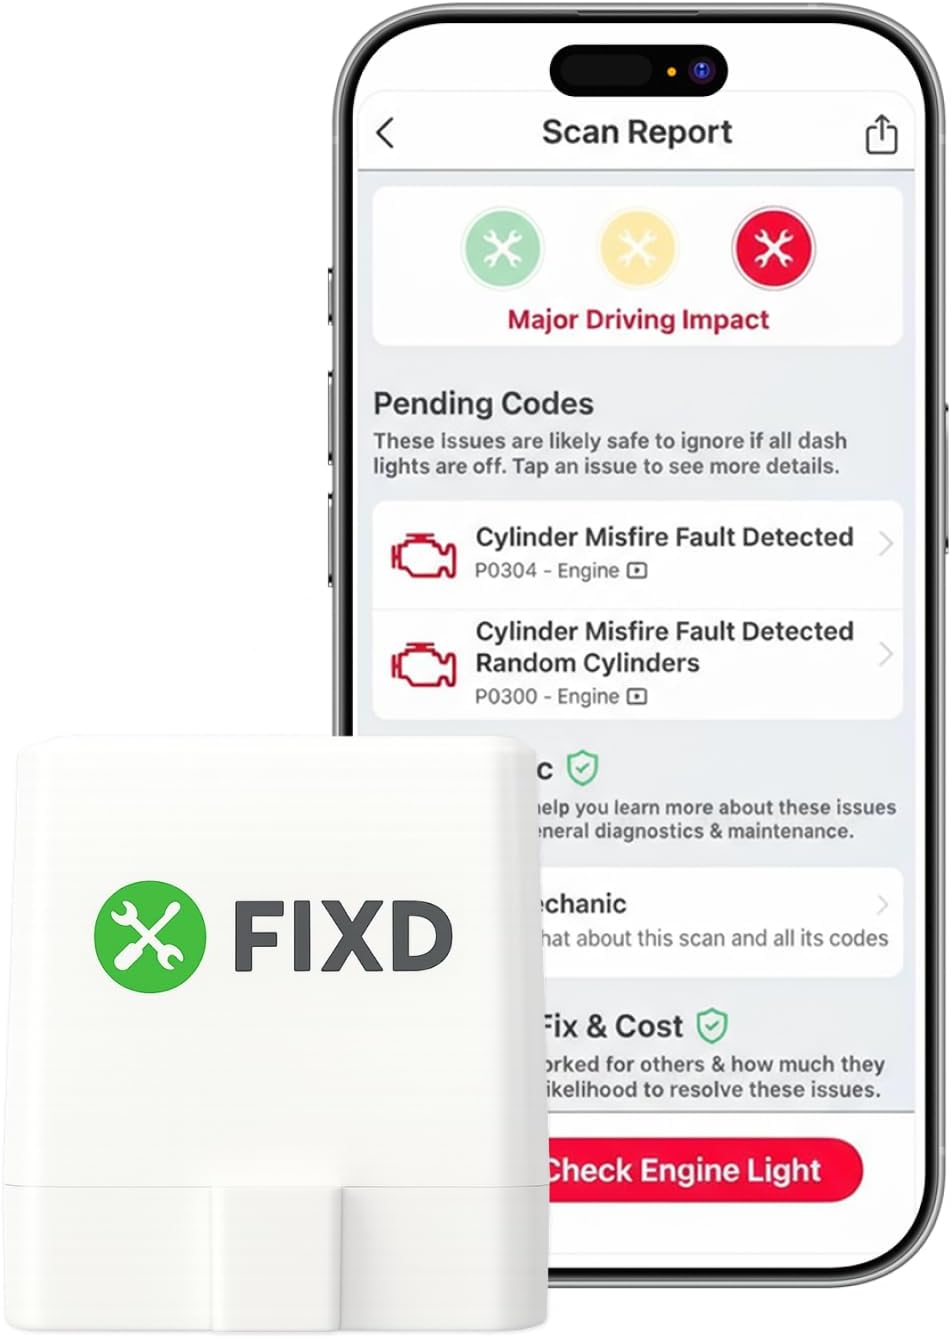
Best Bluetooth OBD2 Scanner
Detect 39,000+ Issues With Enhanced Codes. Save $1000s on car repairs & buying used vehicles by diagnosing problems yourself.
Shop on AmazonBrake light switch failure represents the primary reason behind non-functioning brake lights on Harley Davidson motorcycles. Your bike uses two separate switches – one for the front brake lever and another for the rear brake pedal. When either switch fails internally or loses proper adjustment, your brake lights won’t illuminate when you apply the brakes.
However, switch problems don’t always mean complete component failure. Improper switch adjustment creates situations where the brake lights work intermittently or require excessive brake lever movement to activate. This condition develops gradually as vibration and normal wear affect switch positioning over time.
Moreover, the rear brake switch experiences particular stress due to its location behind the master cylinder. Brake fluid leaks, road debris, and temperature cycling can damage the switch housing or contaminate internal components, leading to erratic operation or complete failure.
Common problem. Brake light switch is shorted keeping the brake light on all the time. Most of the time it is the rear switch that is failing. Harley Forum Technical Expert
The front brake switch typically fails due to lever adjustment issues rather than internal component damage. When the brake lever sits too far from the handlebar, the switch may never make proper contact, preventing brake light activation regardless of how hard you squeeze the lever.
Electrical Issues
Connection problems between switches and brake lights create another frequent scenario affecting brake light operation. Your motorcycle’s brake light system relies on multiple electrical connections that can deteriorate over time due to moisture, vibration, and normal wear.
Furthermore, corroded terminals at the brake light bulb sockets cause intermittent operation that appears random and difficult to diagnose. Even minor corrosion creates electrical resistance that prevents adequate current flow to illuminate the brake lights properly during operation.
Additionally, damaged wiring harnesses between the switches and rear brake light assembly frequently cause complete brake light failure. These wires endure constant flexing as you operate the rear brake pedal and steering, gradually developing breaks or short circuits that interrupt power transmission.
The Harley Davidson troubleshooting forums discussed numerous cases where cleaning corroded connections resolved brake light problems that initially appeared to require expensive component replacement.
Ground connection problems also affect brake light operation significantly. Poor ground paths create voltage drops that prevent proper brake light illumination even when all other components function correctly. These ground issues often affect multiple electrical systems simultaneously.
Fuse Problems
Blown fuses represent one of the simplest yet most overlooked causes of brake light failure. Your Harley Davidson uses several fuses to protect different electrical circuits, and brake light operation depends on multiple fuse circuits functioning properly.
The primary brake light fuse protects the entire brake light circuit from electrical overloads. When this fuse blows, neither front nor rear brake activation will illuminate the brake lights, creating a dangerous situation for following traffic.
Similarly, accessory fuses can affect brake light operation through shared circuit connections. Turn signal fuses, lighting fuses, and instrument cluster fuses all connect to circuits that interact with brake light systems on modern Harley motorcycles.
First check your fuse and make sure it isn’t blown. I’m also assuming you did replace the bulb to eliminate it being a bad bulb. Motorcycle Technician
Fuse box corrosion causes problems that appear similar to blown fuses but require different solutions. Corroded fuse contacts create intermittent connections that cause brake lights to work sporadically or fail completely during vibration or temperature changes.
Hidden fuses in relay boxes can also cause brake light problems that are difficult to diagnose. Some Harley models use multiple fuse locations, and technicians sometimes overlook secondary fuse boxes when troubleshooting brake light issues.
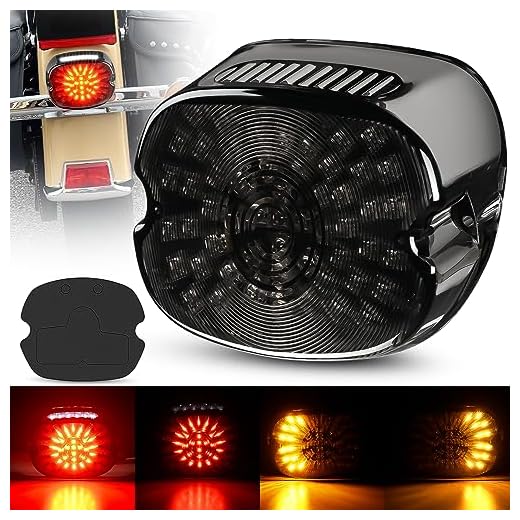
You can find quality Harley Davidson brake light bulbs to replace burnt bulbs and restore proper brake light operation.
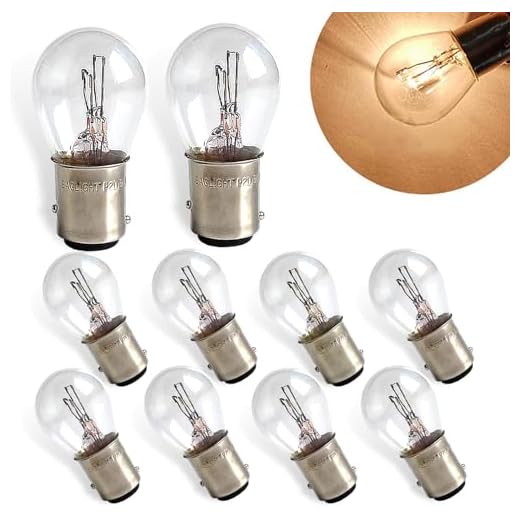
Bulb Issues
Burnt brake light bulbs create obvious symptoms but sometimes hide underlying electrical problems that cause premature bulb failure. When brake light bulbs burn out repeatedly, the problem usually involves excessive voltage, poor connections, or inadequate heat dissipation.
Standard incandescent bulbs typically last 1-2 years under normal operating conditions. However, vibration, electrical surges, and temperature extremes can significantly reduce bulb life, particularly on motorcycles exposed to harsh riding conditions.
LED brake light conversions offer improved reliability and longer service life compared to traditional incandescent bulbs. However, LED bulbs require proper electrical compatibility and may need load resistors to function correctly with your motorcycle’s electrical system.
Step-by-step bulb replacement procedure:
- Turn off ignition – Ensure all electrical systems are off before beginning work
- Remove tail light assembly – Access bulb socket by removing lens or housing
- Disconnect bulb connector – Carefully unplug electrical connector from bulb base
- Remove old bulb – Twist counterclockwise and pull straight out from socket
- Install new bulb – Insert new bulb and twist clockwise to lock in place
- Test operation – Verify brake lights work before reassembling components
Dual-filament bulbs used in combination tail/brake lights require proper installation orientation. Installing these bulbs incorrectly can cause running lights to work while brake lights fail, or vice versa.
Socket corrosion affects bulb performance even when the bulb itself remains functional. Clean all socket contacts with electrical contact cleaner and apply dielectric grease to prevent future corrosion problems.
Wiring Diagnosis
Damaged wiring harnesses cause brake light problems that can be challenging to locate and repair. Your motorcycle’s brake light wiring travels through several connection points where damage commonly occurs due to vibration and environmental exposure.
Systematic voltage testing helps identify wiring problems quickly without replacing expensive components unnecessarily. Use a multimeter to trace power from the fuse box through the brake switches to the brake light bulbs, checking for voltage drops that indicate damaged wiring.
The JustAnswer brake light troubleshooting guide provides detailed procedures for testing brake light circuits on various Harley Davidson models using basic electrical tools.
Wire routing inspection reveals physical damage that causes intermittent brake light operation. Look for wires that contact sharp edges, hot exhaust components, or moving suspension parts that can gradually damage insulation and create short circuits.
Connector corrosion frequently occurs at junction points where multiple wire harnesses connect. These connectors often hide under the seat or behind body panels where moisture can accumulate and cause oxidation that interrupts electrical continuity.
Professional wiring diagrams help identify correct wire colors and connection points for your specific motorcycle model. Different model years and trim levels use varying wiring configurations that affect troubleshooting procedures.
Switch Testing
Proper brake switch testing requires systematic voltage measurements to determine whether switches function correctly or need replacement. Both front and rear brake switches should provide clean on/off operation when activated.
Rear brake switch testing involves checking continuity across switch terminals while activating the brake pedal. A functioning switch should show zero resistance when closed and infinite resistance when open, with crisp transitions between states.
Front brake switch testing requires similar procedures but must account for lever adjustment and proper switch positioning. The switch should activate with minimal lever movement and provide consistent operation throughout the lever travel range.
The most common reason is the gap between the throttle and the front brake master cylinder. If it has moved out of adjustment your switch will not work. Brake System Specialist
Switch voltage testing under load conditions reveals problems that simple continuity testing might miss. Connect a test light or voltmeter to the brake light circuit while operating each brake switch to verify proper voltage transmission.
Intermittent switch problems require extended testing to identify temperature-related failures or connections that work only under specific conditions. These problems often worsen over time as internal switch components deteriorate from heat and vibration exposure.
Replacement Procedures
Professional brake switch replacement ensures reliable long-term operation and proper electrical connections. Quality replacement switches and correct installation procedures prevent recurring problems that waste time and money.
Rear brake switch replacement typically requires brake fluid system bleeding since the switch threads into the master cylinder. Plan for this additional maintenance step and have fresh brake fluid available for the procedure.
Front brake switch replacement involves careful lever adjustment to ensure proper switch activation distance. The switch should engage with minimal lever movement but not activate from normal handlebar vibration during riding.
Switch replacement guidelines:
- Purchase OEM or high-quality aftermarket switches designed for your model year
- Clean all electrical connections with contact cleaner before installation
- Apply dielectric grease to prevent future corrosion at connection points
- Test brake light operation before final assembly and adjustment
- Verify proper brake lever feel and operation after installation
- Check brake fluid level and bleed system if necessary
The Fix My Hog brake switch testing guide demonstrates proper testing and replacement procedures for both front and rear brake switches on various Harley Davidson models.
Installation timing affects switch longevity and performance. Avoid installing electrical components during extremely hot or cold weather when possible, as thermal stress can damage sensitive switch contacts during initial operation.
| Component | Average Cost | Labor Time | Difficulty Level |
|---|---|---|---|
| Brake Light Bulb | $8-25 | 15 minutes | Easy |
| Front Brake Switch | $15-35 | 30 minutes | Moderate |
| Rear Brake Switch | $20-45 | 1 hour | Moderate |
| Wiring Repair | $50-150 | 2-3 hours | Difficult |
Video Credit: Low Country Harley-Davidson / YouTube
Frequently Asked Questions
Why do both my brake lights stop working at once?
When both brake lights fail simultaneously, the problem typically involves a shared electrical component rather than individual bulb or switch failures. The brake light fuse protects the entire brake light circuit, and when it blows, neither front nor rear brake activation will illuminate the lights.
Brake light relay failure can also cause both lights to stop working since the relay controls power distribution to both brake light circuits. Modern Harley motorcycles use sophisticated relay systems that can fail internally while still appearing functional from external inspection.
Main wiring harness damage affects both brake light circuits simultaneously when the damage occurs upstream from the individual switch circuits. This type of problem often results from collision damage, improper electrical work, or severe corrosion at major connection points.
How do I know if my brake light switch is bad?
Testing brake light switches requires checking both electrical continuity and proper mechanical operation. A functioning switch should provide clean on/off transitions when activated and show appropriate resistance readings across its terminals.
Visual inspection often reveals failed brake switches before electrical testing. Look for obvious damage like cracked housings, corroded terminals, or switches that don’t return to their normal position after brake release. These problems usually indicate internal component failure requiring replacement.
Voltage testing under actual operating conditions provides the most accurate assessment of switch performance. Connect a test light or multimeter to the brake light circuit while activating each brake control to verify proper voltage transmission through the switch contacts.
Can I ride my Harley with broken brake lights?
Riding with non-functioning brake lights is illegal in all US states and creates serious safety risks for both you and following traffic. Police officers can issue citations for defective vehicle equipment, and you could be held liable for accidents caused by drivers’ inability to see your braking actions.
Emergency repairs using portable LED brake lights or warning devices can provide temporary safety while you complete proper repairs. However, these temporary solutions don’t satisfy legal requirements and should only be used to reach a repair facility safely.
The safety risks extend beyond legal concerns since motorcycle riders depend on visibility to other drivers for protection. Non-functioning brake lights eliminate a critical safety signal that alerts following drivers to your intentions and helps prevent rear-end collisions.
What causes brake light fuses to blow repeatedly?
Repeatedly blown brake light fuses indicate electrical short circuits or excessive current draw somewhere in the brake light system. These problems usually involve damaged wiring, failed switches that stick in the closed position, or bulb sockets with internal short circuits.
Water intrusion into electrical connections creates ground faults that cause fuse failures during wet weather or after washing your motorcycle. Check all exposed electrical connections for signs of corrosion or moisture damage, particularly at the brake light assembly and switch connections.
Aftermarket electrical accessories connected to brake light circuits can overload the fuse if they draw more current than the circuit was designed to handle. LED brake light installations sometimes require load resistors to prevent electrical problems that cause fuse failures.
How much should brake light switch replacement cost?
Brake light switch replacement costs vary depending on which switch needs replacement and whether you perform the work yourself or hire a professional. Front brake switches typically cost $15-35 plus minimal labor, while rear switches range from $20-45 but may require brake system bleeding.
Professional installation adds $75-150 to the total cost depending on your location and the complexity of the specific repair. Rear brake switch replacement costs more due to the additional brake fluid service requirements and longer labor time needed.
DIY replacement saves significant money but requires basic electrical skills and proper tools. Front brake switch replacement is generally straightforward, while rear switch replacement requires brake system knowledge and the ability to properly bleed brake fluid afterward to maintain safe brake operation.
You can find quality LED brake light conversion kits to upgrade your lighting system with improved reliability and visibility.
Sources:
- JustAnswer Harley Brake Light Diagnostics
- Harley Davidson Forums Brake Light Troubleshooting
- Fix My Hog Brake Switch Testing Guide
- Harley Davidson Technical Forums
- RoadGlide Brake Light Diagnostics
Read More:
- Harley Key Fob Not Working? Here’s Your Complete Fix Guide
- Harley ABS System Malfunction? Causes and Solutions