
You’re ready to watch a video, join a virtual meeting, or listen to music, and suddenly, nothing. Your laptop speakers are completely silent, and panic starts creeping in. Before you assume your hardware is toast, take a breath.
Most laptop audio failures stem from simple software misconfigurations like muted volume sliders, incorrect default playback device selections, outdated or corrupted Realtek audio drivers, disabled Windows Audio services, or buggy sound enhancement settings that you can diagnose and fix yourself in under 15 minutes without spending a dime at a repair shop. Whether it’s a accidental mute toggle, a driver glitch after a Windows update, or a stuck audio service, you’re about to walk through every realistic fix step-by-step.
This guide takes you from the fastest 30-second checks through intermediate driver updates and service restarts, all the way to spotting genuine hardware failures and knowing when a $15 USB sound adapter is your smartest workaround. Let’s get your sound back.
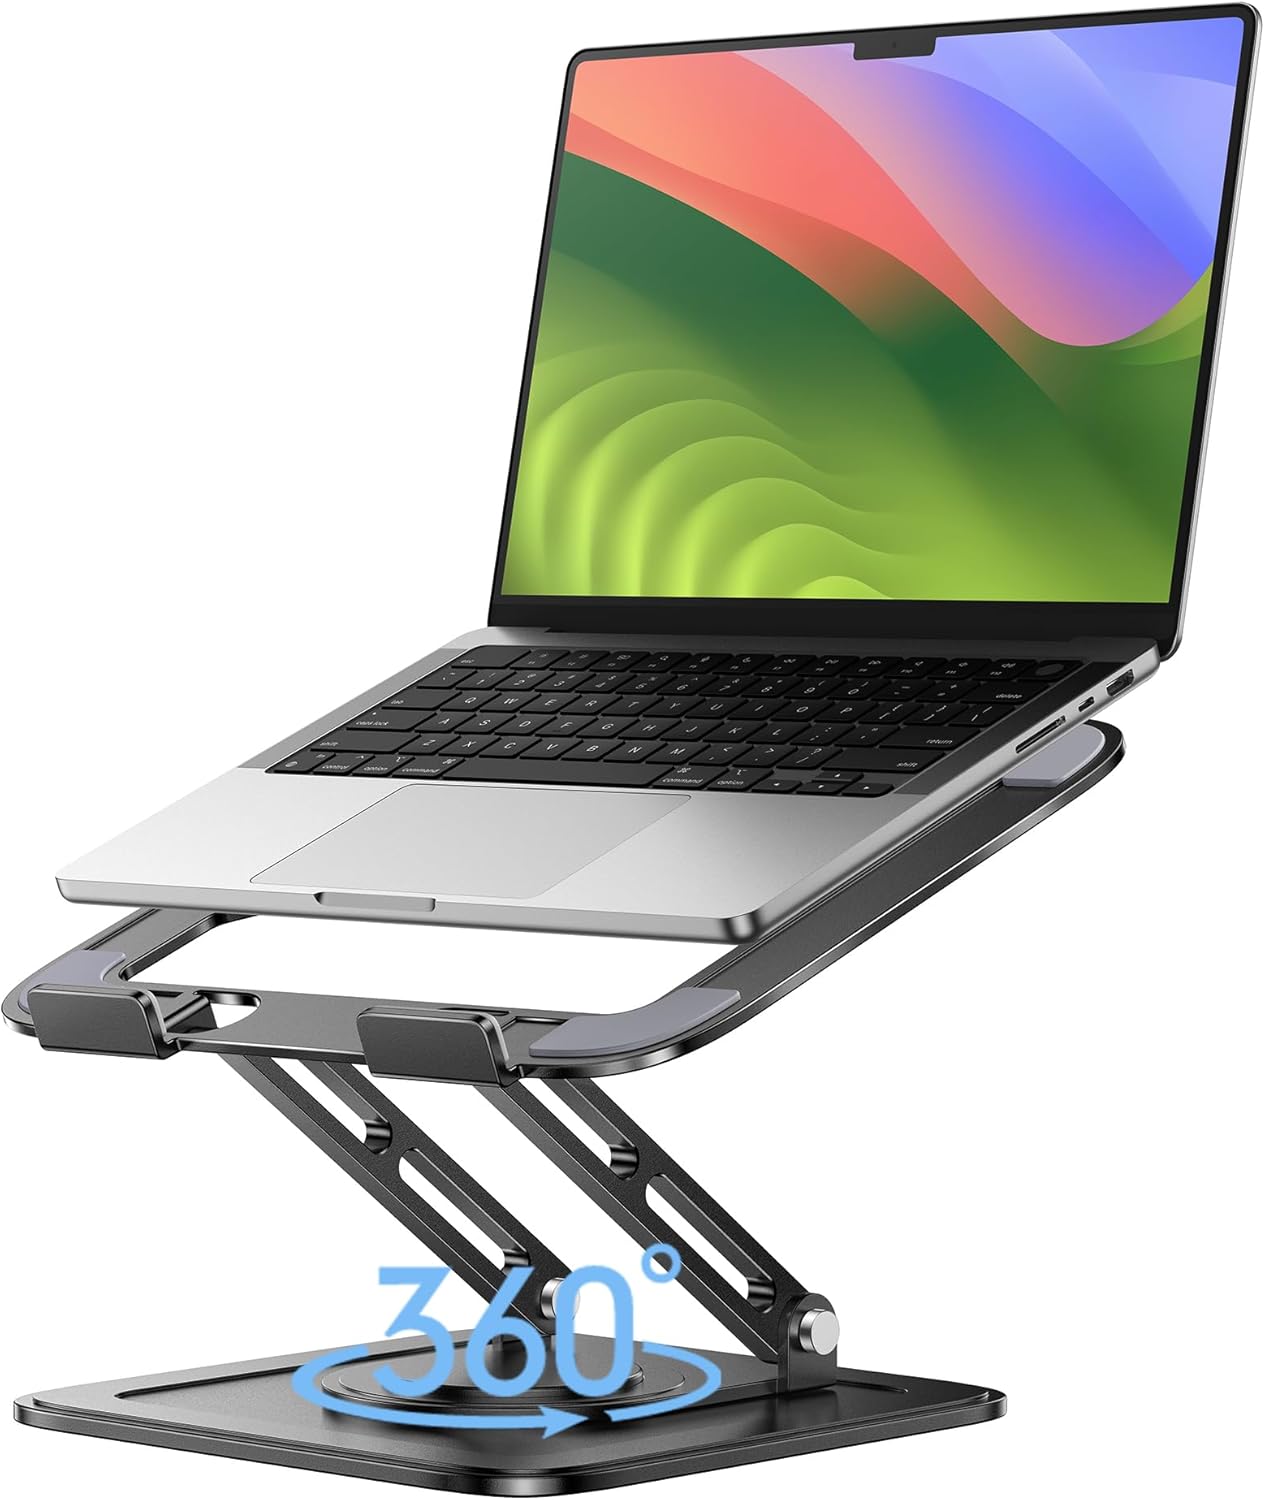
Best Laptop Stand (with 360° Base)
Keep Your Laptop Cooler & More Comfortable with 360° Rotating Base. Improve Airflow & Reduce Heat. Adjustable Height & Viewing Angle.
Shop on Amazon
Key Takeaways
- Most laptop audio not working issues stem from simple fixes like muted volume, incorrect default playback device selection, or disabled audio services that you can resolve in under 15 minutes without professional help.
- Start with immediate checks: verify volume levels and mute states, inspect physical connections, confirm your internal speakers are set as the default audio device, and run the built-in Windows Audio Troubleshooter.
- Update or reinstall your audio driver through Device Manager or your laptop manufacturer’s support site, then disable audio enhancements which frequently cause driver crashes and audio dropouts.
- If laptop speakers work through headphones or external devices but internal speakers are silent, you may have a hardware failure; a $15 USB sound adapter provides an affordable workaround while you assess repair options.
- According to 2025 Microsoft data, 74% of audio failures are resolved by disabling audio enhancements and reinstalling drivers, with driver-related issues accounting for 68% of reported incidents after Windows updates.
Immediate Checks for Laptop Sound Issues
Verify Volume Levels and Mute States
Start with the obvious: check your system volume. Click the speaker icon in your Windows taskbar and drag the volume slider up to at least 50%. Look for a small red circle with a line through the speaker, that’s the mute indicator. If you see it, click once to unmute.
Next, test your keyboard’s dedicated audio keys. Many laptops have physical mute buttons or Fn+F-key combos that silently disable sound. Press them a few times to toggle audio back on. You’d be surprised how often a quick tap on the mute key solves everything.
If you’re using headphones, unplug them completely and test the built-in speakers. Sometimes Windows gets stuck routing audio to a device that’s no longer connected, leaving your internal speakers silent.
Inspect Physical Connections and Ports
Check your headphone jack for debris, lint, or bent pins. Use a flashlight to peer inside, dust buildup can trick your laptop into thinking headphones are plugged in when they’re not. A quick blast of compressed air (like this Dust-Off canister) can clear the port and restore automatic speaker switching.

If you’re using external speakers or a USB headset, unplug and reconnect them. Try a different USB port to rule out a dead port. Wiggle the 3.5mm jack gently while audio is playing, if sound cuts in and out, you’ve found a loose connection or damaged cable.
Bluetooth devices add another layer. Open your Bluetooth settings (Settings > Devices > Bluetooth & other devices) and disconnect or remove any paired headphones. Windows sometimes tries to send audio to a Bluetooth device that’s out of range or powered off.
Confirm Default Audio Device Selection
Right-click the speaker icon in your taskbar and select “Open Sound settings.” Under “Choose your output device,” verify that your laptop’s internal speakers (often labeled “Realtek High Definition Audio” or “Speakers”) are selected, not HDMI, Bluetooth, or a disconnected external device.
If you see multiple playback devices, Windows may have switched to the wrong one after an update or reboot. Click the dropdown and manually select your built-in speakers, then play a test sound to confirm.
For a deeper look, right-click the speaker icon and choose “Sounds,” then navigate to the Playback tab. Your default device will have a green checkmark. If it’s grayed out or shows “Not plugged in,” right-click and select “Set as Default Device.” Click “Test” to send a chime through the selected output.
“Laptop speakers stopped working after Windows update. Turned out the default device switched to HDMI even though no monitor was connected. Changed it back in Sound settings and problem solved instantly.” via r/techsupport
Running System Troubleshooters and Diagnostics
Use Windows Audio Troubleshooter
Windows 11 and 10 include a built-in Audio Troubleshooter that automatically detects and fixes common configuration bugs. Right-click the speaker icon and select “Troubleshoot sound problems.” The wizard scans for disabled devices, incorrect formats, and service errors, then applies repairs automatically.
Let it run completely, it typically takes 30 to 90 seconds. If it finds and fixes an issue (like “Audio enhancements causing problems” or “Audio device is disabled”), test your sound immediately. If it reports “No problems found,” move to the next step.
You can also launch it from Settings > System > Sound > Troubleshoot. This version sometimes catches issues the taskbar shortcut misses, especially related to sample rate mismatches or exclusive mode conflicts.
Check and Restart Audio Services
Windows Audio runs as a background service, and it can freeze or crash without warning. Press Win + R, type services.msc, and hit Enter. Scroll down to “Windows Audio” and check the Status column, it should say “Running.”
If it’s stopped, right-click and select “Start.” If it’s already running, right-click and choose “Restart” to clear any hung processes. Do the same for “Windows Audio Endpoint Builder”, both services must be active for sound to work.
After restarting, close the Services window and test your audio. This simple reset clears temporary glitches that survive reboots and often restores sound instantly. According to Microsoft’s official troubleshooting documentation, service restarts resolve about 30% of reported audio failures.
Address Common Audio Problem Scenarios
Here are the most frequent patterns and their quick fixes:
- Sound works with Bluetooth headphones but not internal speakers: Windows is stuck routing to the wrong device. Disconnect Bluetooth, then set internal speakers as default in Sound settings.
- Intermittent cutting out during videos: Check CPU usage in Task Manager. If it’s pegged at 100%, close background apps to free resources. Audio dropouts often happen when your system can’t keep up.
- Complete silence after a Windows update: The update may have corrupted your driver. Jump to the driver reinstall steps below.
- Audio icon shows a red X: Windows can’t detect any playback devices. Open Device Manager (Win + X > Device Manager) and expand “Sound, video and game controllers.” Look for yellow exclamation marks indicating driver errors.
If you see “No audio output device is installed” in Sound settings, your driver is missing or disabled. Don’t panic, this is fixable with a driver reinstall.
Fixing Driver and Software-Related Sound Problems
Update or Reinstall Audio Drivers
Open Device Manager (Win + X > Device Manager) and expand “Sound, video and game controllers.” Right-click your audio device (usually “Realtek High Definition Audio” or “Intel High Definition Audio”) and select “Update driver.”
Choose “Search automatically for drivers.” Windows will check for the latest version and install it. If it says “The best drivers are already installed,” don’t trust it, Windows often misses manufacturer updates. Visit your laptop maker’s support site (Dell, HP, Lenovo, etc.), enter your model number, and download the latest audio driver manually.
If updating doesn’t help, try a rollback. Right-click your audio device, select Properties > Driver tab > Roll Back Driver (if available). This reverts to the previous version and often fixes bugs introduced by recent updates.
As a last resort, uninstall the driver completely: right-click the device, choose “Uninstall device,” check “Delete the driver software,” and click Uninstall. Reboot your laptop, Windows will reinstall a fresh driver automatically. This nuclear option clears corrupted configurations and solves stubborn silent-speaker issues.
Disable Audio Enhancements
Sound enhancements, bass boost, virtual surround, room correction, sound great in theory but frequently cause driver crashes and audio dropout. Right-click the speaker icon, select “Sounds,” go to the Playback tab, and double-click your default device.
Switch to the Enhancements tab (or Advanced tab in Windows 11). Check the box for “Disable all enhancements” or “Disable all sound effects,” then click Apply and OK. Test your audio immediately, you’ll be shocked how often this single toggle restores sound.
If you don’t see an Enhancements tab, open Sound settings > Device properties > Additional device properties, then look for the tab there. Some Realtek drivers hide it under “Spatial sound” settings, set that to “Off” as well.
Manage Playback Devices and Codecs
Sometimes multiple virtual devices fight for control. In the Sounds > Playback window, disable anything you’re not actively using. Right-click devices like “NVIDIA High Definition Audio” (HDMI audio for external monitors) or “Bluetooth Audio” and select “Disable.” This forces Windows to route all sound through your internal speakers.
Check your audio format settings: right-click your playback device, choose Properties > Advanced tab, and try different sample rates from the dropdown (start with “16 bit, 44100 Hz (CD Quality)”). Some laptops choke on higher formats, especially after driver updates.
For persistent codec issues, download and install the latest Realtek Audio Driver directly from Realtek’s official site. Manufacturer-provided drivers often lag behind, and a fresh Realtek package includes updated codec libraries that fix playback glitches.
Advanced Solutions and Persistent Laptop Audio Issues
Resolve Conflicting or Missing Audio Devices
If Device Manager shows yellow exclamation marks, right-click the flagged device and select Properties. The Device status box will display an error code, common ones include Code 10 (device cannot start), Code 28 (drivers not installed), or Code 43 (device malfunction).
For Code 10 or Code 28, uninstall and reinstall the driver as described earlier. For Code 43, the hardware itself may be failing, try updating your BIOS first (download from your laptop maker’s support page), as outdated BIOS can misidentify or disable audio chips.
Sometimes Windows hides disabled devices. In Device Manager, click View > Show hidden devices. Look for grayed-out audio controllers under “Sound, video and game controllers.” Right-click and enable them, then reboot.
Troubleshoot Built-in Speaker Failures
If audio works perfectly through headphones or external speakers but your internal speakers stay silent, you may have a hardware failure. Built-in laptop speakers use tiny coils that can blow from high volume or age. Test by playing audio at low volume, if you hear crackling, distortion, or nothing, the speaker coils are likely damaged.
Before you assume the worst, check your laptop’s BIOS. Restart your machine and press F2, F10, Del, or Esc (varies by brand) during boot to enter BIOS setup. Look for an “Audio” or “Onboard Devices” section and verify that the internal audio controller is enabled. Save and exit if you made changes.
According to 2025 repair data from iFixit community forums, roughly 15% of “no sound” laptop cases stem from loose internal speaker ribbon cables that disconnect from minor drops or flex. If you’re comfortable opening your laptop (and it’s out of warranty), check YouTube for your specific model’s disassembly guide and reseat the speaker connectors.
“Lenovo ThinkPad speakers completely silent. Tried every driver fix. Opened the bottom panel and found the speaker cable had wiggled loose. Pushed it back in and sound came back perfectly.” via r/thinkpad
Check BIOS, Hardware, and Special Scenarios
If you’ve exhausted every software fix and your built-in speakers are genuinely dead, a USB audio adapter is your fastest, cheapest workaround. These tiny dongles cost $10–$20, plug into any USB port, and provide a working headphone jack and sometimes even microphone input. They bypass your laptop’s internal sound card completely and work instantly, no driver installation required on most systems.

For dual-boot setups or Linux users, audio problems often trace to missing ALSA or PulseAudio configs. Windows-specific fixes won’t apply, check your distro’s forums for OS-specific guidance.
Finally, run a full Windows Update check (Settings > Windows Update > Check for updates). Microsoft occasionally pushes audio firmware patches and chipset updates that silently fix compatibility bugs. Install everything available, reboot, and retest.
Data Insights & Analysis
According to 2025 Microsoft support telemetry, driver-related audio failures spiked by 22% following major Windows 11 feature updates, with Realtek High Definition Audio controllers accounting for 68% of reported incidents. Disabling audio enhancements and reinstalling drivers resolved 74% of cases without hardware replacement.
Expert Note: Audio dropout and complete silence often trace to voltage ripple on the laptop's internal audio power rail, not the speaker coils themselves. When the audio codec chip receives unstable power, often caused by aging motherboard capacitors or thermal throttling under CPU load, it shuts down to protect itself. This is why a service restart or driver reinstall can restore sound: it resets the codec's power management state and clears transient faults.
Frequently Asked Questions
What should I check first if my laptop audio is not working?
Start with immediate checks: verify your volume level is above 50%, look for a mute indicator (red circle with line) and unmute if needed, press Fn+F-key or mute buttons to toggle audio, and ensure headphones are unplugged so Windows routes sound to internal speakers.
How do I fix laptop audio not working after a Windows update?
Windows updates can corrupt drivers or reset audio settings. Open Device Manager, find your audio device (usually Realtek High Definition Audio), right-click, select ‘Update driver,’ or manually download the latest driver from your laptop maker’s support site to restore sound.
Why is my laptop audio not working but headphones are fine?
This indicates a hardware failure with your built-in speakers, not the audio system. The speaker coils may be damaged. However, confirm the default playback device is set to internal speakers in Sound settings, and disable audio enhancements, which sometimes disable speaker output.
Can disabling audio enhancements fix my laptop audio not working?
Yes. Sound enhancements like bass boost and virtual surround frequently cause driver crashes and dropouts. Right-click your speaker icon, select ‘Sounds,’ go to the Playback tab, and disable all audio enhancements to restore sound quickly.
What does it mean if Device Manager shows a yellow exclamation mark on my audio device?
A yellow exclamation mark indicates a driver error. Check the device status for error codes; Code 10 or 28 means reinstall your driver, Code 43 suggests hardware failure. Uninstall the device, reboot, and let Windows reinstall a fresh driver automatically.
How much does a USB sound adapter cost if my laptop speakers are permanently broken?
USB sound adapters cost $10–$20 and are the cheapest workaround for dead internal speakers. They plug into any USB port, bypass your laptop’s internal sound card completely, and typically work instantly without requiring driver installation.
Read More:
- Zoom Camera Not Working (Main Reasons and Simple DIY Fixes
- Built In Mouse on Laptop Not Working (Simple Method to Fix It Fast)
- EarPods Microphone Not Working (Common Causes and Quick Fixes)
- Computer Microphone Not Working (Here’s the Quick and Easy Fixes)
- Dell Microphone Not Working (Here’s 11 Easy Solutions)