
Imagine you’re in the middle of typing an important email, and suddenly your spacebar refuses to respond. Or maybe the “E” key has died completely, leaving you scrambling to copy-paste letters just to finish a document. When your laptop keyboard keys stop working, it’s not just annoying, it’s a productivity killer.
The good news? Most dead keys aren’t a death sentence for your laptop. Many keyboard failures stem from simple software conflicts, debris buildup, or driver hiccups that you can fix yourself in minutes.
This guide walks you through systematic troubleshooting steps to identify the culprit, apply the right fix, and determine when it’s time to call in professional help or consider replacement.
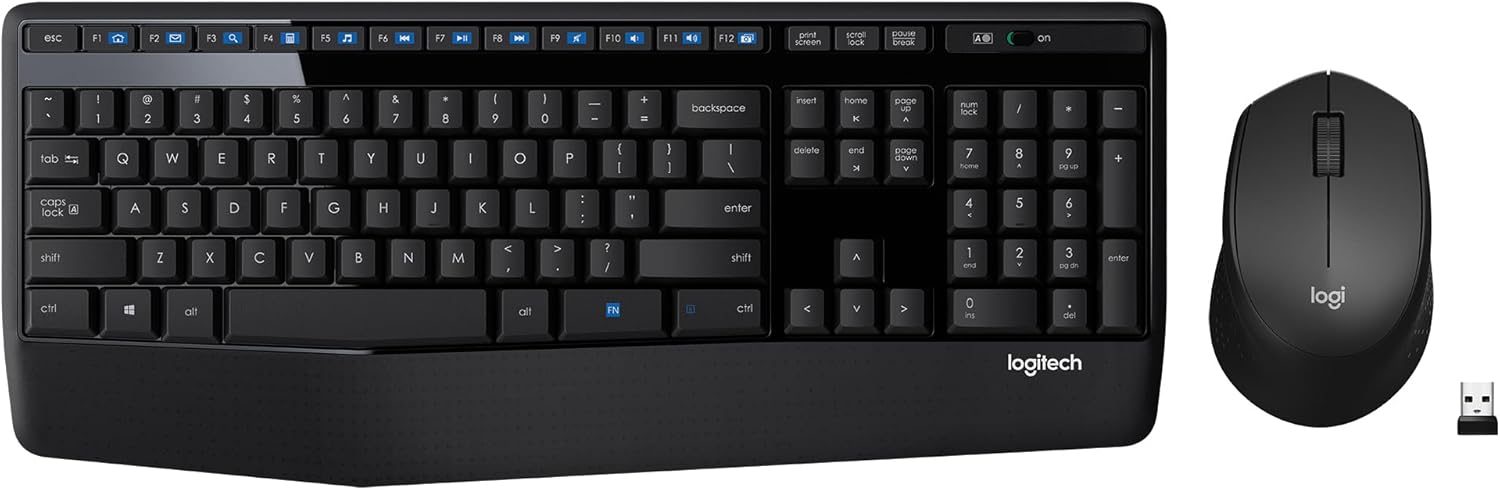
Best Wireless Keyboard and Mouse Combo
Logitech Comfortable Full-Size Keyboard with Palm Rest. Reliable 2.4GHz Wireless Connection up to 10m. Long Battery Life for Everyday Productivity.
Shop on Amazon
Key Takeaways
- Determine whether laptop keyboard keys are failing due to hardware damage or software issues by testing in BIOS or using an on-screen keyboard—this distinction guides your troubleshooting approach.
- Most non-working keys can be fixed at home through cleaning with compressed air, removing debris, or resolving software conflicts without professional help.
- Update or reinstall your keyboard drivers and disable accessibility features like Filter Keys in Windows settings, as these are common culprits behind unresponsive keys.
- If physical damage or liquid spills persist after thorough troubleshooting, keyboard replacement typically costs $50–$150 for official parts, or $100–$200 with professional labor.
- Test with an external USB keyboard to isolate whether the problem is specific to your laptop’s built-in keyboard hardware or a broader system issue.
- Always back up your data before sending a laptop for repairs, and compare replacement costs against your device’s current value to decide between fixing and buying new.
Before diving into solutions, it’s crucial to understand what you’re dealing with. Not all keyboard problems are created equal, sometimes a single key stops working, other times entire rows or sections fail. The failure pattern often hints at the underlying cause.
Start by noting exactly which keys aren’t responding. Is it one letter, a cluster of keys, or function keys? Selective failures (like just the spacebar or Enter key) usually point to physical damage or debris under that specific keycap. If an entire row or random keys across the keyboard fail simultaneously, you’re likely facing a software or driver issue rather than hardware damage.
Next, think about recent changes to your laptop. Did you spill liquid on it? Install a major Windows update? Drop it? These context clues narrow down whether you’re dealing with physical trauma, moisture damage, or a software conflict that triggered the problem.
Identifying the Root Cause of Non-Working Keys
Recognizing Selective Key Failure
Selective key failure means specific keys don’t register while the rest work fine. This pattern often indicates a localized hardware issue, crumbs, dust, or liquid trapped under the keycap, or a damaged membrane beneath. Gaming laptops and machines used while eating are especially vulnerable. If only one or two keys are dead, suspect physical obstruction or keycap damage first.
Testing Keys and Using the On-Screen Keyboard
Open your laptop’s on-screen keyboard (search “On-Screen Keyboard” in Windows) and try pressing the non-working physical keys while watching the on-screen version. If the on-screen keys light up when you press the physical keys, your hardware is fine, it’s a software or settings issue. If they don’t light up, you’ve confirmed a hardware problem. You can also use online keyboard testers to log which keys register and which don’t.
Differentiating Hardware and Software Problems
Hardware problems are physical: sticky keys, broken switches, damaged circuits, or liquid damage. Software problems include outdated drivers, Filter Keys enabled accidentally, or system conflicts. A quick differentiator: boot into your laptop’s BIOS setup (usually by pressing F2, Del, or Esc during startup). If the keys work in BIOS but not in Windows, it’s almost certainly a software or driver issue, not hardware.
Essential Troubleshooting for Laptop Key Issues
Initial Checks and Cleaning
Turn off your laptop and unplug it. Flip it upside down and gently tap the back to dislodge crumbs or debris. Use compressed air to blow out dust from under the keycaps, hold the can upright and spray at an angle. For stubborn grime, carefully pop off the keycap (if removable) using a flat tool, clean underneath with isopropyl alcohol on a cotton swab, and snap it back on. Be gentle: some laptop keycaps are fragile.
Dealing With Stuck or Sticky Keys
Sticky keys feel mushy or don’t spring back. This usually means liquid residue or grime is gumming up the mechanism. Dab a small amount of isopropyl alcohol (90% or higher) onto a cotton swab and work it around the edges of the sticky key while pressing it repeatedly. Let it dry for 10 minutes. If the key is still stuck, you may need to remove the keycap and clean the scissor mechanism or membrane underneath.
Restarting and Safe Mode Diagnostics
Restart your laptop. Sometimes a simple reboot clears temporary glitches. If keys still don’t work, boot into Safe Mode (hold Shift while clicking Restart, then navigate to Troubleshoot > Advanced Options > Startup Settings > Restart > press F4). Safe Mode loads Windows with minimal drivers. If your keys work in Safe Mode, a third-party app or driver is interfering.
Testing With an External USB Keyboard
Plug in an external USB keyboard. If it works flawlessly, you’ve isolated the problem to your laptop’s built-in keyboard hardware or its specific drivers. This test also gives you a temporary workaround so you can keep working while you troubleshoot further or arrange repairs.
Advanced Laptop Keyboard Fixes and Configuration
Running the Keyboard Troubleshooter
Windows includes a built-in keyboard troubleshooter. Go to Settings > Update & Security > Troubleshoot > Additional troubleshooters > Keyboard > Run the troubleshooter. It automatically scans for common issues like incorrect settings or driver conflicts and attempts to fix them. It’s not a miracle worker, but it catches many overlooked software problems.
Driver and HID Keyboard Device Issues
Outdated or corrupted drivers often cause key failures. Open Device Manager (right-click Start > Device Manager), expand “Keyboards,” right-click your keyboard device, and select “Update driver.” If that doesn’t help, try “Uninstall device,” then restart your laptop, Windows will reinstall the driver automatically. Also check under “Human Interface Devices” for HID Keyboard Device entries and update or uninstall those as well.
Managing Filter Keys, Toggle Keys, and Function Lock
Filter Keys is an accessibility feature that ignores brief or repeated keystrokes, it can make keys seem unresponsive. Turn it off: Settings > Ease of Access > Keyboard > toggle off Filter Keys. Also disable Sticky Keys and Toggle Keys if enabled. Some laptops have a Function Lock (Fn Lock) that changes key behavior: press Fn + Esc or Fn + Caps Lock to toggle it and see if your keys start working.
Exploring Advanced Keyboard Settings and Registry Backup
If you’re comfortable with advanced troubleshooting, check for registry corruption or conflicting keyboard layouts. Go to Settings > Time & Language > Language and ensure you haven’t accidentally added extra keyboard layouts. Before editing the registry, always create a backup (search “regedit,” File > Export). Navigate to HKEY_LOCAL_MACHINE\SYSTEM\CurrentControlSet\Control\Keyboard Layout and look for a “Scancode Map” entry, delete it if present (it may remap keys incorrectly).
When to Repair, Replace, or Seek Expert Help
Recognizing Irreparable Hardware Damage
If you’ve tried all software fixes, cleaned thoroughly, and keys still don’t work, especially after liquid spills or physical drops, you’re likely facing hardware damage. Signs include keys that feel loose, cracks in the keyboard deck, or multiple keys failing in a pattern (entire row or column). Severe liquid damage can corrode circuits beyond repair.
Exploring Keyboard Replacement Options
For many laptops, replacing just the keyboard is feasible and cheaper than a new machine. Official manufacturer replacements cost $50–$150 depending on brand and model. Third-party sellers on Amazon or eBay offer cheaper alternatives, but quality varies. DIY replacement is possible if you’re handy, search YouTube for “[your laptop model] keyboard replacement” for step-by-step videos. Otherwise, local repair shops typically charge $100–$200 for labor plus parts.
Professional Repair Advice and Data Safety
If your laptop is under warranty, contact the manufacturer before attempting DIY repairs, you might get a free replacement. For out-of-warranty devices, get quotes from multiple repair shops. Before handing over your laptop, back up all important data to an external drive or cloud storage. Reputable shops won’t access your files, but it’s always safer to protect your data. If repair costs exceed 50% of your laptop’s current value, consider investing in a new machine instead.
Frequently Asked Questions
What should I do first if laptop keyboard keys not working?
Start by identifying which keys aren’t responding and noting any recent changes (spills, drops, updates). Turn off your laptop, unplug it, flip it upside down, and gently tap it to dislodge debris. Use compressed air to blow out dust from under keycaps. These initial steps often resolve many keyboard issues quickly.
How can I tell if my laptop keyboard problem is hardware or software?
Use the on-screen keyboard test: open the on-screen keyboard and press non-working physical keys. If the on-screen keys light up, it’s a software issue. If they don’t, it’s hardware damage. You can also boot into BIOS—if keys work there but not in Windows, it’s likely a software or driver problem, not hardware.
What are common causes of laptop keyboard keys not working?
Common causes include debris or crumbs under keycaps, sticky keys from liquid residue, outdated or corrupted drivers, Filter Keys enabled in accessibility settings, or physical damage from spills or drops. Identifying the pattern (single keys vs. entire rows) helps pinpoint the specific cause affecting your laptop.
How do I fix sticky or stuck keyboard keys?
Apply isopropyl alcohol (90% or higher) on a cotton swab to the sticky key edges while pressing it repeatedly. Let it dry for 10 minutes. If it persists, remove the keycap and clean the mechanism underneath. For removable keycaps, be gentle—some laptop keycaps are fragile and may break if forced.
Should I try replacing my laptop keyboard myself?
DIY keyboard replacement is possible if you’re handy—search YouTube for your specific laptop model’s replacement guide. Official manufacturer replacements cost $50–$150, while repair shops charge $100–$200 for labor plus parts. Check if your warranty covers the issue before attempting DIY repairs to avoid voiding coverage.
What should I do if all software fixes fail and keys still don’t work?
If cleaning and software troubleshooting don’t resolve laptop keyboard keys not working, you likely have hardware damage. Get quotes from multiple repair shops, back up your data first, and consider replacement costs. If repair exceeds 50% of your laptop’s current value, investing in a new machine may be more economical.
Read More:
- Laptop Keyboard Jammed (Root Cause and How to Fix It in Minutes)
- Laptop Keyboard Jumps Around When Typing (Main Reason and How to Fix It)
- Laptop Keyboard Just Makes Clicking Noise (Quick & Simple DIY Fixes)
- Numbers on Keyboard Not Working? Here’s the 7 Proven Fixes
- Laptop Keyboard Not Working (Complete Fix Guide for All Brands)