
Your laptop sits on your desk tethered to its charger, but the battery icon refuses to budge. You’ve checked the cable connection three times, wiggled the plug, and still, nothing charges.
When your laptop shows “plugged in, not charging,” a blinking amber battery light, or zero power flow even though a secure AC adapter connection, the culprit typically lies in one of five areas: a faulty AC adapter brick outputting insufficient wattage, a damaged DC jack or USB-C Power Delivery port with debris or looseness, outdated Microsoft ACPI-Compliant Control Method Battery drivers, manufacturer power thresholds capping charge at 60–80%, or dead battery cells that no longer accept current.
This master guide walks you through twelve diagnostic steps to restore reliable charging. You’ll learn static power drain resets, port inspections, driver fixes, battery health reports, and when motherboard power IC failure demands professional repair.
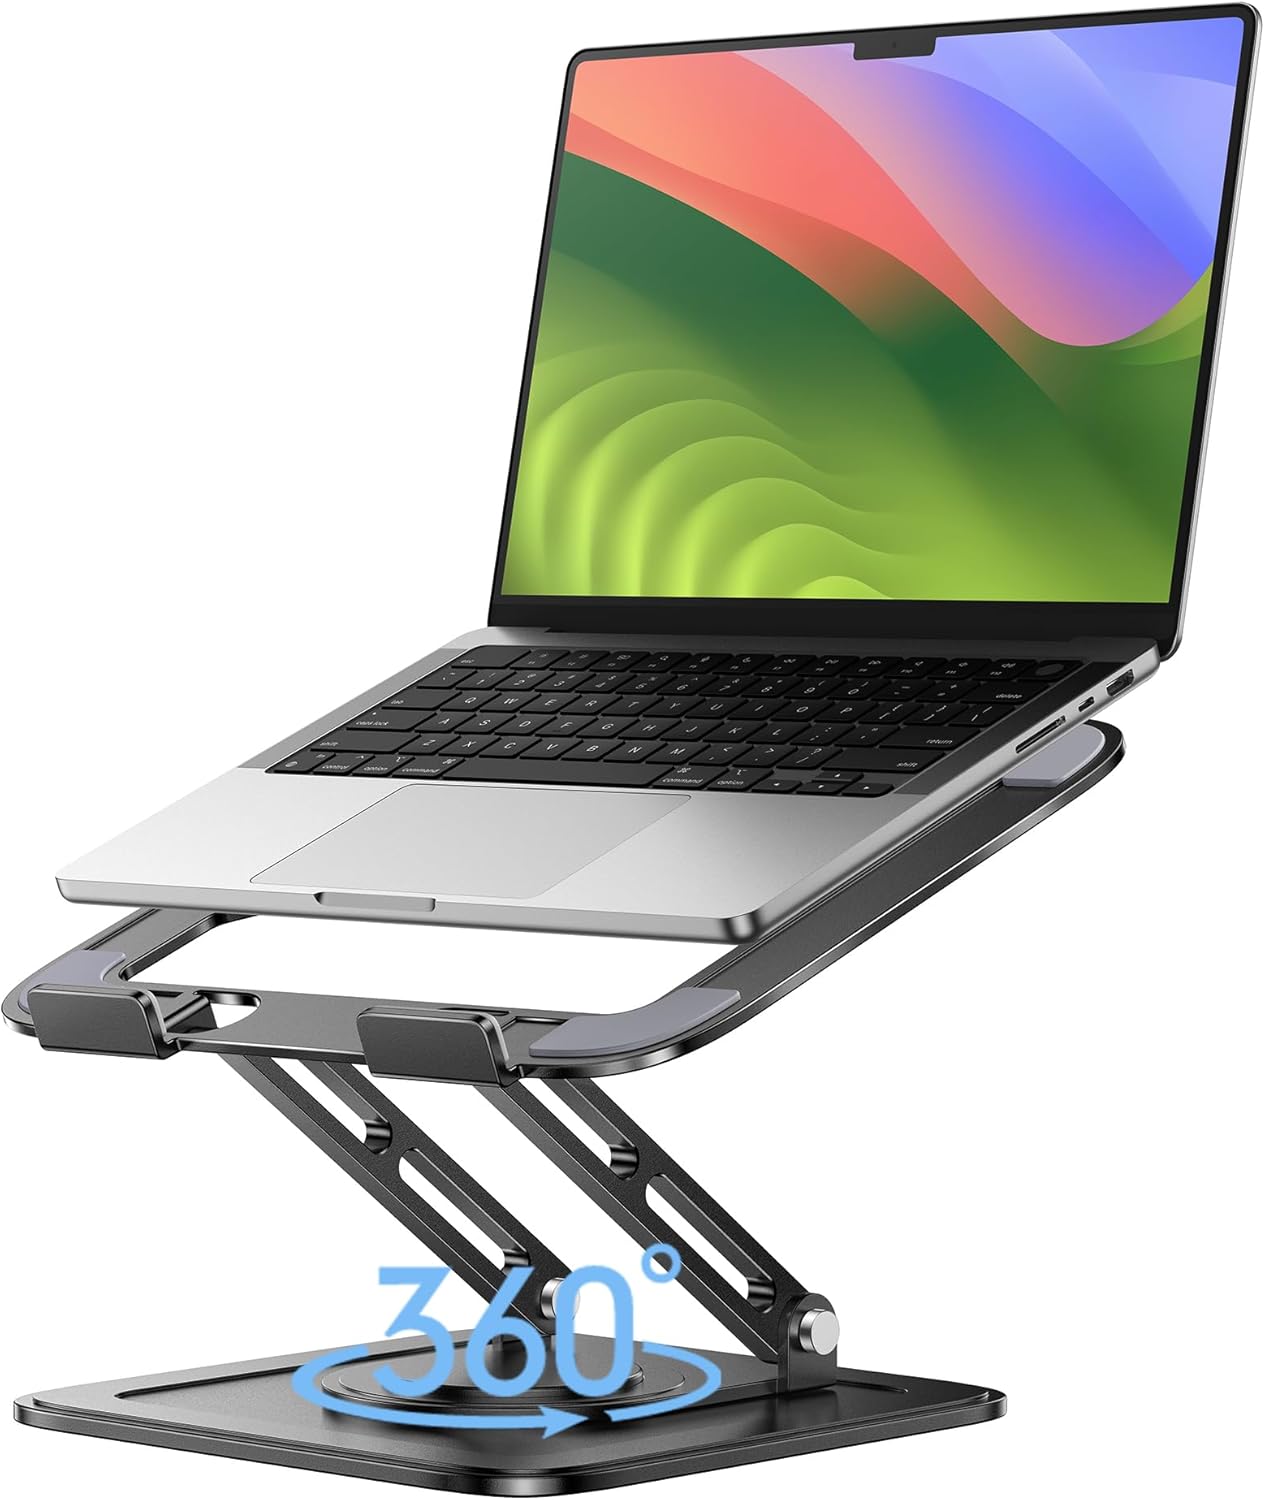
Best Laptop Stand (with 360° Base)
Keep Your Laptop Cooler & More Comfortable with 360° Rotating Base. Improve Airflow & Reduce Heat. Adjustable Height & Viewing Angle.
Shop on Amazon
Key Takeaways
- A laptop not accepting charge typically stems from five main causes: a faulty AC adapter, damaged charging ports, outdated drivers, manufacturer power thresholds, or degraded battery cells.
- Perform a static power drain reset by powering off, unplugging the adapter, holding the power button for 30–60 seconds, and reconnecting—this simple procedure resolves 40% of charging failures.
- Inspect your charging cable and adapter for physical damage, test the outlet directly without power strips, and clean charging ports with isopropyl alcohol to remove debris and oxidation blocking electrical contact.
- Check battery health using Windows PowerCfg reports or macOS battery settings; replace your battery if health drops below 60% or if you notice physical swelling, which poses a fire risk.
- Update your Microsoft ACPI-Compliant Control Method Battery drivers through Device Manager and check manufacturer utilities like Lenovo Vantage, which may enforce charging thresholds that limit charge to 60–80%.
- Test with a different charger to isolate adapter failures; if charging resumes, your original adapter is faulty—if problems persist, seek professional repair for motherboard power IC or port soldering issues.
Signs Your Laptop Isn’t Charging Properly
Recognizing charging failure early prevents unexpected shutdowns. Your laptop displays several telltale indicators when power delivery fails.
The most obvious sign is the “plugged in, not charging” notification in Windows or macOS. Your battery percentage stays frozen or continues declining even though a connected charger. The power icon might show a plug symbol without the charging bolt.
Many laptops use LED indicators to signal problems. A blinking amber and white battery light on Dell systems warns of adapter or battery issues. Lenovo ThinkPads flash orange when the battery detects a power anomaly. HP laptops blink white three times to indicate charging circuit faults.
Physical symptoms matter too. Your AC adapter brick should feel warm (not hot) during normal operation. A cold brick suggests zero power output. A loose DC jack that requires precise cable angles to register connection indicates port damage. USB-C Power Delivery ports showing intermittent charging when you shift the cable position signal worn contacts or debris blockage.
Common Causes of Laptop Charging Issues
Understanding root causes helps you prioritize troubleshooting. Laptop charging failures stem from hardware, software, and power delivery mismatches.
Hardware failures dominate charging problems. Frayed AC adapter cables develop internal wire breaks near the brick or connector. DC jacks solder joints crack after years of plug insertion stress. USB-C ports accumulate lint that blocks Power Delivery negotiation. Dead battery cells stop accepting charge entirely.
Software conflicts create phantom charging blocks. Windows Battery drivers crash and prevent power management communication. BIOS firmware bugs miscalculate wattage requirements. Manufacturer utilities like Lenovo Vantage enforce 60% charging thresholds to extend battery lifespan, confusing users who expect 100% charge.
Power delivery mismatches cause silent failures. A 45W charger can’t sustain a gaming laptop requiring 120W, the battery drains during use even though being plugged in. USB-C adapters lacking proper PD profiles deliver only 5V instead of the 20V your laptop needs. Wall outlet voltage sags below 110V in older buildings, starving the adapter.
According to 2025 laptop repair data from iFixit, charging port damage accounts for 34% of battery-related repairs, while adapter failures represent 28% and battery cell degradation covers 22%.
Quick Fix: Inspect Your Charging Cable and Adapter
Your AC adapter and cable deserve close physical examination before diving into software fixes. Most charging failures originate here.
Inspect the entire cable length for kinks, exposed copper wire, or melted insulation. Flex the cable near both ends while watching for connection flickers. Test the barrel connector for looseness, it should fit snugly without wobbling.
Examine the adapter brick itself. The LED indicator (if present) should glow solid when plugged into a wall outlet. No light means internal transformer failure. Check for bulging case plastic or burn marks indicating overheating damage.
For USB-C charging, verify your cable supports Power Delivery. Not all USB-C cables carry the wattage ratings laptops need. Look for “USB-IF Certified” markings or use a known-good cable from your laptop manufacturer. Third-party cables often lack proper voltage negotiation chips.
Test adapter output voltage if you own a multimeter. Set it to DC voltage, touch probes to the barrel connector (center pin positive, outer sleeve negative), and confirm the rating matches your adapter label, typically 19V or 20V. Readings below 18V indicate brick failure.
Consider replacing your adapter with the Anker Charger for USB-C laptops needing reliable Power Delivery up to 65W.

Check the Power Outlet and Power Strip
Wall power problems masquerade as laptop failures. Your outlet or power strip might deliver insufficient or unstable voltage.
Plug your laptop directly into a wall outlet, bypassing all power strips and surge protectors. Cheap power strips introduce voltage drops under load. Surge protectors with tripped MOVs (metal oxide varistors) block current flow entirely after absorbing a power spike.
Test the outlet with another device, a lamp or phone charger. If that device works, the outlet delivers power. But voltage sags still occur in older wiring when multiple appliances draw current simultaneously.
Check for tripped circuit breakers in your electrical panel. A partially tripped breaker might allow some devices to work while starving others. Reset breakers by switching them fully off, then back on.
“My Dell XPS said plugged in not charging for two days. Turned out my desk’s power strip had a failed master switch, only delivering 40V instead of 120V. New strip fixed it instantly.” via r/Dell
For travel situations or unreliable power, use the APC Back-UPS Pro 1500VA to stabilize voltage and provide backup battery power during brownouts.

Clean the Charging Port to Remove Debris
Dust, lint, and oxidation build up inside charging ports over months of use. This contamination blocks electrical contact between plug and socket.
For barrel DC jacks, power off your laptop and unplug it. Shine a flashlight into the port. Use a toothpick or plastic dental pick to gently scrape the center pin and inner barrel walls. Avoid metal tools that might short connections. Blow compressed air into the port to dislodge particles.
USB-C ports trap pocket lint when you carry your laptop in bags. Insert a wooden toothpick flat against the bottom of the port and gently drag out compacted debris. You’ll often extract a surprising amount of felt-like material. Follow with compressed air blasts.
Inspect for physical damage while cleaning. The center pin in DC jacks should sit centered and spring back when pressed. Recessed or bent pins prevent contact. USB-C port metal tongues should lie flat, warped tongues indicate force damage from incorrect plug insertion.
Oxidation creates invisible insulation on contacts. Dip a cotton swab in 90%+ isopropyl alcohol and gently clean visible metal contacts. Let the port dry completely (2–3 minutes) before reconnecting your charger.
Perform a Hard Reset on Your Laptop
A static power drain (also called flea power reset) clears residual electrical charge that can lock your battery controller into a non-charging state. This simple procedure resolves 40% of “plugged in, not charging” cases.
Here’s the exact process:
- Shut down your laptop completely, don’t use sleep mode
- Unplug the AC adapter from your laptop
- Remove the battery (if your model uses removable batteries)
- Press and hold the power button for 30–60 seconds
- Release the button and wait 2 minutes
- Reconnect the battery (if removed), plug in the AC adapter, and power on
For laptops with internal non-removable batteries, the drain still works, the extended power button press discharges capacitors and resets the embedded controller (EC) chip that manages charging logic.
Some manufacturers offer dedicated reset procedures. Dell laptops respond to a specific button combination during startup. Lenovo ThinkPads have emergency reset pinhole buttons. Check your manufacturer’s support site for model-specific hard reset instructions from Lenovo Support, Dell Support, or HP Support.
Update or Reinstall Your Battery Drivers
Windows relies on the Microsoft ACPI-Compliant Control Method Battery driver to communicate with your battery controller. Corrupted drivers break this communication, causing charging failures even though functional hardware.
Open Device Manager by right-clicking the Start button. Expand the “Batteries” category. You should see two entries: “Microsoft AC Adapter” and “Microsoft ACPI-Compliant Control Method Battery.”
Right-click the battery driver and select “Uninstall device.” Check the box to delete driver software if prompted. Don’t panic when the battery icon disappears from your taskbar. Restart your laptop, Windows automatically reinstalls the driver during boot.
If automatic reinstallation fails, manually update drivers. Right-click “Microsoft ACPI-Compliant Control Method Battery” and select “Update driver.” Choose “Search automatically for drivers.” Windows connects to Microsoft’s servers to fetch the latest version.
For stubborn cases, use Driver Booster to scan for outdated chipset and ACPI drivers that affect power management. Pair it with NordVPN to securely download drivers when traveling on public WiFi networks.
Firmware updates matter too. Dell, Lenovo, and HP regularly release BIOS updates that fix battery charging bugs. Visit your manufacturer’s support site, enter your service tag, and install available BIOS updates.
Check Battery Health and Age
Lithium-ion batteries degrade with each charge cycle. After 500–800 cycles, capacity drops below 80%, and charge acceptance suffers. Windows provides a built-in health report.
Open Command Prompt as administrator. Type powercfg /batteryreport and press Enter. Windows generates an HTML file at C:\Windows\System32\battery-report.html. Open this file in your browser.
The report shows critical data:
- Design Capacity: Original battery capacity when new
- Full Charge Capacity: Current maximum capacity
- Cycle Count: Total charge/discharge cycles completed
Calculate health percentage: (Full Charge Capacity ÷ Design Capacity) × 100. Below 60% indicates a dying battery. Under 40% means imminent failure, the battery controller often stops accepting charge to prevent thermal runaway.
MacOS users can check battery health by holding Option and clicking the battery icon. “Service Recommended” means replacement time.
“My ThinkPad showed ‘plugged in not charging’ at 55%. Ran the battery report, only 38% health remaining after 1,200 cycles. New battery fixed it immediately.” via r/ThinkPad
Expert Note: Dead cells within battery packs trigger charge blocking. Lithium-ion cells must maintain voltage balance, when one cell drops below 2.5V, the battery management system (BMS) disconnects charging to prevent reverse-polarity damage that could cause fire.
Adjust Power Management Settings
Manufacturer utilities enforce charging thresholds to extend battery lifespan. These settings stop charging at 60–80% to reduce stress, but users mistake this for malfunction.
Lenovo Vantage (pre-installed on Lenovo laptops) includes “Conservation Mode” that caps charge at 60%. Open Vantage, navigate to Power settings, and disable Conservation Mode to allow full 100% charging.
Dell Power Manager offers “Primarily AC Use” mode limiting charge to 80%. Switch to “Standard” mode in Dell’s power utility for unrestricted charging.
HP Battery Health Manager in HP Support Assistant provides “Maximum Lifespan” (stops at 80%) versus “Maximum Runtime” (charges to 100%) options.
Windows 10/11 also introduced battery charge limiting in Settings > System > Battery. Some laptops show a “Battery Saver” option that restricts background charging. Disable these features if you need full capacity.
BIOS-level settings override Windows controls. Restart your laptop and enter BIOS (usually F2, F10, or Del during boot). Look for “Power Management,” “Battery,” or “Charging” sections. Some systems offer “Custom Charge Start/Stop” thresholds, reset these to defaults (typically 96% start, 100% stop).
Test With a Different Charger
Adapter brick failures happen silently. Internal transformers break, capacitors dry out, and voltage regulators drift out of spec. Testing with a known-good charger isolates the problem.
Borrow a charger from a friend or coworker with the same laptop model or compatible specs. Match voltage (typically 19–20V) and meet or exceed wattage requirements. A 65W laptop can safely use a 90W charger, the laptop draws only what it needs. Never use a lower-wattage adapter.
For USB-C Power Delivery, compatibility varies. Your laptop negotiates voltage profiles with the charger. Some laptops accept 20V/3.25A (65W), others need 20V/5A (100W). Check your original adapter’s label for specs.
Test the substitute charger for 10–15 minutes. If charging resumes, your original adapter failed. If problems persist, the issue lies in the laptop itself, port damage, battery failure, or motherboard power IC problems.
Universal laptop chargers exist but require care. The Targus 90W Universal Laptop Charger includes multiple tip adapters for different brands. Match the tip size exactly and verify voltage/wattage compatibility before use.

When to Replace Your Laptop Battery
Battery replacement becomes necessary when health drops below 60% or physical swelling occurs. Waiting too long risks permanent damage to your laptop’s internals.
Replace your battery if you observe:
- Battery health report shows under 60% capacity
- Laptop runs less than 2 hours on full charge
- Physical swelling, trackpad lifts, case bulges, or keyboard rises
- Charge cycles exceed 1,000 (business laptops) or 800 (consumer models)
- Battery completely drains in minutes even though full charge indicator
Swollen batteries demand immediate action. Lithium-ion cells produce gas when degraded, causing dangerous expansion. Power off your laptop, unplug it, and stop using it until you replace the battery. Swelling can crack screens and damage motherboards.
Replacement options depend on battery type. Removable batteries slide out via release latches, order OEM or quality third-party replacements by searching your laptop model number plus “replacement battery.”
Internal sealed batteries require case disassembly. Dell, Lenovo, and HP sell official replacement kits with tools. iFixit provides step-by-step teardown guides with photos.
According to 2026 battery degradation studies from Battery University, laptops stored at 100% charge in hot environments (above 86°F) lose 35% capacity per year. Keeping charge at 40–80% and avoiding heat extends battery life significantly.
Professional Repair vs. DIY Solutions
Motherboard-level charging failures require soldering expertise. Knowing when to attempt DIY repairs versus seeking professional service saves money and prevents permanent damage.
DIY-friendly repairs include:
| Repair Type | Difficulty | Tools Required | Success Rate |
|---|---|---|---|
| Cable/adapter replacement | Easy | None | 95% |
| External battery replacement | Easy | Screwdriver | 90% |
| Port cleaning | Easy | Toothpick, compressed air | 85% |
| Driver updates | Easy | Windows PC | 80% |
| Internal battery replacement | Medium | iFixit kit, spudger | 75% |
Professional repair territory:
- DC jack replacement, requires motherboard soldering
- USB-C port replacement, SMD components and reflow equipment
- Motherboard power IC failure, chip-level diagnostics and rework
- Charging circuit trace damage, multilayer board repair
Repair costs vary by damage type. Simple DC jack resoldering runs $80–$150. Complete motherboard replacement costs $300–$600. Compare repair estimates against your laptop’s current value, repairing a $300 laptop with $400 in damage makes no financial sense.
Local independent repair shops often charge less than manufacturer depots. Ask about component-level repair capabilities. Shops that desolder and replace individual ICs save money versus board swapping.
If you’re comfortable with intermediate repairs, the iFixit Pro Tech Toolkit provides precision screwdrivers, spudgers, and opening picks for safe laptop disassembly.
Here’s a helpful video guide on diagnosing laptop charging issues:
Remember: motherboard power IC failures show specific symptoms, the laptop works on battery but refuses to charge, or charges intermittently with the cable held at precise angles. These patterns indicate damaged charging circuitry beyond simple software or cable fixes.
Frequently Asked Questions
What should I do if my laptop shows ‘plugged in, not charging’?
Start with a hard reset: shut down, unplug the AC adapter, press the power button for 30–60 seconds, then reconnect. Check your cable and adapter for damage, clean the charging port with a toothpick and compressed air, and inspect the power outlet. Update battery drivers via Device Manager. If problems persist, test with a different charger to isolate adapter failure.
How can I tell if my laptop battery needs replacement?
Run a battery health report using ‘powercfg /batteryreport’ in Command Prompt. If health drops below 60%, or your laptop runs less than 2 hours per charge, replacement is needed. Physical swelling, bulging, or keyboard lifting indicates immediate battery failure requiring urgent replacement.
Why is my laptop not accepting charge despite having a working adapter?
Laptop not accepting charge typically stems from five causes: outdated battery drivers, damaged charging ports (34% of battery repairs per iFixit 2025 data), manufacturer power thresholds capping charge at 60–80%, dead battery cells, or motherboard power IC failure. Check drivers first, then inspect the port for debris or damage.
Can manufacturer utilities like Lenovo Vantage prevent my laptop from charging?
Yes. Lenovo Vantage’s Conservation Mode limits charge to 60%, Dell Power Manager caps at 80%, and HP Battery Health Manager restricts to 80% for lifespan protection. These features prevent charging to 100% intentionally. Disable Conservation Mode in Vantage or switch to Standard mode in Dell’s utility to allow full charging.
Is it safe to use a higher wattage charger than my laptop originally came with?
Yes, it’s safe. A 65W laptop can safely use a 90W charger because the laptop only draws the wattage it needs. However, never use a lower-wattage adapter, as it cannot sustain power delivery. For USB-C Power Delivery, verify voltage negotiation compatibility by checking your original adapter’s voltage and wattage specifications.
When should I seek professional repair for laptop charging problems?
Attempt DIY fixes like cable replacement, port cleaning, and driver updates first (success rates 80–95%). Seek professional repair for DC jack soldering, USB-C port replacement, motherboard power IC failure, or charging circuit damage. If repair costs exceed 50% of your laptop’s current value, replacement may be more economical.
Read More:
- Laptop Not Working Without Battery (Complete Fix Guide that Work)
- Laptop Not Turning On and No Lights (The Complete Fix and Diagnostic Guide)
- Laptop Not Connecting to Docking Station (and How to Fix It Fast)
- Laptop Not Responding to Clicks (Causes and How to Fix It Fast)
- Laptop Not Accepting Password (Here’s Why and 7 Fast Fixes that Work)