
You plug your laptop into your docking station, expecting monitors to light up, USB devices to come alive, and charging to begin. Instead, nothing happens. No displays. No power. No peripherals. Your entire desktop workflow grinds to a halt, and you’re left staring at a useless hub.
When your laptop won’t connect to your docking station, the root cause usually lies in one of four areas: incompatible or loose USB-C/Thunderbolt cables, outdated docking station drivers or firmware, insufficient power delivery from the AC adapter, or unverified Thunderbolt device authorization in your laptop’s BIOS or operating system security settings. Each of these issues can silently block video output, charging, Ethernet, and USB peripheral detection.
This guide walks you through every diagnostic step to restore full docking station functionality, whether you’re using a Dell WD19, HP Thunderbolt Dock G4, Lenovo ThinkPad Universal USB-C Dock, Anker 777, or CalDigit TS4. You’ll learn how to verify port specifications, update DisplayLink and Thunderbolt controller drivers, power cycle your dock, check cable bandwidth ratings, and clear Device Manager error codes.
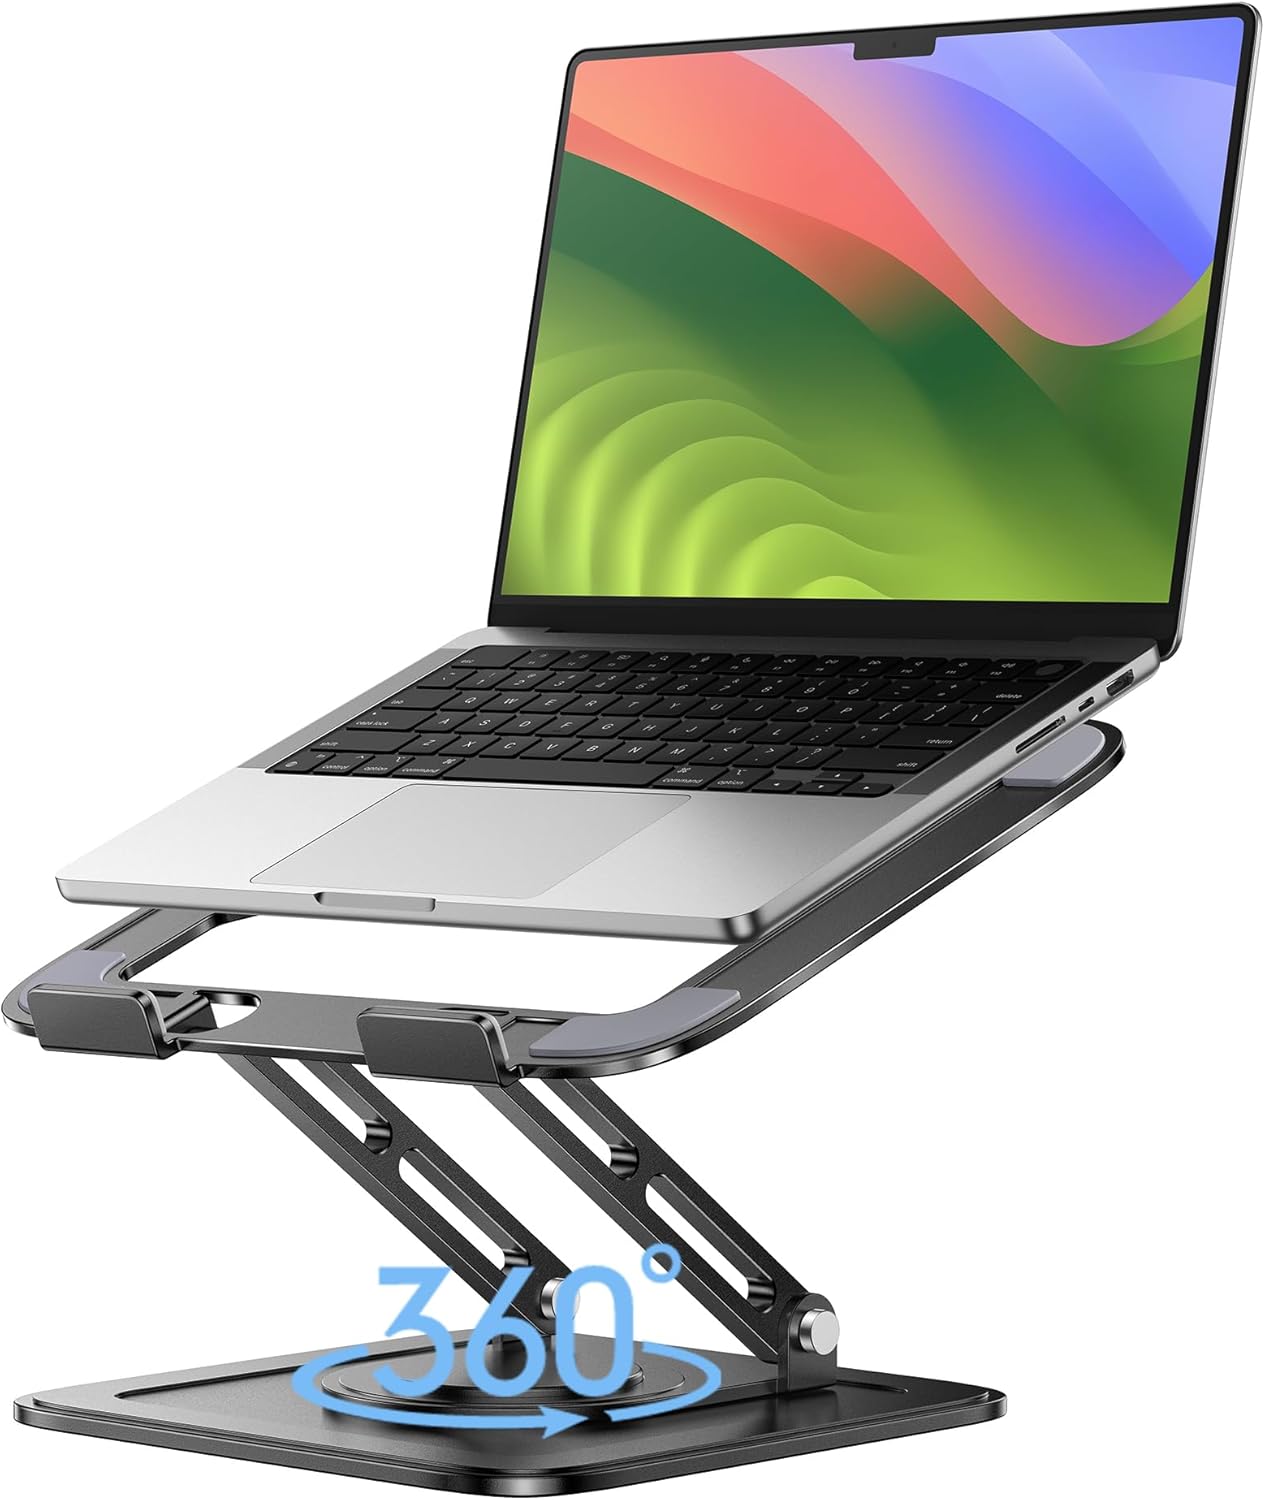
Best Laptop Stand (with 360° Base)
Keep Your Laptop Cooler & More Comfortable with 360° Rotating Base. Improve Airflow & Reduce Heat. Adjustable Height & Viewing Angle.
Shop on Amazon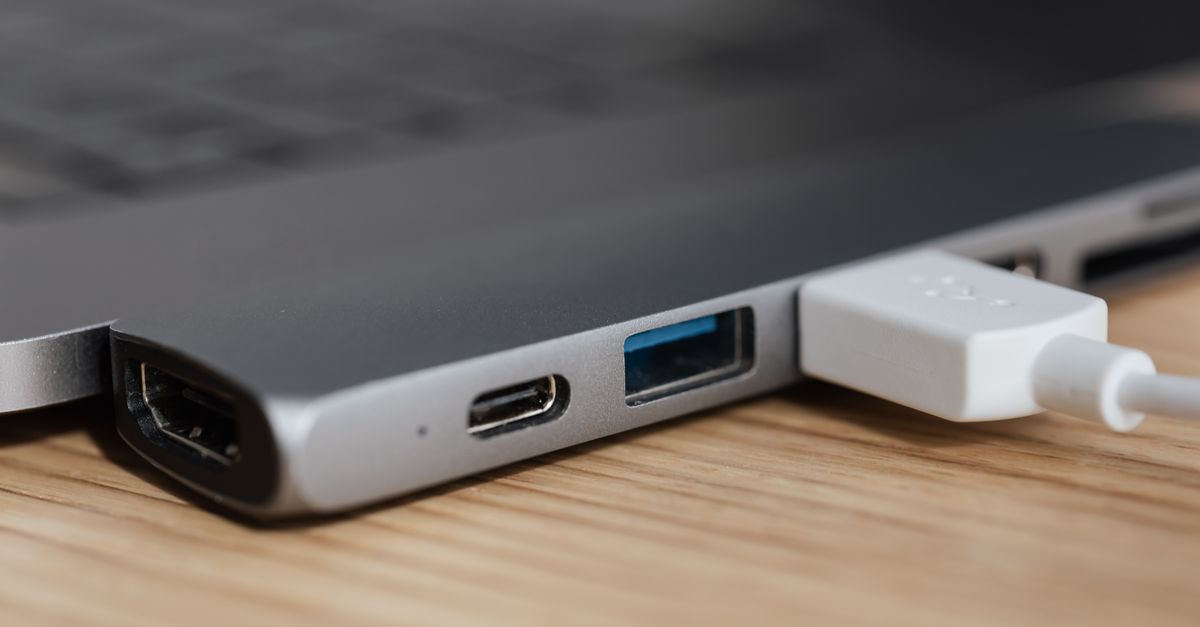
Key Takeaways
- Your laptop not connecting to a docking station typically stems from four main issues: incompatible or loose USB-C/Thunderbolt cables, outdated drivers or firmware, insufficient power delivery, or missing Thunderbolt device authorization in your BIOS or OS.
- Start troubleshooting by reseating your USB-C cable, verifying the dock’s power LED is illuminated, power cycling both devices for at least 30 seconds, and testing each USB-C port on your laptop since only certain ports support video output via Alt Mode.
- Update DisplayLink Graphics Drivers and Thunderbolt controller drivers immediately, as outdated drivers are the number-one cause of docking station failures affecting monitors, USB devices, and Ethernet connectivity.
- Verify your dock’s AC adapter wattage matches your laptop’s charging requirements—a 60W supply may fail with high-performance laptops needing 90W or more—and replace low-quality charging-only cables with certified Thunderbolt 3 or 4 cables.
- Authorize your Thunderbolt dock in Windows Settings (Bluetooth & devices > Thunderbolt) or macOS System Settings (Privacy & Security > Thunderbolt), and check BIOS settings for disabled USB-C functionality or restricted Thunderbolt security policies.
- If display detection fails, force Windows to rescan monitors, check your monitor’s input source, install the DisplayLink driver if applicable, and consider GPU display limits—integrated graphics typically support only three total displays including your laptop screen.
Why Your Laptop Won’t Connect to Your Docking Station
Docking stations fail for a surprisingly narrow set of reasons, and most boil down to communication breakdowns between your laptop’s USB-C or Thunderbolt port and the dock’s internal controller. Your laptop might not detect the dock at all, or it might recognize the dock but refuse to pass video, power, or data.
USB-C ports aren’t created equal. Only ports with Alt Mode can carry DisplayPort or HDMI video alongside USB data. Thunderbolt 3 and 4 ports add even more bandwidth and daisy-chaining capability, but they require active security approval in your BIOS or operating system. If your laptop port lacks Alt Mode or Thunderbolt, no amount of troubleshooting will enable video output through that port.
Driver mismatches are the second-most common culprit. DisplayLink-based docks depend on proprietary software to create virtual display adapters. Thunderbolt docks need Intel or AMD Thunderbolt controller drivers. If these drivers are missing, outdated, or corrupted, your dock won’t function even if the hardware is perfect.
Power delivery failures occur when the dock’s AC adapter can’t supply enough wattage to charge your laptop and power peripherals simultaneously. A 60 W power supply might work for a 13-inch ultrabook but fail with a 15-inch workstation that demands 90 W or more. Cable quality matters too. A low-quality USB-C cable rated for charging only won’t carry video or high-speed data.
Quick Fixes to Try First
Check Your Physical Connections
Start with the basics. Unplug the USB-C or Thunderbolt cable from your laptop, inspect both the laptop port and the cable connector for dust, lint, or bent pins, then reinsert firmly until you hear or feel a click. Many “dead” docks come back to life after a simple reseat.
Verify that the dock’s AC power adapter is plugged into a live outlet and that the power LED on the dock is illuminated. Some docks display a white or blue light when powered: others use green. No light usually means no power. Try a different wall outlet or power strip to rule out electrical issues.
Check every cable between the dock and your peripherals. Swap HDMI or DisplayPort cables connecting your monitors. Test a different USB-C cable between the laptop and dock. According to Intel’s Thunderbolt 4 certification requirements, all Thunderbolt 4 cables up to 0.8 meters must support 40 Gbps, but longer or passive cables may drop to 20 Gbps or lose video altogether.
Restart Your Laptop and Docking Station
Power cycling clears temporary glitches in the dock’s firmware and your laptop’s USB controller. Unplug the USB-C cable from your laptop. Disconnect the dock’s AC adapter from the wall for at least 30 seconds. This drains residual capacitors and forces a full reset.
Reconnect the dock’s power supply and wait for the status LED to stabilize. Then plug the USB-C cable back into your laptop. Windows and macOS will re-enumerate the dock and reload drivers. If you see a “New USB device detected” notification, that’s a good sign, it means the operating system recognizes the dock at the hardware level.
Update Your Docking Station Drivers
Outdated drivers are the number-one cause of docking station monitor, USB, and Ethernet failures. DisplayLink docks require the DisplayLink Graphics Driver, which creates virtual display adapters in Windows and macOS. Visit Synaptics (the company that acquired DisplayLink) and download the latest version for your operating system.
Thunderbolt docks need Intel Thunderbolt controller drivers or AMD USB4 drivers. On Windows, open Device Manager, expand “System devices,” and look for “Thunderbolt Controller” or “USB4 Host Router.” Right-click and select “Update driver,” then choose “Search automatically for drivers.” Alternatively, download the Intel Thunderbolt Software package directly.
Dock firmware updates are separate from drivers and often fix bugs that prevent charging or video output. Dell, HP, and Lenovo publish firmware updaters on their support sites. For example, Dell’s WD19 firmware utility runs in Windows and flashes the dock’s internal controller. Anker and CalDigit post firmware files and step-by-step instructions on their product pages.
“Updated DisplayLink drivers and my monitors finally showed up. Took 10 minutes and saved me a $300 dock replacement.” via r/UsbCHardware
After updating drivers and firmware, restart your laptop and dock. Check Device Manager for yellow exclamation marks or error codes. Code 43 usually indicates a driver conflict or hardware failure.
Verify Power Supply and Cable Issues
Your docking station’s AC adapter must deliver enough wattage to power the dock’s internal hub, charge your laptop, and run peripherals. A 60 W adapter might work for lightweight ultrabooks, but high-performance laptops often need 90 W or more. Check the label on your dock’s power brick and compare it to your laptop’s maximum charging rate.
If your dock charges the laptop slowly or not at all, the power supply may be underpowered or failing. Swap in a higher-wattage adapter if your dock manufacturer offers one. Dell, HP, and Lenovo sell compatible power supplies rated at 130 W, 180 W, or even 240 W for workstation docks.
Cable quality is critical for USB-C and Thunderbolt docks. A charging-only cable lacks the data pins needed for video and USB peripherals. A USB 2.0 cable won’t carry DisplayPort signals. Replace suspect cables with certified Thunderbolt 3 or 4 cables. The Cable Matters Thunderbolt 4 Cable supports 40 Gbps, dual 4K displays, and 100 W power delivery in a single 0.8-meter cord.
![Cable Matters [Intel Certified] 40Gbps Thunderbolt 4 Cable, 3.3ft / 1m](https://m.media-amazon.com/images/I/41lpiJCsNCL._SS500_.jpg)
For heavy workstation setups, consider the CalDigit TS4 Thunderbolt 4 Dock, which includes 18 ports, 98 W laptop charging, and dual DisplayPort 1.4 outputs. It ships with a high-quality Thunderbolt 4 cable and a 230 W power supply, eliminating most power and cable guesswork.

Troubleshoot USB-C and Thunderbolt Connection Problems
Not every USB-C port on your laptop supports video output. Consult your laptop’s manual or spec sheet to confirm which ports offer Alt Mode or Thunderbolt. On many laptops, only one or two USB-C ports support displays. Try every USB-C port on your machine to rule out port-specific failures.
Thunderbolt docks require explicit security authorization. When you first connect a Thunderbolt device, Windows displays a notification asking you to approve it. macOS shows a similar prompt in System Settings under Thunderbolt. If you accidentally denied authorization, the dock will charge but won’t pass video or data.
To approve a Thunderbolt device in Windows 11, open Settings > Bluetooth & devices > Thunderbolt. You’ll see a list of connected devices and their authorization status. Click “Approve” or “Always connect” for your dock. On macOS Ventura and later, open System Settings > Privacy & Security > Thunderbolt and check the box next to your dock.
Some laptops enforce Thunderbolt security in the BIOS. Restart your laptop, press F2, F10, or Del to enter BIOS setup, then navigate to the Security or Thunderbolt menu. Set Thunderbolt security to “No Security” or “SL1” (legacy mode) to allow all devices. Lenovo’s ThinkPad BIOS guide explains the different security levels in detail.
If your laptop still doesn’t detect the dock, test the dock with a different laptop or computer. If it works on another machine, the issue lies with your laptop’s port, drivers, or BIOS settings.
Configure BIOS and Firmware Settings
BIOS settings can block USB-C and Thunderbolt functionality. Restart your laptop and enter the BIOS or UEFI firmware interface. Look for options labeled “USB Configuration,” “Thunderbolt Support,” or “Type-C Power Delivery.” Enable any settings related to USB-C video output, Thunderbolt, or dock support.
Some Dell and HP laptops have a “USB Type-C BIOS Charge” option that limits USB-C ports to charging only, disabling data and video. Disable this setting to restore full dock functionality. HP’s USB-C troubleshooting guide describes how to locate and change this setting on EliteBook and ZBook models.
Update your laptop’s BIOS firmware to the latest version. Manufacturers regularly release BIOS updates that fix USB-C and Thunderbolt bugs. Download the BIOS updater from your laptop maker’s support site, save it to a USB drive, and run it from the BIOS recovery menu or within Windows. Always plug in your AC adapter before updating the BIOS to prevent power-loss interruptions.
Resolve Display Detection Issues
If your monitors remain black even though the dock appears connected, force Windows to detect displays. Right-click the desktop, select Display settings, scroll down, and click “Detect.” Windows will re-scan for connected monitors and often finds displays that didn’t auto-detect.
Check your monitor’s input source. Many monitors default to HDMI 1 but your dock might be plugged into DisplayPort or HDMI 2. Press the input/source button on your monitor’s remote or front panel to cycle through inputs until you see your desktop.
DisplayLink docks won’t output video without the DisplayLink driver installed. Download the latest version from Synaptics DisplayLink, install it, and restart. Once installed, DisplayLink creates virtual GPU adapters that appear in Device Manager under “Display adapters.”
“My HP dock showed ‘no signal’ until I installed DisplayLink. Now both 4K monitors work perfectly.” via r/Hewlett_Packard
For Thunderbolt docks, verify your laptop’s GPU supports the number of external displays you’re trying to connect. Integrated Intel Iris Xe graphics typically support up to three displays total (including the laptop screen). Discrete NVIDIA or AMD GPUs often support four or more.
Fix Peripheral Device Recognition Problems
USB keyboards, mice, webcams, and external drives connected to your dock might not appear if the dock’s USB hub isn’t receiving power or data. Open Device Manager, expand “Universal Serial Bus controllers,” and look for yellow exclamation marks or “Unknown USB Device” entries. Right-click and choose “Uninstall device,” then unplug and replug the dock to force re-detection.
Some docks include separate USB 3.0 and USB 2.0 buses. If your peripherals work in some ports but not others, the USB 3.0 controller may be disabled in Device Manager or suffering from a driver conflict. Update the “USB 3.0 Extensible Host Controller” driver and restart.
Ethernet port failures usually trace back to missing network adapter drivers. DisplayLink docks use a Realtek or ASIX Ethernet chip that requires its own driver. The DisplayLink Graphics Driver package often bundles Ethernet drivers, but you can also download them separately from Realtek or ASIX.
If your dock’s USB ports randomly disconnect and reconnect, disable USB selective suspend in Windows Power Options. Search for “Edit power plan,” click “Change advanced power settings,” expand “USB settings,” then “USB selective suspend setting,” and set it to “Disabled.” This prevents Windows from powering down USB hubs to save energy.
Address Operating System Compatibility Issues
Windows 11 24H2 and macOS Sonoma introduced stricter Thunderbolt security policies that can block older docks. If your dock worked under Windows 10 but fails after upgrading to Windows 11, reinstall the latest Thunderbolt and DisplayLink drivers, then re-approve the dock in Settings > Bluetooth & devices > Thunderbolt.
Linux users should verify the dock appears in lsusb and dmesg logs. DisplayLink docks require the open-source DisplayLink driver for Ubuntu or the evdi kernel module. Thunderbolt docks need the bolt daemon installed and the device authorized via boltctl commands.
macOS Ventura and Sonoma sometimes block third-party USB-C docks unless you grant Full Disk Access to the DisplayLink Manager app. Open System Settings > Privacy & Security > Full Disk Access and add DisplayLink Manager to the allowed list. Restart the dock and your Mac.
If you run virtual machines with USB passthrough (VMware, Parallels, VirtualBox), disconnect the dock before launching the VM. Passing the entire dock controller to the VM can break host OS detection. Instead, pass individual USB devices as needed.
When to Replace Your Docking Station
If you’ve updated drivers, swapped cables, checked BIOS settings, and tested on multiple laptops without success, the dock’s internal controller or power circuitry may be dead. Docking stations don’t have user-serviceable parts, so replacement is the only option.
Before you buy, confirm your laptop’s USB-C or Thunderbolt specifications match the dock you’re considering. Thunderbolt 4 docks are backward-compatible with Thunderbolt 3 and USB-C Alt Mode, making them the safest choice for mixed environments. Look for docks that include firmware update utilities and a generous power supply rated at least 20 W above your laptop’s maximum charge rate.
Check Device Manager one last time for error codes. Code 43, Code 10, or “This device cannot start” on the Thunderbolt or USB controller usually signals hardware failure. If the same error persists after a clean Windows reinstall, the laptop’s motherboard USB-C controller may be faulty, and professional repair or a motherboard replacement will be necessary.
Frequently Asked Questions
Why is my laptop not connecting to my docking station?
Your laptop won’t connect to a docking station due to four main issues: incompatible or loose USB-C/Thunderbolt cables, outdated docking station drivers or firmware, insufficient power delivery from the AC adapter, or unverified Thunderbolt device authorization in your laptop’s BIOS or operating system security settings.
How do I fix a docking station that won’t display video?
First, verify your USB-C port supports Alt Mode (required for video). Install the latest DisplayLink or Thunderbolt drivers from your dock manufacturer. Force Windows to detect displays via Display settings > Detect. For Thunderbolt docks, approve the device in Settings > Bluetooth & devices > Thunderbolt. Check your monitor’s input source to ensure it’s not set to the wrong HDMI or DisplayPort.
What power supply wattage do I need for a docking station?
Your dock’s AC adapter must deliver enough wattage to power the hub, charge your laptop, and run peripherals. A 60 W adapter works for 13-inch ultrabooks, but 15-inch workstations need 90 W or more. Check your laptop’s maximum charging rate and select a power supply rated 20 W above that—Dell, HP, and Lenovo offer 130 W to 240 W options for workstation docks.
How do I authorize a Thunderbolt docking station in Windows?
When you first connect a Thunderbolt dock, Windows 11 displays an approval notification. If you missed it, open Settings > Bluetooth & devices > Thunderbolt to see connected devices and their authorization status. Click ‘Approve’ or ‘Always connect’ for your dock. Restart your laptop and dock if needed to apply the change.
Can I use any USB-C cable with my docking station?
No. A charging-only cable lacks the data pins needed for video and peripherals. Thunderbolt 4 cables must support 40 Gbps for full bandwidth; longer or passive cables may drop to 20 Gbps. Replace suspect cables with certified Thunderbolt 3 or 4 cables rated for your dock’s specifications and power delivery requirements.
What should I do if my docking station peripherals aren’t recognized?
Open Device Manager and expand ‘Universal Serial Bus controllers’ to look for unknown devices or yellow exclamation marks. Right-click and uninstall the device, then unplug and replug the dock to force re-detection. If USB ports work selectively, update the USB 3.0 Extensible Host Controller driver. Disable USB selective suspend in Windows Power Options to prevent random disconnections.
Read More:
- Laptop Not Detecting External Monitor (Here’s Why and the Expert Fixes)
- Laptop Not Going to Sleep (Here’s the Reasons and How to Fix It)
- Laptop Not Making Sound (What’s Wrong? Here’s How to Fix It)
- Laptop Not Turning On and No Lights (The Complete Fix and Diagnostic Guide)
- Laptop Not Working Without Battery (Complete Fix Guide that Work)