
You’ve created a bootable USB drive, plugged it into your laptop, powered on, and nothing. The machine boots straight to Windows or throws an “Operating System Not Found” error, completely ignoring your flash drive.
The laptop not booting from USB issue typically stems from incorrect BIOS/UEFI boot order settings, Secure Boot restrictions blocking unsigned bootloaders, mismatched boot mode configurations (UEFI vs. Legacy/CSM), or an improperly formatted USB drive that doesn’t align with your firmware’s requirements.
This guide walks you through proven fixes, from adjusting firmware settings and disabling Secure Boot to recreating your bootable media with the correct partition scheme. By the end, you’ll successfully launch your OS installer, live Linux environment, or recovery toolkit.
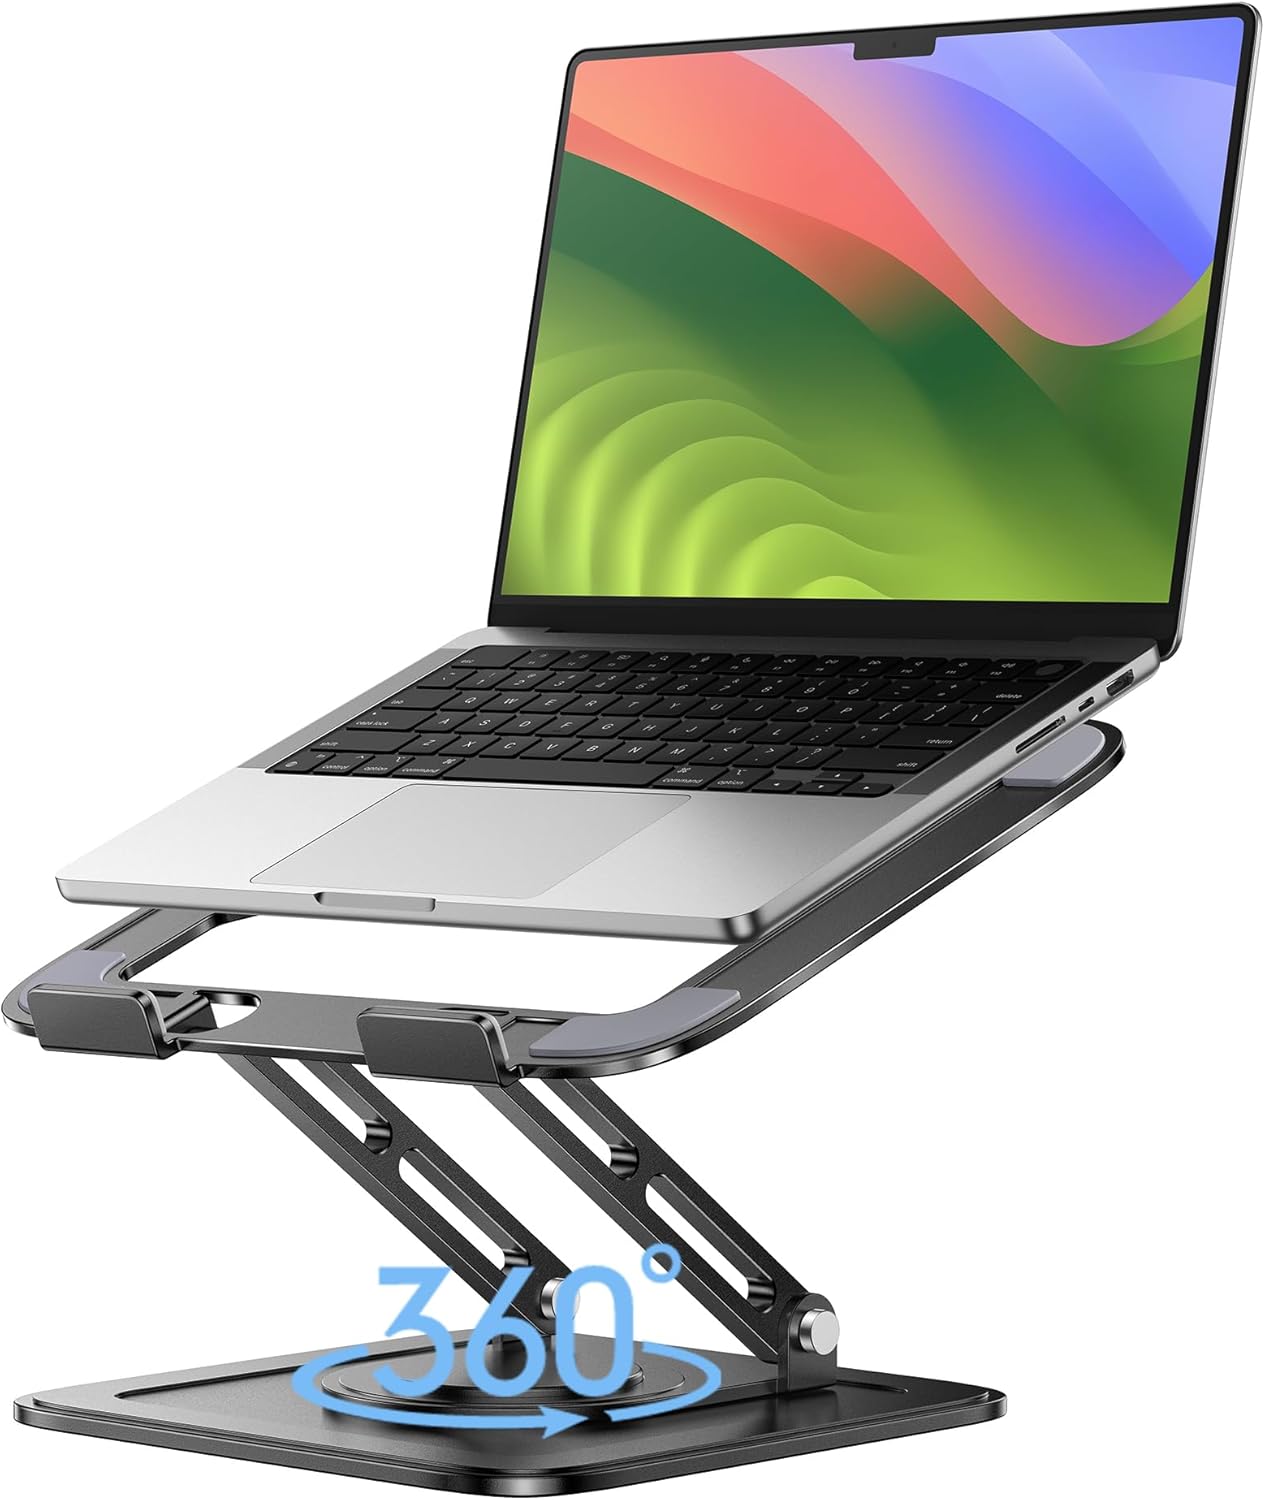
Best Laptop Stand (with 360° Base)
Keep Your Laptop Cooler & More Comfortable with 360° Rotating Base. Improve Airflow & Reduce Heat. Adjustable Height & Viewing Angle.
Shop on Amazon
Key Takeaways
- Laptop not booting from USB is usually caused by incorrect BIOS/UEFI boot order settings, Secure Boot restrictions, or boot mode mismatches between your USB drive’s format and firmware configuration.
- Access your laptop’s BIOS/UEFI firmware by tapping the manufacturer-specific key (F2, F10, F1, Delete, etc.) during startup, then move your USB drive to the first position in the boot priority list.
- Create a properly formatted bootable USB using Rufus or the Microsoft Media Creation Tool, ensuring you select GPT with UEFI for modern laptops or MBR with Legacy for older systems, and verify the ISO checksum before flashing.
- Disable Secure Boot and Fast Boot in BIOS to remove firmware restrictions that block unsigned bootloaders and USB controller initialization, which are common causes of unrecognized USB drives.
- If your USB drive uses MBR formatting or you’re installing Windows 7, enable Legacy/CSM mode in BIOS, but stick with UEFI and GPT for modern operating systems like Windows 11.
- Test your USB drive on another computer and try different USB ports (especially USB 2.0 ports) to isolate whether the issue is with your laptop’s firmware configuration or the bootable media itself.
Why Your Laptop Won’t Boot From USB
Modern laptops ship with UEFI firmware that enforces strict security policies. Secure Boot validates digital signatures on bootloaders, blocking unsigned or legacy operating systems. If your USB drive lacks a signed EFI bootloader or was created in MBR/Legacy mode, UEFI will refuse to recognize it.
Boot mode mismatches cause the majority of USB boot failures. A GPT-partitioned USB drive requires UEFI mode, while MBR-formatted media needs Legacy/CSM compatibility. When your BIOS is set to UEFI-only but your USB is MBR, the firmware won’t detect the drive at all.
Fast Boot skips USB enumeration during POST, making external drives invisible. Boot order priority also matters, your internal SSD might rank higher than removable devices, causing the laptop to bypass the USB and load the installed OS. Outdated BIOS firmware can fail to recognize newer USB 3.0 controllers or XHCI specifications.
Check BIOS/UEFI Boot Order
How to Access BIOS on Different Laptop Brands
Shut down your laptop completely. Power it on and immediately tap the firmware key repeatedly until the BIOS/UEFI screen appears. Dell and HP laptops typically use F2 or F10, while Lenovo ThinkPads respond to F1 or Enter → F1. ASUS and MSI machines often use Delete or F2. Acer models prefer F2, and Toshiba units require F2 or F12.
If tapping doesn’t work, hold Shift while selecting Restart in Windows 10/11, then navigate to Troubleshoot → Advanced options → UEFI Firmware Settings. This forces a direct boot into firmware configuration. Some modern laptops require you to disable Fast Startup in Windows Power Options before firmware keys respond during POST.
Configuring Boot Priority Correctly
Once inside BIOS, locate the Boot or Boot Options tab. You’ll see a priority list showing your internal SSD, optical drive (if present), network boot, and removable devices. USB drives may appear as “USB HDD,” “USB-FDD,” or by their exact model name like “SanDisk Ultra.”
Move your USB drive to the first position using F5/F6 keys or the +/– keys, depending on your firmware interface. Some UEFI implementations require you to expand the “Hard Drive BBS Priorities” submenu and set the USB there first, then move “Hard Drive” above “Windows Boot Manager” in the main boot order. Save changes with F10 and confirm the reboot.
“I kept trying to boot my USB installer but the laptop went straight to Windows every time. Turns out the USB was listed under a separate ‘UEFI Boot Order’ tab I’d missed entirely.” via r/techsupport
Verify Bootable USB Properly Created
Download Rufus (for Windows) or use the official Microsoft Media Creation Tool for Windows installers. In Rufus, select your USB drive, choose your ISO image, then pay close attention to the Partition scheme dropdown.
For UEFI-only laptops (most machines from 2015 onward), select GPT with UEFI (non-CSM) target system. For older BIOS-only laptops or dual-boot scenarios, choose MBR with BIOS or UEFI-CSM target. The file system should be FAT32 for UEFI compatibility, NTFS works only in Legacy mode. Click Start and let Rufus write the image in ISO or DD mode as appropriate.
For Linux distributions, try balenaEtcher or the dd command on macOS/Linux. Verify the ISO checksum (SHA256) before flashing to rule out corrupt downloads. A single bit error in the bootloader sector will prevent the laptop from recognizing the USB as bootable. After creation, check that the USB contains an “EFI” folder (for UEFI) or a visible bootmgr file (for Legacy).
Disable Secure Boot Fast Boot
Navigate to the Security or Boot tab in your BIOS. Locate Secure Boot and set it to Disabled. Secure Boot blocks unsigned bootloaders commonly found in older Windows 7/8 installers, most Linux distributions (except Ubuntu and Fedora with signed shims), and all custom recovery environments.
Next, find Fast Boot (sometimes called Ultra Fast Boot or Quick Boot) and disable it. Fast Boot skips USB controller initialization during POST, making external drives invisible to the firmware. On some HP and Dell machines, Fast Boot is hidden under Advanced → Boot Options → Fast Boot.
After disabling both features, save and exit. Some laptops require you to set a BIOS supervisor password before allowing Secure Boot changes, this is a security measure to prevent malware from tampering with boot policies. If you see a grayed-out Secure Boot option, check for a “Clear Secure Boot Keys” or “Restore Factory Keys” option first.
“Disabled Secure Boot on my Lenovo Yoga and the USB installer appeared instantly in the boot menu. Wish the error message had just told me that.” via r/linuxquestions
Enable Legacy/CSM Boot Mode
If your USB drive is formatted as MBR or you’re installing Windows 7, you’ll need Legacy/CSM (Compatibility Support Module) mode. In BIOS, locate Boot Mode, Boot List Option, or UEFI/Legacy Boot and switch it to Legacy, CSM, or Both.
Some Dell and HP laptops label this as Boot Mode with options “UEFI” or “Legacy.” Others present a dual option: “UEFI and Legacy” or “Legacy First.” Choose Legacy First or CSM Enabled to allow the firmware to recognize MBR-formatted USB drives. After enabling CSM, the boot order list will refresh and show separate UEFI and Legacy device entries.
Be aware that enabling CSM may disable Secure Boot automatically on some systems. This is expected behavior, Secure Boot only operates in pure UEFI mode. If you’re installing a modern OS like Windows 11, stick with UEFI mode and recreate your USB as GPT: CSM is a compatibility workaround, not the recommended path for current hardware.
Try Different USB Ports
USB 3.0 and 3.1 ports (blue or teal) may lack driver support in older BIOS firmware. Switch to a USB 2.0 port (black) for maximum compatibility. Many laptops ship with one legacy USB 2.0 port specifically for firmware updates and bootable media.
USB-C ports introduce additional complexity. Some laptops route USB-C through Thunderbolt controllers that aren’t enumerated during early boot. If you’re using a USB-C drive or a USB-A to USB-C adapter, test a native USB-A port instead. Consider using a simple USB 2.0 flash drive as a dedicated boot media device, they’re inexpensive and universally compatible.

Unplug all other USB peripherals (mice, keyboards, external drives) before booting. Conflicting USB devices can confuse the boot order or cause enumeration delays. On some Dell Latitude and HP EliteBook models, the firmware scans USB ports in a fixed sequence: plugging your bootable drive into the “wrong” port may push it lower in the boot priority.
Update BIOS/UEFI Firmware
Outdated BIOS firmware may fail to recognize XHCI USB controllers, GPT partition schemes, or UEFI bootloaders. Visit your laptop manufacturer’s support site, Dell, Lenovo, HP, ASUS, and download the latest BIOS update for your exact model.
Most manufacturers provide a Windows-based BIOS updater (.exe) or a firmware file for USB flashing. If you can still boot into Windows, run the updater and follow the prompts. If the laptop is unbootable, download the BIOS file, copy it to a FAT32-formatted USB drive, enter BIOS setup, and look for BIOS Flash Utility, Q-Flash (Gigabyte), EZ Flash (ASUS), or Instant Flash.
Caution: Never interrupt a BIOS update. Plug into AC power, ensure the battery is charged above 30%, and disable sleep mode. A failed BIOS flash can brick your laptop. For critical machines, consider using a USB BIOS recovery method if your motherboard supports it. After the update completes, reset BIOS to defaults, then reconfigure boot order and Secure Boot settings.
Test USB on Another Computer
Plug your USB drive into a different laptop or desktop. Press the boot menu key (F12, F11, Esc, or F8, varies by manufacturer) and select the USB drive. If it boots successfully, the USB is correctly formatted: your original laptop’s firmware configuration is at fault.
If the USB fails on multiple machines, the drive itself is defective or the image wasn’t written correctly. Try a different USB drive, older flash drives (especially no-name brands under 8 GB) often have flaky MBR sectors. Use a reputable brand like SanDisk, Kingston, or Samsung.

Recreate the bootable media using a different tool. If you used Rufus, try the official Microsoft Media Creation Tool. If you used dd on Linux, try Ventoy or balenaEtcher. Each tool handles partition alignment, boot sectors, and EFI variables slightly differently.
Advanced Troubleshooting for Persistent Boot Issues
If none of the above solutions work, reset BIOS to factory defaults (Load Optimized Defaults or F9) and reconfigure boot settings from scratch. Corrupted NVRAM variables can cause boot devices to disappear from the firmware menu.
Some HP and Dell business laptops have System Configuration locks that prevent boot order changes without a BIOS password. If you see a padlock icon or grayed-out boot options, contact your IT admin or perform a CMOS reset by removing the laptop battery and CMOS coin cell for 10 minutes.
For persistent detection failures, manually add a UEFI boot entry using efibootmgr (Linux) or bcdedit (Windows). Boot into a live Linux environment from another machine, mount the USB, and register the EFI bootloader path directly into NVRAM. This advanced technique bypasses the firmware’s automatic detection and forces the boot entry to persist.
Read More:
- Laptop Not Connecting to Wi-Fi (Start With These Quick Fixes)
- Laptop Not Charging (Here’s the Proven Fixes that Actually Work)
- Laptop Not Shutting Down (Why It Happens and How to Fix It)
- Laptop Not Responding (Why It Happen and How to Fix It Fast)
- Laptop Not Booting Up (Common Causes and How to Fix It Fast)