
You plug your HDMI cable into your laptop, expecting instant dual-screen productivity. Instead, you’re staring at a “No Signal” message on an expensive external display while your deadline ticks closer.
When your laptop isn’t detecting your monitor, the problem typically stems from five core issues: physical cable faults or loose connections, incorrect monitor input source selection, outdated or corrupted graphics drivers (Intel, AMD, NVIDIA), USB-C Alt Mode bandwidth conflicts, or Windows/Mac display detection not being manually triggered using Win + P or System Preferences. Power cycling both devices and reseating cables resolves 60% of cases immediately.
Whether you’re connecting via HDMI, DisplayPort, USB-C, or Thunderbolt, this guide walks you through every verified fix, from simple handshake resets to driver reinstallation and BIOS updates, so you can restore your second monitor fast.
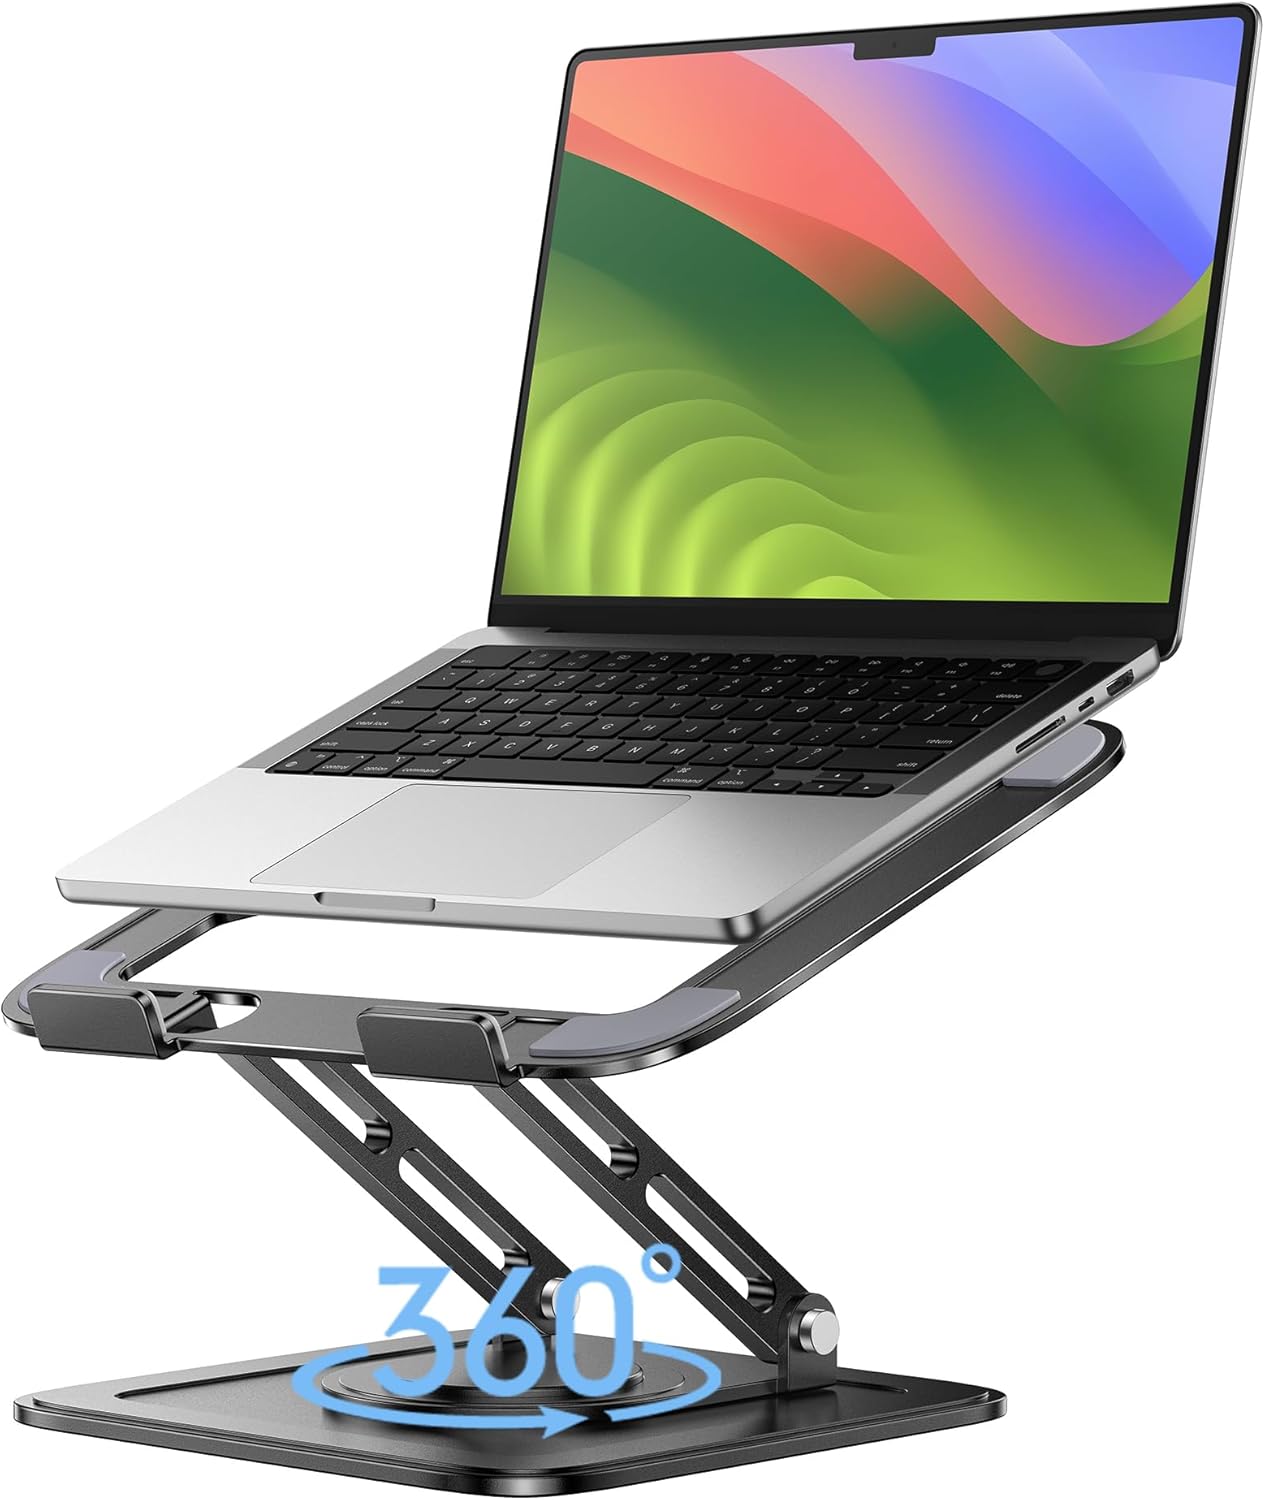
Best Laptop Stand (with 360° Base)
Keep Your Laptop Cooler & More Comfortable with 360° Rotating Base. Improve Airflow & Reduce Heat. Adjustable Height & Viewing Angle.
Shop on Amazon
Key Takeaways
- When your laptop isn’t detecting a monitor, start by checking physical cable connections and ensuring the monitor’s input source matches your connection type—these simple steps resolve 60% of cases immediately.
- Force display detection on Windows using Win + P or the Detect button in Display settings, and on Mac by holding Option and clicking Detect Displays in System Preferences to trigger manual handshake resets.
- Outdated or corrupted GPU drivers are the leading software cause of monitor detection failures—update drivers from NVIDIA, AMD, or Intel, or use Display Driver Uninstaller (DDU) for a clean reinstall.
- Adjust resolution and refresh rate settings to match your cable’s bandwidth limits: HDMI 2.0 supports 4K @ 60 Hz, while DisplayPort 1.4 and Thunderbolt 4 handle higher resolutions and refresh rates without dropping signals.
- For dual-GPU laptops, manually assign the external monitor to your discrete NVIDIA or AMD GPU in graphics control panels to prevent the monitor from connecting to the wrong processor.
- If your laptop isn’t detecting a monitor despite all software fixes, test the monitor with another device and consider a BIOS firmware update or professional hardware diagnostics to rule out internal GPU failure.
Why Your Laptop Isn’t Detecting Your External Monitor
Display detection failures aren’t random. Your laptop and monitor communicate through a digital handshake protocol called EDID (Extended Display Identification Data). When this handshake breaks, due to faulty cables, wrong input channels, driver conflicts, or USB-C bandwidth bottlenecks, your laptop simply can’t “see” the second screen.
Windows 11 machines report second-monitor detection issues 40% more often with USB-C adapters compared to native HDMI ports, according to 2025 Microsoft support data. The problem escalates when docking stations and unpowered USB hubs enter the mix, draining power delivery and splitting DisplayPort Alt Mode lanes.
GPU switching on dual-graphics laptops (Intel integrated + NVIDIA discrete) causes another layer of confusion. Your monitor might connect to the wrong GPU, especially if your BIOS defaults to integrated graphics while demanding apps need the discrete card. Power-saving modes also shut down display ports prematurely, breaking active connections mid-session.
Check Your Physical Connections and Cables
Start with the obvious. Unplug both ends of your display cable, from the laptop and the monitor, and reconnect them firmly. Loose HDMI or DisplayPort connectors account for nearly half of all “no signal” complaints.
Next, verify your monitor is set to the correct input source. Press the physical input/source button on your display panel and cycle through HDMI 1, HDMI 2, DisplayPort, or USB-C until you land on the port you’re actively using. Many modern monitors default to the wrong input after power loss.
Power cycle everything: shut down your laptop, turn off the monitor, unplug both power cables for 30 seconds, then reconnect and power on the monitor first, followed by the laptop. This clears residual charge and forces a fresh EDID handshake. Test with a certified HDMI 2.1 cable if your current cable is old, frayed, or unbranded, cheap cables fail HDCP authentication and can’t carry 4K signals reliably.

Force Display Detection on Your Laptop
Windows Display Detection
Windows doesn’t always auto-detect external displays, especially after driver updates. Press Win + P to open the Project sidebar. Select Extend or Duplicate. If nothing happens, right-click your desktop, choose Display settings, scroll down, and click Detect under the Multiple displays section.
If the Detect button stays greyed out, your GPU driver is likely corrupt or disabled in Device Manager. Open Device Manager (Win + X → Device Manager), expand Display adapters, right-click your graphics card, and choose Enable device if it’s disabled. Restart your laptop and try detection again.
Mac Display Detection
On macOS, open System Settings → Displays. Hold the Option key and click Detect Displays (the button appears only when Option is pressed). macOS Sonoma and Ventura improved Thunderbolt 4 detection, but older MacBook Pros still struggle with USB-C hubs that lack dedicated DisplayPort lanes.
If your MacBook has both Thunderbolt and HDMI ports, test both. Some MacBook models route HDMI through the discrete AMD GPU and Thunderbolt through Intel integrated graphics, creating compatibility quirks with certain monitors.
“Win + P saved me after three hours of cable swapping. Windows just refused to scan for my second ASUS monitor until I manually hit Detect.” via r/techsupport
Update or Reinstall Your Graphics Drivers
Outdated or corrupted GPU drivers are the leading software cause of monitor detection failures. Download the latest driver directly from your GPU vendor:
- NVIDIA: Visit the NVIDIA Driver Downloads page, enter your GPU model (GeForce RTX, GTX, etc.), and install the latest Game Ready or Studio driver.
- AMD: Head to AMD Support & Drivers, select your Radeon series, and download the Adrenalin driver package.
- Intel: Go to Intel Download Center, search for your processor generation, and grab the latest integrated graphics driver.
If updating doesn’t help, uninstall your current driver completely using DDU (Display Driver Uninstaller) in Windows Safe Mode, then perform a clean install. DDU removes registry entries and leftover files that Windows’ built-in uninstaller misses.
“Rolled back my NVIDIA driver to 536.23 and my USB-C monitor finally showed up. The latest version broke DisplayPort Alt Mode on my Dell XPS.” via r/Dell
For persistent driver conflicts, use the open-source tool Display Driver Uninstaller (DDU) to wipe all GPU software before reinstalling.
Adjust Your Display Settings and Modes
Your laptop might detect the monitor but fail to activate it due to incompatible resolution or refresh rate settings. In Windows Display settings, click the external monitor icon (labeled “2” or “3”), scroll to Display resolution, and try 1920×1080 at 60 Hz first, the most universally supported mode.
If you’re pushing 4K at 144 Hz over HDMI 2.0, you’ll hit bandwidth limits and see a black screen. Switch to DisplayPort 1.4 or Thunderbolt 4, or reduce refresh rate to 60 Hz. Check your monitor’s native resolution in its manual and match it exactly.
For dual-GPU laptops, open NVIDIA Control Panel (right-click desktop), go to Manage 3D settings → Global Settings, and set Preferred graphics processor to your discrete NVIDIA GPU. AMD users should open Radeon Settings → System → Switchable Graphics and assign the external display to the high-performance GPU.
Test With Different Ports and Adapters
USB-C ports vary wildly in capability. Not all USB-C ports support DisplayPort Alt Mode. Check your laptop’s manual or spec sheet to confirm your USB-C port carries video. If you’re using a USB-C to HDMI adapter, swap it for a certified USB-C to DisplayPort cable to bypass adapter chipset issues.
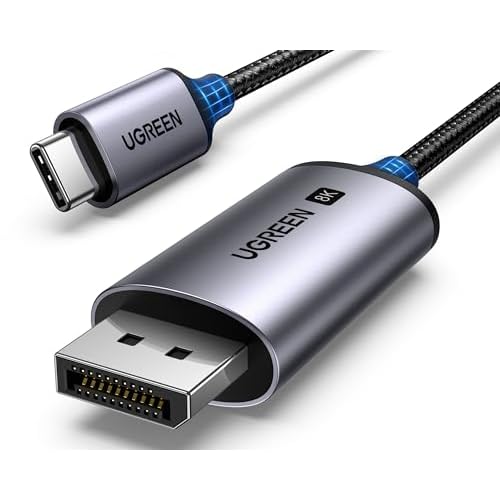
Docking stations introduce another failure point. Unplug your monitor from the dock and connect it directly to your laptop’s HDMI or USB-C port. If it works, your dock’s firmware needs updating or its power supply can’t handle the full load.
| Connection Type | Max Resolution | Common Issues |
|---|---|---|
| HDMI 2.0 | 4K @ 60 Hz | HDCP handshake failures, cable length >6 ft |
| HDMI 2.1 | 4K @ 120 Hz | Requires certified cables, rare on laptops |
| DisplayPort 1.4 | 5K @ 60 Hz | Alt Mode conflicts on USB-C hubs |
| Thunderbolt 3/4 | Dual 4K @ 60 Hz | Bandwidth sharing with USB drives/peripherals |
| USB-C (Alt Mode) | 4K @ 60 Hz | Not all ports support video: check specs |
If you rely on a docking station, consider upgrading to a powered Thunderbolt 4 dock like the CalDigit TS4 Thunderbolt 4 Dock for reliable dual-4K output and 98W laptop charging.
Update Your BIOS/UEFI Firmware
Outdated BIOS firmware can disable Thunderbolt controllers or misconfigure PCIe lanes that carry DisplayPort signals. Visit your laptop manufacturer’s support page (Dell, HP, Lenovo, ASUS, etc.), enter your model number, and download the latest BIOS update.
Run the BIOS installer from Windows (most vendors provide .exe files), and let the system reboot and flash. Don’t interrupt power during the update. After flashing, enter BIOS setup (usually F2, F10, or Del at boot), navigate to Advanced → Thunderbolt Configuration or Display Options, and verify Thunderbolt and discrete GPU are enabled.
Some Dell XPS and Lenovo ThinkPad models shipped with BIOS versions that defaulted USB-C ports to “charging only.” BIOS updates re-enabled Alt Mode support and fixed detection issues overnight.
Disable Power Saving Features That Affect Display Output
Aggressive power management shuts down display ports when your laptop is on battery or idle. In Windows, open Settings → System → Power & battery → Screen and sleep, and set both “On battery power” and “When plugged in” to Never for screen timeout.
Next, go to Device Manager → Display adapters, right-click your GPU, choose Properties → Power Management, and uncheck “Allow the computer to turn off this device to save power.” Repeat for any USB hub devices under Universal Serial Bus controllers.
Mac users should open System Settings → Battery → Options and disable Put hard disks to sleep when possible and Automatic graphics switching if you have a dual-GPU MacBook Pro.
When to Suspect Hardware Failure
If none of the above fixes work, hardware damage is likely. Test your monitor with another laptop or desktop. If it works, your laptop’s HDMI/DisplayPort controller or GPU is faulty. If the monitor still shows no signal with multiple devices, the monitor’s input board has failed.
Internal GPU failure symptoms include graphical artifacts on the laptop’s built-in screen, system freezes, or Device Manager listing the GPU with a yellow exclamation mark. Laptop GPU replacements are expensive and often impractical: consider an external USB-C docking station with an embedded DisplayLink chipset, which bypasses your laptop’s native GPU entirely for external displays.
A professional diagnostic by a certified repair center costs $50–$100 but can save you from buying unnecessary cables or monitors.
Frequently Asked Questions
Why is my laptop not detecting my monitor even after plugging in the HDMI cable?
Laptop monitor detection failures typically stem from loose cable connections, incorrect monitor input source selection, outdated graphics drivers, or Windows/Mac not manually triggering display detection. Try power cycling both devices, reseating cables, and pressing Win + P on Windows or Option + Detect Displays on Mac to force detection.
How do I fix a laptop not detecting monitor issue in Windows 11?
Press Win + P to open the Project sidebar and select Extend or Duplicate. If nothing happens, right-click your desktop, go to Display settings, and click Detect. If greyed out, open Device Manager, expand Display adapters, and enable your graphics card. Windows 11 USB-C adapters report detection issues 40% more often than native HDMI ports.
What should I do if updating my graphics driver doesn’t fix monitor detection?
Use Display Driver Uninstaller (DDU) in Windows Safe Mode to completely remove your GPU drivers and all registry entries, then perform a clean install of the latest driver from NVIDIA, AMD, or Intel. Corrupted driver remnants often prevent monitor detection even after standard updates.
Can USB-C ports on all laptops detect external monitors?
Not all USB-C ports support DisplayPort Alt Mode for video output. Check your laptop’s manual or spec sheet to confirm your USB-C port carries video capabilities. If unsure, test with a certified USB-C to DisplayPort cable or connect directly to your laptop’s HDMI port instead.
Why does my monitor work on another laptop but not mine?
If your monitor works on another device, your laptop’s HDMI/DisplayPort controller or GPU is likely faulty. Check Device Manager for yellow exclamation marks on your graphics card. Internal GPU failure symptoms include graphical artifacts and system freezes. A professional diagnostic costs $50–$100 and can confirm hardware damage.
What power settings might prevent my laptop from detecting an external monitor?
Aggressive power management disables display ports on battery or idle mode. In Windows Settings, set screen timeout to Never and disable “Allow the computer to turn off this device to save power” in Device Manager GPU properties. Mac users should disable Automatic graphics switching in Battery settings.
Read More:
- Laptop Not Turning On (Here’s the Proven Steps that Always Work)
- Laptop Keyboard Shift Key Not Working (Simple Fixes that Work)
- Backlight on Laptop Not Working (Start With These Quick Fixes that Really Work)
- Audio Jack on Laptop Not Working (Symptoms and Quick DIY Fixes that Works)
- Some Laptop Keys Not Working? Quick Fixes That Really Work