
Last updated on April 5th, 2026 at 09:30 am
If your Samsung TV turns on but doesn’t show any picture, the issue is often related to incorrect input settings, faulty cables, or problems with connected devices. Checking that your TV is set to the correct source and making sure all cables are securely connected usually resolves the no-display problem.
Sometimes, the issue might be with the HDMI cable, the external device, or the One Connect Box if your model has one. Testing different cables and devices can help you isolate the cause without needing immediate repairs.
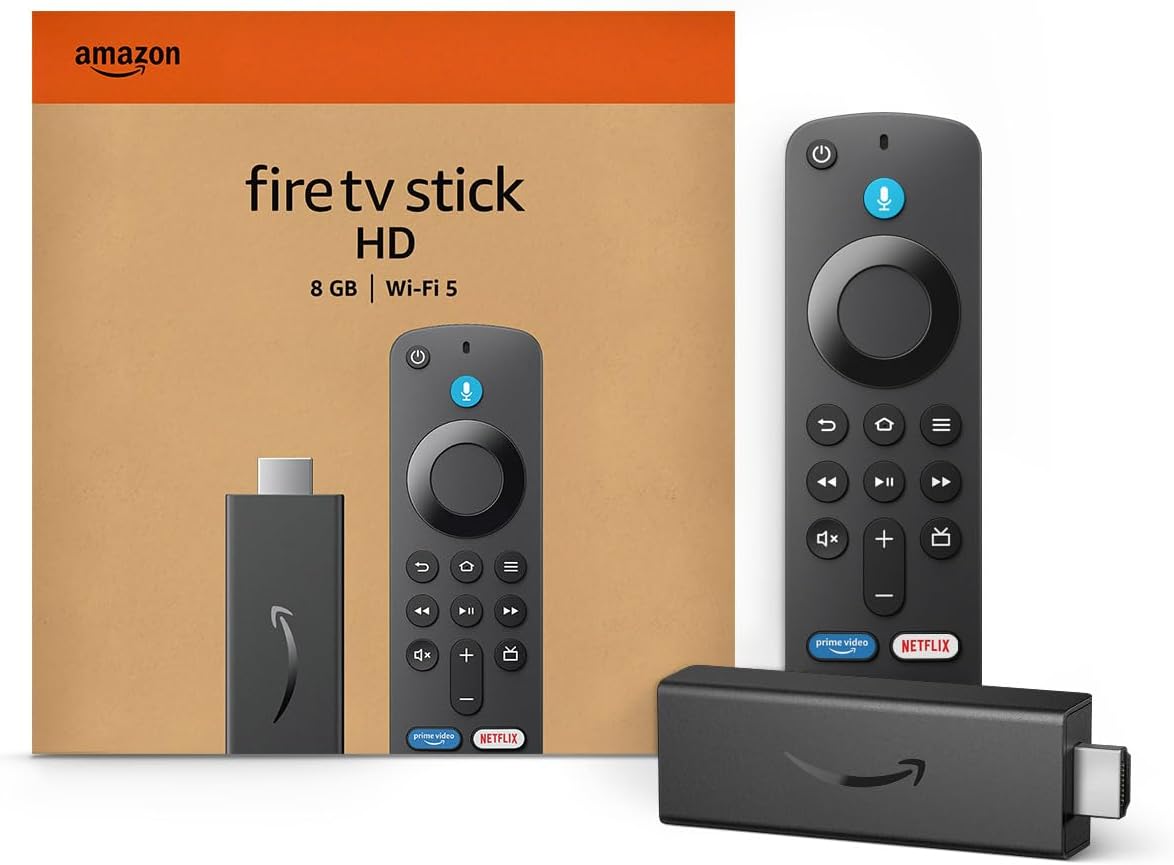
Amazon Fire TV Stick HD
Turn Any TV to a Smart TV. Stream Netflix, Prime Video & More. Alexa Voice Remote Included. Easy Plug & Play Setup.
Shop on AmazonUnderstanding these common causes can save you time and frustration. This guide will walk you through straightforward troubleshooting steps so you can get your Samsung TV displaying again without unnecessary hassle or expense. For detailed help, refer to this Samsung TV no picture troubleshooting guide.

Diagnosing Power and Startup Issues
When your Samsung TV fails to display, the problem often lies in its power or startup processes. You’ll need to verify the electrical supply, interpret the TV’s indicator lights, and attempt a full power reset to restore proper function.
Checking Power Outlet and Cables
Start by confirming your power outlet is supplying electricity. Plug another device like a lamp or phone charger into the same outlet to test functionality. If it doesn’t work, check your circuit breaker or try a different outlet.
Inspect your Samsung TV’s power cord carefully. Look for visible damage such as cuts, fraying, or bent pins. Ensure the cord is firmly connected both to the TV and the outlet. If you use a surge protector, bypass it by plugging the TV directly into the wall, as worn surge protectors can reduce voltage or fail entirely.
Make sure the outlet is not controlled by a wall switch that could be turned off. Secure, functional connections between power source and TV are critical before moving to more complex troubleshooting.
Testing Standby and Indicator Lights
Your Samsung TV’s standby light provides clues about its power state. Normally, a red light means the TV is in standby mode, while no light often indicates no power reaching the TV.
If the red light is steady but the screen stays black, the problem might be software or remote-related. A blinking red light signals specific errors; different blink patterns represent different faults like power board issues or internal component failures.
No standby light usually means a power supply failure. You can test this by confirming the power source and power cord connection first. Note any unusual behavior like clicking sounds or sudden loss of power to assess if hardware replacement might be necessary.
Performing a Power Cycle
A power cycle resets your Samsung TV’s internal electronics and clears residual charge stored in capacitors. This simple step often fixes startup problems.
To perform a power cycle:
- Unplug your TV’s power cord from the wall outlet—do not unplug from the TV itself.
- Wait at least 60 seconds to allow full discharge.
- While unplugged, press and hold the physical power button on your TV for 15 seconds.
- Release the button and wait an additional 10 seconds.
- Plug the power cord back into the outlet.
- Wait 30 seconds for the standby light to stabilize.
- Turn on the TV using the physical power button, not the remote.
This process fully resets the power supply and can resolve software hangs or protection mode locks that prevent your TV from turning on properly.
Resolving Display and Input Problems
To fix display issues like a blank or black screen, you need to ensure your TV is set to the correct input, check your HDMI cables and connections for damage or improper seating, and test different HDMI ports with other devices to isolate the issue.
Verifying Input Source Selection
Your Samsung TV must be set to the right input source to display video from your device. Use the remote to press the Menu or Source button.
Carefully cycle through input options like HDMI1, HDMI2, or AV until you match the device you have connected. A mismatch often causes a “No Signal” or black screen.
If the correct input is selected and the screen remains blank, try unplugging the device and reconnecting it. Restart both your TV and connected device to refresh communication.
Inspecting HDMI Cables and Connections
Faulty or loose HDMI cables are common reasons for no picture or distorted display. Check both ends of your HDMI cable and ensure they’re fully inserted into the TV and source device.
Look for visible damage such as bent pins, kinks, or frayed wires. Replace the HDMI cable if any defects are found. Use a high-quality HDMI cable rated for your device and TV specifications to avoid connection issues.
If your TV supports multiple HDMI inputs, try plugging into a different port to rule out port-specific issues.
To rule out signal handshake issues, try a high-bandwidth iVANKY 4K/8K HDMI Cable. Its reinforced braiding and gold-plated connectors ensure a stable connection, which often fixes the ‘black screen’ issue caused by older, standard cables that can’t handle modern high-resolution signals.
![IVANKY 8K HDMI Cable 15 ft, 48Gbps HDMI 2.1 Cable, [8K/60Hz 4K/120Hz, HDR, HDCP 2.3, 3D, eARC], High Speed Braided 8K HDMI Cord Compatible with PS5, PS4, UHD TV and PC](https://m.media-amazon.com/images/I/41s9mCwxEQL._SS520_.jpg)
Testing HDMI Ports with Alternate Devices
If you suspect an HDMI port problem, test it by connecting a different device, such as a Blu-ray player, game console, or streaming stick.
If the alternate device works on the same port, the issue likely lies with your original device or its cable. If the port remains unresponsive or shows no picture, consider that the HDMI port itself may be faulty.
Testing other HDMI ports can help isolate whether the problem is with one port or your TV’s internal hardware. Document any error messages or patterns during testing for further troubleshooting or professional repair advice.
For detailed guidance on troubleshooting HDMI input issues, you can refer to Samsung TV Not Recognizing HDMI Input: Quick Fix Guide.
Correcting Picture Settings and Updating Software
When your Samsung TV fails to display correctly, precise adjustments to picture settings combined with keeping your software updated often resolve many issues. Understanding how to run diagnostics, reset to factory defaults, fine-tune key picture parameters, and apply firmware updates will help restore optimal viewing quality.
Running a Picture Test
A picture test is a built-in diagnostic tool that helps identify whether display problems are due to your TV screen or external devices. To run it, go to your TV’s Settings > Support > Self Diagnosis > Picture Test. The TV will display a test image that shows if the screen is functioning properly.
If the test image appears clear without distortions or color issues, the problem likely lies with connected devices or cables. If it shows abnormalities, the issue is with the TV hardware or internal processing.
Running this test first saves you time by directing you on where to focus troubleshooting efforts, whether it’s the TV itself or external sources.
Resetting Picture Settings
Resetting your picture settings restores the factory defaults, undoing any adjustments that may have caused poor display quality. This is especially helpful after software updates or accidental changes.
To reset on 2022 or newer Samsung TVs:
- Navigate to Settings > All Settings > Picture > Expert Settings.
- Scroll down and select Reset Picture.
- Confirm the reset by selecting Reset on the popup.
For models from 2021 or earlier:
- Press the Home button, choose Settings > Picture > Expert Settings.
- Select Reset Picture and confirm.
This action clears custom settings like brightness, contrast, and color, bringing the picture back to the default mode, which can be a stable starting point for troubleshooting.
Adjusting Backlight, Brightness, and Contrast
After resetting or running diagnostics, manually adjusting key picture settings like backlight, brightness, and contrast can help optimize your display for your room’s lighting conditions.
- Backlight controls the light output of the TV’s panel. Increase backlight in bright rooms to reduce dimming effects, and decrease it in darker environments to prevent eye strain.
- Brightness adjusts how light or dark the entire picture looks. Set this so details in shadows are visible but without washing out the image.
- Contrast balances the difference between the darkest and brightest areas. Higher contrast makes images more vivid but can clip details if too high.
Experiment with these settings through Picture Mode or Expert Settings for the best clarity and color balance tailored to your viewing environment.
If you find yourself constantly battling eye strain in dark rooms, adding an ambient light source like the Govee Envisual TV LED Backlight can help. By syncing with your screen’s colors, it reduces the harsh contrast between a bright display and a dark room, making the picture appear more vivid while being much easier on your eyes.

Updating TV Firmware and Software
Ensuring your Samsung TV runs the latest firmware and software versions is crucial to fixing bugs, improving picture processing, and maintaining compatibility with apps and devices.
To check for updates:
- Press the Home button and go to Settings > Support > Software Update.
- Select Update Now if available.
Your TV must be connected to the internet for updates to appear. If the update option is greyed out, restarting your TV or reconnecting to the network can help.
Regular updates can resolve issues such as poor picture quality, color inaccuracies, or features not working correctly, keeping your TV running smoothly. For detailed software update steps or troubleshooting, see the guide on how to resolve Samsung TV software update failures.
Advanced Fixes and Support
Addressing persistent display issues may require more in-depth steps beyond basic troubleshooting. You will explore options that involve resetting your TV to factory settings, evaluating hardware integrity, and knowing when expert assistance is necessary. These approaches help clarify if the problem is software-related or hardware-based.
Factory Reset Procedures
Performing a factory reset on your Samsung TV can resolve software glitches causing display problems. This action restores your TV to its original settings by erasing personalized data and installed apps.
To do this:
- Navigate to Settings > General > Reset.
- Enter your PIN when prompted (default is 0000 if unchanged).
- Confirm the reset and wait for the TV to restart.
If your screen is completely unresponsive, you might try unplugging the TV for 60 seconds, then powering it back on before attempting the reset. Note that after a reset, you will need to set up your preferences and reconnect to Wi-Fi. This method is effective for correcting firmware corruption or errant settings blocking the display.
Identifying Hardware Malfunctions
Not all display issues come from software faults. Signs like persistent lines, flickering, or a blank screen despite a functioning power indicator could indicate hardware failures. Common hardware problems include damaged display panels, faulty T-Con boards, or loose cable connections inside the TV.
You can perform a simple Picture Test by going to Settings > Support > Self Diagnosis > Picture Test to determine if the issue is internal. If the test shows abnormalities, hardware repair or replacement may be necessary. Avoid opening the TV yourself to prevent warranty voidance or further damage.
Checking external devices and cables can help isolate if the problem is within the TV or connected components. If replacing cables and sources does not improve the display, hardware malfunction on the TV itself is likely.
When to Contact Samsung Support
If factory resets and hardware checks don’t fix the issue, contacting Samsung Support is recommended. Gather your TV’s model number, serial number, and firmware version before reaching out to expedite the process.
Samsung Support can provide advanced troubleshooting, schedule repairs, or authorize warranty service if applicable. Some software updates can only be installed under guided support.
To contact them, visit the Samsung Support website or use the support option in your TV’s menu. Prompt professional assistance is critical especially if the TV is under warranty or if hardware defects are suspected.