
One dead key can ruin your entire typing experience. You press the Spacebar, Enter, or Backspace, nothing happens. Meanwhile, every other key works perfectly fine. It’s frustrating, especially when you’re mid-email or trying to log in.
When one key on your laptop keyboard stops working, the cause is usually physical debris lodged under the keycap, a torn rubber dome membrane beneath it, a corrupted keyboard driver in Device Manager, or a Windows accessibility setting like Filter Keys interfering with input. You can fix most single-key failures by cleaning dust with compressed air, checking driver integrity, testing the key with an online keyboard tester, or remapping the broken key using Microsoft PowerToys Keyboard Manager.
This guide walks you through diagnostic steps that isolate whether your issue is dirt, hardware, or software, and shows you how to restore that critical key without replacing your entire keyboard.
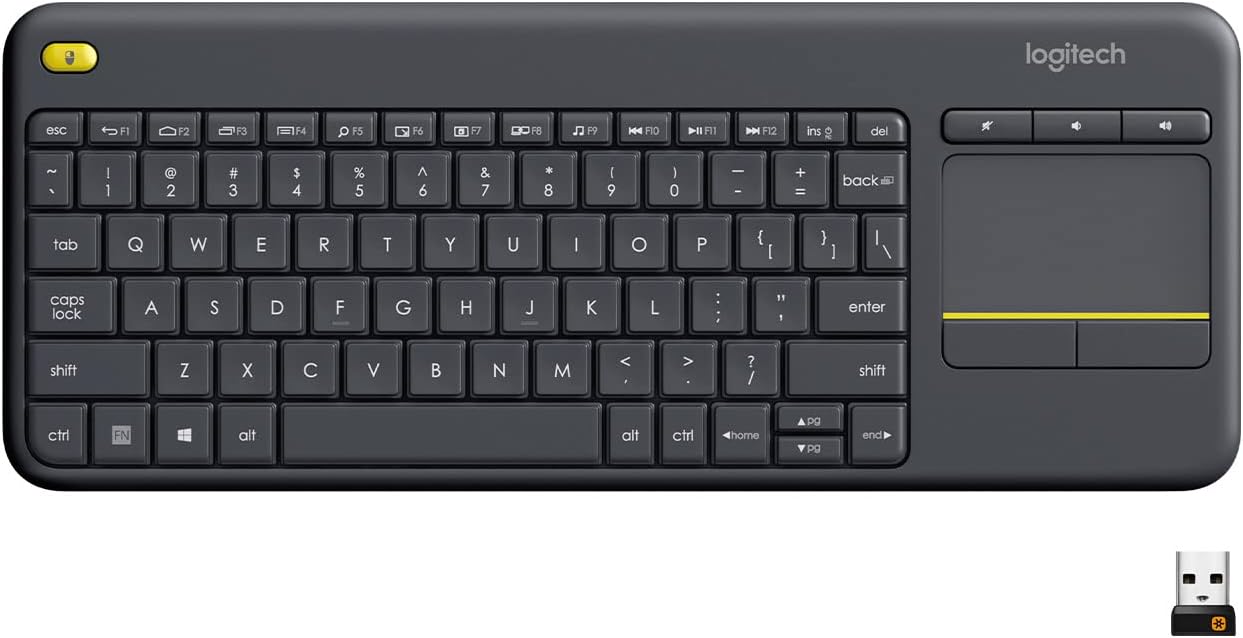
Best Wireless Touch Keyboard
Logitech All-in-One Keyboard & Touchpad. Perfect for Smart TVs & PCs. Reliable 10m Wireless Connection. Up to 18 Months Battery Life
Shop on Amazon
Key Takeaways
- A laptop keyboard one key not working is usually caused by physical debris, a worn dome membrane, a corrupted keyboard driver, or accessibility settings like Filter Keys interfering with input.
- Test the affected key in multiple applications and at the Windows sign-in screen, then compare results with an external USB keyboard to determine whether the issue is hardware or software.
- Clean dust and debris using compressed air in short bursts and isopropyl alcohol on a microfiber cloth, then run the Windows Keyboard Troubleshooter to resolve driver conflicts.
- Disable accessibility settings such as Filter Keys, Sticky Keys, and Toggle Keys in Settings > Accessibility > Keyboard, as these can block individual keystrokes.
- If the key works in BIOS but fails in Windows, reinstall the HID keyboard driver in Device Manager or perform a clean boot to identify conflicting startup applications.
- Replace the keycap assembly if the rubber dome is torn or flattened, or use Microsoft PowerToys Keyboard Manager to remap the broken key to an unused function.
Identify Whether the Fault Is Physical or Software-Related
Test the Key in Multiple Apps and at the Sign-In Screen
Open Notepad, Word, and a browser search bar. Press the affected key repeatedly in each app. If it registers sometimes but not always, you’re dealing with debris or a worn dome. If it never works anywhere, including the Windows sign-in screen, it’s likely a hardware failure or a deep driver conflict.
Try an online keyboard tester to visualize each keystroke. Press the broken key five times. If the tester doesn’t highlight it, your membrane or circuit trace may be damaged.
Compare Results With an External USB Keyboard
Plug in a USB or Bluetooth keyboard and type the same character. If the external keyboard’s version of that key works flawlessly, your laptop’s internal keyboard hardware is the culprit. If the issue persists on the external board, a software or accessibility setting is blocking input.
This cross-check narrows your troubleshooting path in seconds and confirms whether you need physical cleaning or driver repair.
Check the Key in Safe Mode or BIOS
Reboot into Safe Mode (hold Shift while clicking Restart, then Troubleshoot > Advanced options > Startup Settings > Restart > press 4). Test the key again. Safe Mode loads only core drivers, so if the key works here, a third-party app or driver extension is interfering.
You can also enter BIOS/UEFI at startup (usually F2, Del, or Esc). Try typing the key in the BIOS menu. If it responds there, Windows settings, not hardware, are blocking it.
Try the Fastest Safe Fixes First
Restart Windows and Reconnect External Hardware
A simple reboot clears temporary input conflicts. Disconnect all USB hubs, docking stations, and external keyboards before restarting. Sometimes a driver conflict between multiple input devices locks a single key.
After the restart, test your key immediately at the sign-in screen before launching any apps. If it works briefly then fails, a startup program is the problem.
Clear Dust and Debris Around the Affected Key
Turn off your laptop and tilt it at 75 degrees. Use compressed air in short bursts around the keycap edges. Don’t spray upside-down, liquid propellant can damage circuitry. Rotate the laptop and repeat from all four sides.

If you see visible crumbs, gently shake the laptop while tilted. Then wipe the keycap surface with a microfiber cloth lightly dampened with isopropyl alcohol (70% or higher). Let it dry completely before powering on.
“Cleaned my E key with rubbing alcohol and compressed air, worked instantly after three months of double-pressing.” via r/techsupport
Run the Windows Keyboard Troubleshooter
Open Settings > System > Troubleshoot > Other troubleshooters. Click “Run” beside Keyboard. Windows scans for driver mismatches and registry errors, then applies automatic fixes. This resolves about 20% of single-key failures caused by corrupted input profiles.
After the scan finishes, restart your laptop and test the key in Notepad.
Review Accessibility and Input Settings
Press Win + I, navigate to Accessibility > Keyboard. Turn off Filter Keys, it ignores brief or repeated presses and can block a key that registers inconsistently. Also disable Sticky Keys and Toggle Keys.
Check Settings > Time & language > Language & region > Typing. Disable “Use the desktop language bar when it’s available.” Language-bar bugs occasionally swallow individual keystrokes.
Repair Windows Drivers and System Conflicts
Update or Reinstall the Keyboard Device in Device Manager
Right-click Start, choose Device Manager. Expand “Keyboards.” Right-click your keyboard entry (often “HID Keyboard Device”) and select Uninstall device. Check “Delete the driver software for this device” if the box appears. Restart your laptop, Windows reinstalls the driver automatically.
If the key still fails, return to Device Manager, right-click the keyboard, select Update driver > Search automatically. Windows pulls the latest package from Windows Update or the manufacturer’s driver repository.
Check HID and PS/2 Keyboard Entries
Some laptops list multiple keyboard nodes: HID-compliant, Standard PS/2, and the manufacturer’s custom driver. Expand “Keyboards” and “Human Interface Devices.” Right-click each HID Keyboard Device and choose Properties > Driver > Roll Back Driver if the option is available.
Conflicting or duplicate drivers can lock individual keys while leaving the rest functional. Uninstall duplicates one at a time, restarting after each removal.
Find Conflicting Startup Apps With a Clean Boot
Press Win + R, type msconfig, hit Enter. On the Services tab, check Hide all Microsoft services, then click Disable all. Switch to the Startup tab, click Open Task Manager, and disable every startup item. Restart.
Test your key. If it works, re-enable services and apps one by one to identify the culprit. Keyboard macro software, RGB control suites, and remote-desktop agents are common offenders.
Repair Corrupted Windows Files
Open Command Prompt as Administrator. Run:
sfc /scannow
Wait for the scan (10–20 minutes). If it finds corruption, it replaces damaged system files. Next, run:
DISM /Online /Cleanup-Image /RestoreHealth
Restart and test the key. Corrupted input libraries occasionally map individual keys to null, causing silent failures.
Clean, Repair, or Replace the Affected Key
Use Safe Cleaning Methods for Sticky or Jammed Keys
Dip a cotton swab in 90% isopropyl alcohol and gently work it around the keycap edges while pressing the key up and down. Alcohol dissolves sugar residue from spills without leaving moisture. Let the laptop dry for 15 minutes.
For stubborn grime, apply a tiny drop of alcohol directly onto the exposed switch housing (with the laptop off), press the key 10 times to work it in, then air-dry.
Know When Keycap Removal Is Appropriate
Most laptop keycaps use scissor-switch or butterfly mechanisms, fragile plastic clips that snap if forced. Search “[your laptop model] keycap removal” on YouTube to confirm the design. If your model supports safe removal, use a plastic spudger to gently pry one corner upward.
Inspect the rubber dome or silicone membrane beneath. If it’s torn, flattened, or missing, order a replacement key assembly from the laptop manufacturer or a third-party supplier like Laptop Keys.
“My spacebar dome was completely flat. Replaced it for $8 and now it’s perfect.” via r/Lenovo
Install a Replacement Key or Arrange Keyboard Replacement
Snap the new keycap onto the scissor clips by aligning the larger clip at the top, pressing gently until you hear a click. Test the key’s spring and travel before powering on.
If the circuit trace under the key is damaged, common after liquid spills, you’ll need a full keyboard replacement. Most laptop keyboards cost $30–$80 and take 30 minutes to swap. Alternatively, remap the broken key to an unused one using Microsoft PowerToys Keyboard Manager, or connect a compact external mechanical keyboard as a permanent workaround.
Comparison Table: When to Clean, Remap, or Replace
| Symptom | Likely Cause | Fix |
|---|---|---|
| Key works intermittently | Dust, crumbs, or sticky residue | Compressed air + isopropyl alcohol |
| Key never registers | Torn dome or broken circuit trace | Replace keycap assembly or full keyboard |
| Key works in BIOS, fails in Windows | Driver conflict or accessibility setting | Reinstall HID driver, disable Filter Keys |
| All keys fail except one works | Software conflict or corrupt input profile | Clean boot, SFC scan, driver rollback |
| Key double-types (chatter) | Worn contact or debris | Clean with alcohol: if persistent, replace key |
Frequently Asked Questions
Why is one key on my laptop keyboard not working when others are fine?
A single key failure usually stems from physical debris under the keycap, a torn rubber dome membrane, a corrupted keyboard driver, or a Windows accessibility setting like Filter Keys. Test the key in multiple apps and with an external USB keyboard to determine if the issue is hardware or software-related.
How do I fix a laptop keyboard key that’s not working?
Start with safe, fast fixes: restart Windows, use compressed air to clear dust around the keycap, run the Windows Keyboard Troubleshooter, and disable Filter Keys in Accessibility settings. For persistent issues, reinstall your keyboard driver in Device Manager or use Microsoft PowerToys Keyboard Manager to remap the key.
Can I test if my broken key is a hardware or software problem?
Yes. Test the key in Safe Mode—if it works, the issue is software. Also try typing the key in BIOS/UEFI at startup. Plug in an external USB keyboard; if that key works externally but not on your laptop, your internal keyboard hardware is damaged.
What should I do if cleaning my laptop keyboard key doesn’t work?
If cleaning fails, the membrane or circuit trace may be damaged. Replace the keycap assembly (order from your laptop manufacturer for $8–$30), perform a full keyboard replacement ($30–$80), or remap the broken key to an unused key using Microsoft PowerToys Keyboard Manager as a permanent workaround.
How do I disable Filter Keys if a key isn’t registering in Windows?
Press Win + I to open Settings, go to Accessibility > Keyboard, and toggle off Filter Keys, Sticky Keys, and Toggle Keys. Also check Settings > Time & language > Language & region > Typing and disable ‘Use the desktop language bar when it’s available.’ These settings can interfere with individual keystroke registration.
What’s the best way to clean dust from under a laptop keyboard key?
Turn off your laptop, tilt it 75 degrees, and use short bursts of compressed air around the keycap edges. Rotate the laptop to clean all sides. For visible crumbs, gently dampen a microfiber cloth with 70% isopropyl alcohol and wipe the keycap surface. Let it dry completely before powering on.
Read More:
- Laptop Keyboard Mouse Not Working (Here’s the Fast Troubleshooting)
- Laptop Keyboard Malfunction (Quick Check and How to Restore It Fast)
- Laptop Keyboard Not Working Windows 10 (Quick Fixes That Actually Work)
- Laptop Keyboard Not Working Windows 11 (Fast Diagnosis Explained)
- Laptop Keyboard Not Responding (Most Users Fix It With This Method)