
You plug in your laptop, expecting the battery icon to show a charging symbol, but instead you watch the percentage drop. The adapter light blinks, your laptop status reads “Plugged in, not charging,” or worse, nothing happens at all. It’s a frustrating scenario that can derail your workday.
The root cause typically lies in four areas: a faulty power adapter or cable, a damaged or dirty charging port, outdated or corrupted battery drivers, or an aging battery that can no longer accept a charge. By systematically testing each component, from the AC outlet and power brick to the battery drivers in Device Manager, you can isolate the fault and restore reliable charging without expensive repairs.
This guide walks you through professional diagnostic steps to identify whether your charging failure stems from a simple cable swap or requires battery replacement. You’ll learn to inspect physical components, update Microsoft ACPI-Compliant Control Method Battery drivers, run powercfg battery health reports, and leverage vendor tools like Lenovo Vantage and Dell Power Manager to recalibrate and fix common charging glitches.
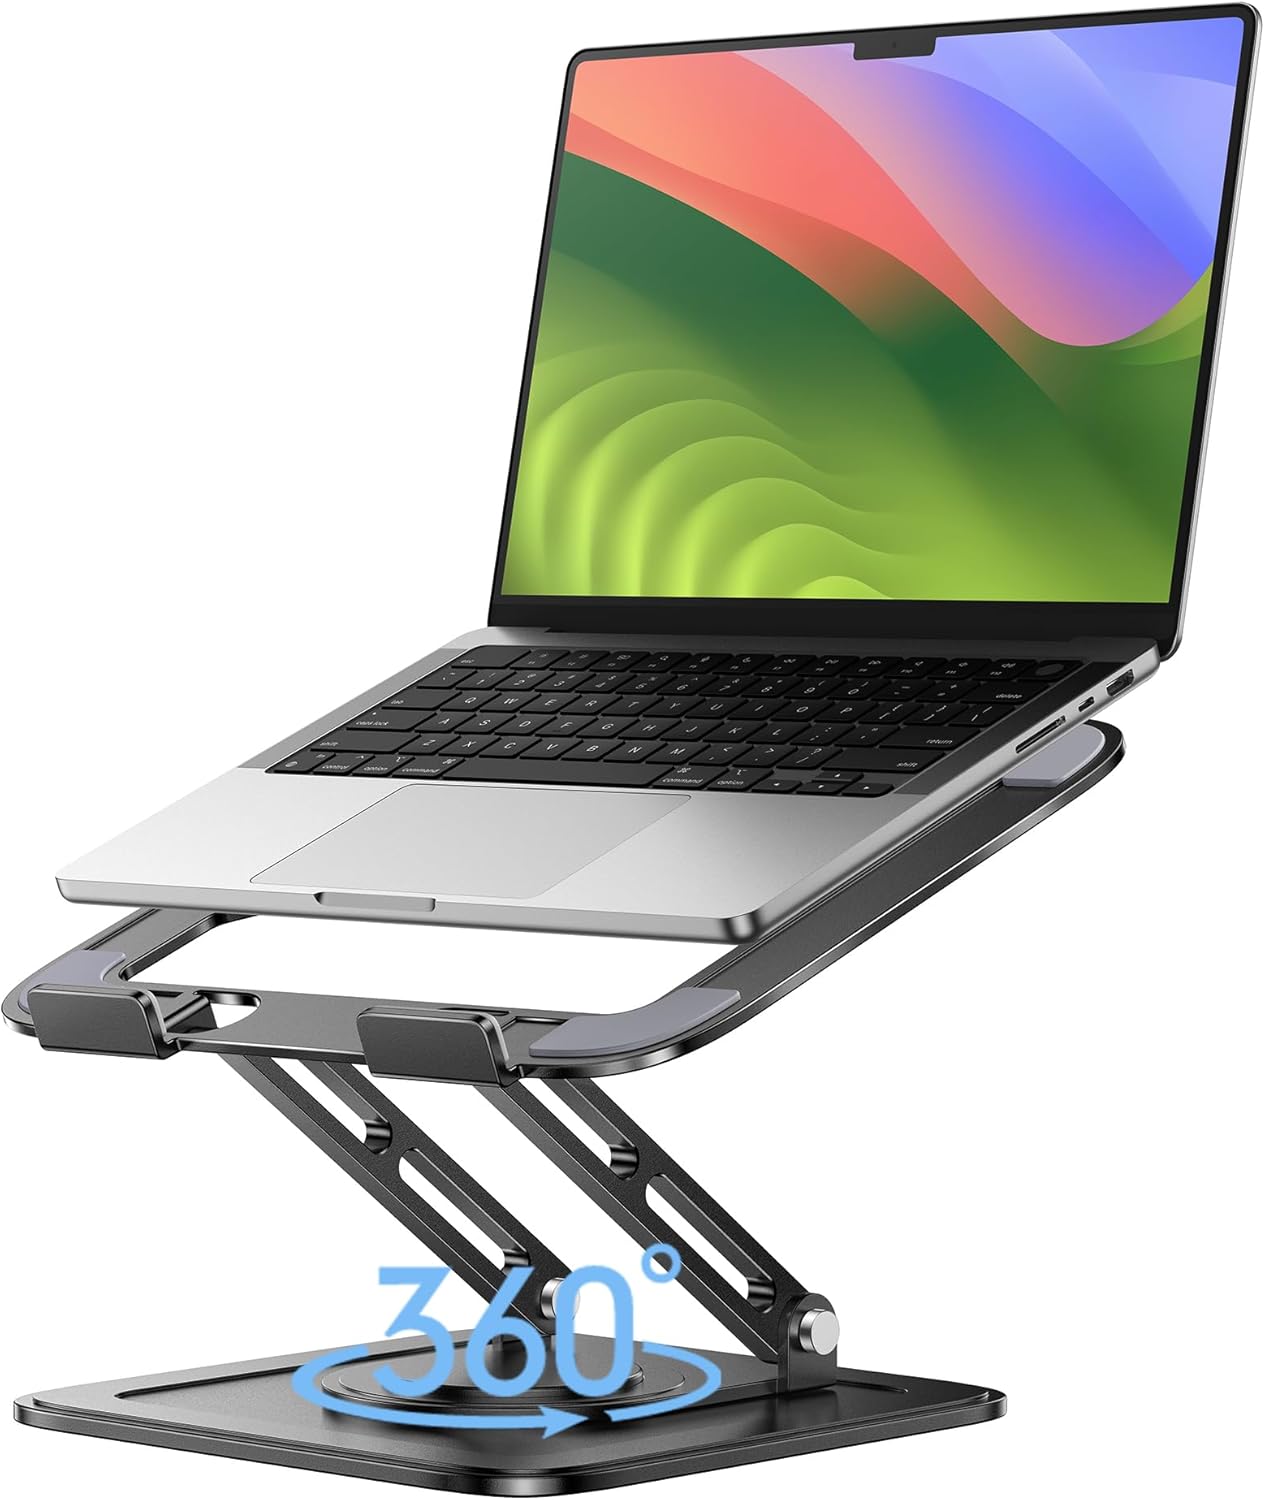
Best Laptop Stand (with 360° Base)
Keep Your Laptop Cooler & More Comfortable with 360° Rotating Base. Improve Airflow & Reduce Heat. Adjustable Height & Viewing Angle.
Shop on Amazon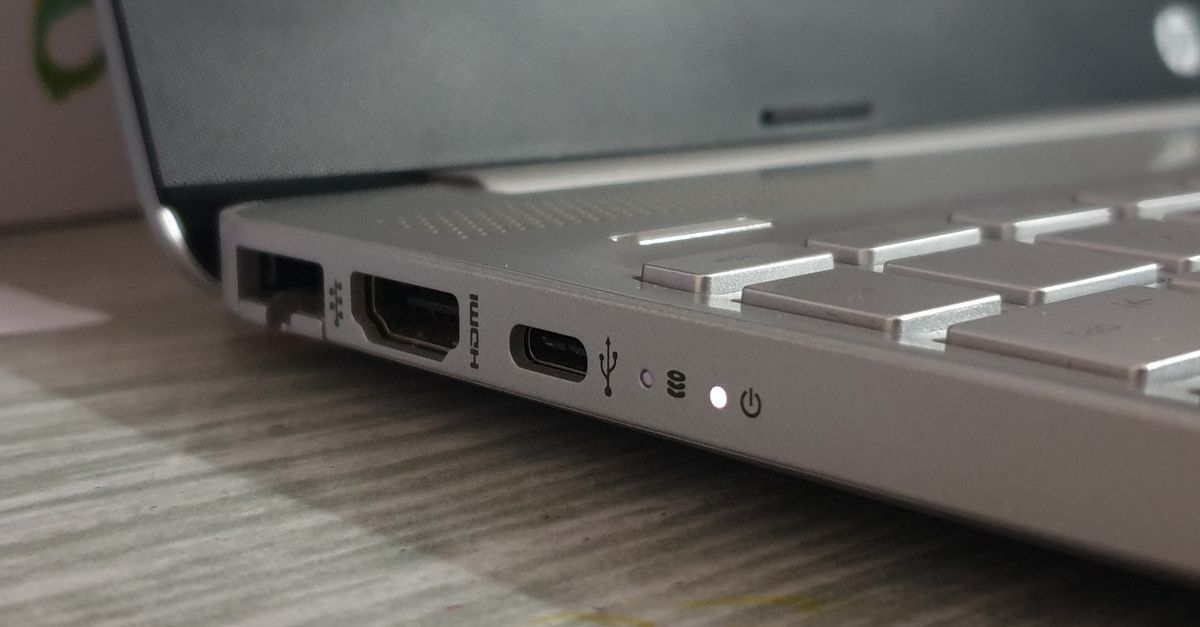
Key Takeaways
- Laptop not charging issues typically stem from four sources: faulty power adapters, damaged charging ports, outdated battery drivers, or aging batteries—test each systematically to isolate the problem.
- Inspect your charging cable and power brick for physical damage, clean the charging port with a cotton swab to remove dust and oxidation, and test with a different compatible adapter to confirm the fault location.
- Perform a hard power reset by holding the power button for 30–60 seconds while unplugged, then reinstall battery drivers in Device Manager (Windows) or reset the SMC (Mac) to resolve software-related charging errors.
- Check if vendor software like Lenovo Vantage or Dell Power Manager has enabled battery conservation mode, which intentionally limits charging to 80% or 60%—disable this setting if you need a full charge.
- Run Windows powercfg /batteryreport or check your Mac’s battery condition to determine if your battery has degraded below 40% of its original design capacity, indicating it’s time for replacement.
Why Your Laptop Won’t Charge
When your laptop battery percentage drops while plugged in, the problem stems from a break in the power delivery chain. Power flows from the wall outlet through the adapter brick, along the cable, into your laptop’s DC barrel jack or USB-C port, through internal circuitry controlled by your operating system’s battery drivers, and finally into the lithium-ion cells. A failure at any point stops charging cold.
Most users see a “Plugged in, not charging” status in Windows or macOS, or notice the charging indicator light blinking red, orange, or staying dark. These symptoms point to either a hardware disconnect, a frayed cable, loose port, or blown adapter, or a software miscommunication where the operating system fails to recognize the battery or misjudges its charge state. Hard resets and driver reinstalls often resolve software faults, while physical inspection catches broken connectors.
Charger wattage mismatches also trigger charging failures. If you swap your original 90 W adapter for a 45 W replacement, your laptop may run but refuse to charge the battery under load. USB-C Power Delivery laptops are especially sensitive: a non-PD cable or charger that can’t negotiate the correct voltage profile will keep your battery stuck at its current percentage.
Check Your Power Adapter
Inspect the Charging Cable and Brick
Start by unplugging the adapter from both the wall and laptop. Examine the entire cable length for kinks, exposed copper wires, or burn marks. Flex the cable near the connectors, many failures occur where the wire enters the plug housing. If you feel a crackle or see intermittent flicker in the adapter LED when you move the cable, replace it immediately.
Inspect the power brick itself. Most adapters have a small LED that glows green or white when receiving AC power. If the light is off, test the outlet with another device to rule out a tripped circuit breaker. If the outlet works but the adapter LED stays dark, the brick’s internal fuse or transformer has likely failed. Check for unusual heat or a burnt plastic smell, both indicate a dead adapter.
Clean the DC barrel jack or USB-C tip with a dry cotton swab. Pocket lint, dust, and oxidation build up over time, creating resistance that prevents solid electrical contact. For USB-C ports, a single fiber strand can block the deepest pins responsible for Power Delivery negotiation.
Test With a Different Power Adapter
Borrow a known-good charger that matches your laptop’s voltage and wattage specifications. Dell, HP, and Lenovo barrel-jack adapters are not interchangeable due to different tip sizes and voltage outputs, using the wrong adapter can damage your motherboard. USB-C laptops offer more flexibility, but verify the replacement charger supports USB Power Delivery at the required wattage (typically 45 W, 65 W, or 90 W).
Plug in the test adapter and watch for the battery icon to change to charging. If your laptop immediately begins charging, your original adapter or cable is defective. Order an OEM replacement or a high-quality third-party option certified for your model. If the laptop still won’t charge with a different adapter, the fault lies downstream, in the port, drivers, or battery itself.
For a reliable replacement cable and adapter, consider the USB-C 65W Charger (Amazon), which supports Power Delivery and works across most modern USB-C laptops.

Examine Your Laptop’s Charging Port
A loose, dirty, or physically damaged charging port is one of the most common laptop charging failures. DC barrel jacks and USB-C ports endure thousands of insertions, and over time the solder joints crack or the internal contacts wear down. If you wiggle the plug and the charging light flickers on and off, you’re dealing with a loose connection.
Power down your laptop and remove the battery if possible. Use a flashlight and magnifying glass to peer inside the port. Look for bent pins, blackened scorch marks, or visible gaps between the port housing and motherboard. For USB-C ports, compressed lint acts like an insulator, carefully extract it with a wooden toothpick or plastic spudger, never a metal tool that could short the pins.
If the port feels loose when you insert the plug, the charging port may have separated from the motherboard. This requires professional micro-soldering to reattach or replace the port. Some laptop models mount the charging port on a small daughter board connected by a ribbon cable, making replacement easier and cheaper. Check your laptop’s service manual or a teardown video on iFixit to assess the repair complexity.
“My Dell XPS charging port felt loose for weeks, then one day it wouldn’t charge at all. Cleaned out a shocking amount of lint with a toothpick and it’s been rock solid since.” via r/Dell
Remove and Reinstall Battery
Performing a hard power drain, also called a flea power reset, clears residual charge from your laptop’s capacitors and resets the embedded controller that manages battery charging. This simple procedure fixes many “Plugged in, not charging” errors caused by firmware glitches.
Shut down your laptop completely. Unplug the AC adapter and remove the battery if your model has a removable pack. Press and hold the power button for 30 seconds to discharge residual power. If your laptop has a non-removable internal battery, simply hold the power button for 60 seconds while unplugged.
Reinsert the battery, reconnect the AC adapter, and power on. Check if the battery icon now shows charging. This reset forces the BIOS and operating system to re-detect the battery, often resolving communication errors between the battery management IC and your OS.
For laptops with sealed batteries, you can still achieve a hard reset by entering the BIOS during boot (typically F2, F10, or Delete key) and performing a “Load Setup Defaults” or “Reset to Factory Settings” action, then saving and exiting. This resets power management firmware without opening the chassis.
Update or Reinstall Drivers
How to Update Battery Drivers on Windows
Corrupted or outdated battery drivers prevent Windows from correctly reading charge status or communicating with the battery’s smart controller. The Microsoft ACPI-Compliant Control Method Battery driver is the primary interface between your OS and battery hardware.
Open Device Manager by right-clicking the Start button and selecting it from the menu. Expand the Batteries category. You’ll see two entries: Microsoft ACPI-Compliant Control Method Battery and Microsoft AC Adapter. Right-click the Control Method Battery entry and choose Uninstall device. Do not restart yet.
Shut down your laptop, unplug the AC adapter, and perform a 30-second power button hold. Reconnect the adapter and boot up. Windows will automatically reinstall the battery driver with fresh settings. Check if your laptop now charges. If the driver doesn’t reinstall automatically, click Action > Scan for hardware changes in Device Manager.
You can also download the latest chipset and power management drivers from your laptop manufacturer’s support site. Dell, HP, and Lenovo each provide driver update utilities that bundle battery firmware updates with OS drivers.
How to Reset Battery Drivers on Mac
Macs use the System Management Controller (SMC) to govern power and charging. Resetting the SMC resolves charging issues that aren’t hardware-related. The reset procedure varies by Mac model.
For MacBooks with non-removable batteries (most 2018 and later models), shut down the Mac, then press and hold Shift + Control + Option on the left side of the keyboard, plus the power button, for 10 seconds. Release all keys, then press the power button again to turn on the Mac.
For older MacBooks with removable batteries, shut down the Mac, remove the battery, press and hold the power button for five seconds, reinstall the battery, and power on. Intel-based MacBooks with the T2 chip require a different sequence: shut down, press and hold the power button for 10 seconds, release, wait a few seconds, then press the power button again to start up.
After the SMC reset, open System Settings > Battery and verify that the charging status updates correctly. If the issue persists, boot into macOS Recovery (Command + R at startup) and run Apple Diagnostics to check for hardware faults.
Adjust Power Management Settings
Many laptop manufacturers include battery health features that intentionally limit charge to extend lithium-ion lifespan. Lenovo, Dell, and HP offer charging threshold settings in their vendor software, Lenovo Vantage, Dell Power Manager, and HP Support Assistant, that stop charging at 80 percent or 60 percent to reduce stress on the cells.
If your laptop stops charging at a percentage below 100, open your vendor’s power management app and check the battery conservation or charging threshold settings. Disable conservation mode or adjust the threshold to 100 percent if you need a full charge for mobile work. These settings are especially common on business-class ThinkPads, Latitudes, and EliteBooks.
Windows also includes power plans that can throttle charging. Open Settings > System > Power & battery and review your active power plan. Switch from a custom or power-saver plan to the Balanced plan, which allows normal charging behavior. For advanced users, open Command Prompt as Administrator and run powercfg /list to view all power schemes, then powercfg /setactive SCHEME_GUID to activate the Balanced scheme.
“Spent two hours troubleshooting my ThinkPad, only to realize Lenovo Vantage had conservation mode enabled at 60%. Turned it off and charging resumed instantly.” via r/thinkpad
Run a Battery Diagnostic
Windows includes a built-in battery health report that reveals charge capacity, cycle count, and design capacity versus current full charge. This report helps you determine if your battery has degraded beyond the point where it can accept a full charge.
Open Command Prompt as Administrator and type powercfg /batteryreport. Press Enter. Windows generates an HTML report and saves it to C:\Windows\System32\battery-report.html. Open the file in your browser and scroll to the Installed batteries and Battery capacity history sections.
Compare the Design Capacity (original maximum charge when new) to the Full Charge Capacity (current maximum charge). If your full charge capacity has dropped below 40 percent of design capacity, the battery is worn out and should be replaced. Cycle count above 500 cycles on a consumer laptop or 1,000 cycles on a business model also indicates end-of-life.
Mac users can hold the Option key and click the battery icon in the menu bar to see the battery condition: Normal, Replace Soon, Replace Now, or Service Battery. For detailed stats, download coconutBattery to view cycle count, design capacity, and current maximum charge.
When Your Laptop Needs Replacement
If your battery report shows severe wear, your laptop charges only when turned off, or the battery physically swells and warps the chassis, it’s time for a replacement. Swollen batteries are a fire hazard, stop using the laptop immediately, power it down, and store it in a cool, non-flammable area until you can replace the pack.
OEM batteries from Dell, Lenovo, HP, and Apple ensure compatibility and safety, but they cost significantly more than third-party options. If you choose a third-party battery, verify it has UL or CE certification and read recent reviews to confirm it matches the advertised capacity. Avoid ultra-cheap batteries on auction sites, many use recycled or counterfeit cells that fail quickly or pose safety risks.
For a professional-grade laptop battery that fits most Dell Latitude models, consider the Dell 6-Cell 65Wh Replacement Battery (Amazon). Installation is straightforward on models with removable packs: internal batteries require disassembly but are manageable with a service manual and basic tools.
After installing a new battery, perform a full calibration cycle: charge to 100 percent, use the laptop until it shuts down from low battery, then charge back to 100 percent without interruption. This trains the battery management system to accurately report charge levels and maximizes longevity.
Frequently Asked Questions
Why is my laptop plugged in but not charging?
Your laptop won’t charge due to four main causes: a faulty power adapter or cable, a dirty or damaged charging port, outdated battery drivers, or an aging battery. Test with a different adapter, clean the port, update drivers, and run a battery diagnostic to identify the culprit.
How do I fix the ‘Plugged in, not charging’ error on Windows?
Start by inspecting your adapter for damage and testing a different charger. Then uninstall the Microsoft ACPI-Compliant Control Method Battery driver in Device Manager, perform a 30-second power button hold, and let Windows reinstall it automatically.
What should I do if my laptop charging port feels loose?
Power down your laptop, remove the battery if possible, and inspect the port with a flashlight for bent pins or loose connections. Clean out lint with a wooden toothpick, never metal tools. If the port feels physically separated from the motherboard, professional micro-soldering is required.
Can a power adapter wattage mismatch prevent charging?
Yes. Using a lower-wattage adapter than your laptop requires may allow operation but refuse charging under load. USB-C Power Delivery devices are especially sensitive—non-PD cables or mismatched voltage profiles will keep your battery stuck at its current percentage.
How do I know if my laptop battery is too worn to charge?
Run powercfg /batteryreport in Windows Command Prompt to view design versus full charge capacity. If capacity has dropped below 40 percent of design capacity or cycle count exceeds 500–1,000 cycles, the battery is worn out and needs replacement.
Does resetting the SMC fix charging issues on Mac laptops?
Yes. The System Management Controller governs charging on Macs. For newer models, press Shift+Control+Option+Power for 10 seconds while shut down, then restart. For older models, remove the battery, hold Power for 5 seconds, reinstall it, and power on to reset charging firmware.
Read More:
- Laptop Not Charging (Here’s the Proven Fixes that Actually Work)
- Laptop Not Shutting Down (Why It Happens and How to Fix It)
- Laptop Not Booting From USB (Why It’s Happen and Complete Fix Guide)
- Laptop Not Booting Up (Common Causes and How to Fix It Fast)
- Laptop Not Responding (Why It Happen and How to Fix It Fast)