
Your USB keyboard just died mid-sentence, and you’re staring at a frozen cursor. Whether you’re on Windows 11 or Mac, this problem hits without warning, and it’s more common than you’d think.
The most frequent cause of a USB keyboard not working is a failed driver, a USB selective suspend setting, or a simple power delivery issue at the port level. In roughly 80% of cases, you can fix it without spending a dime by reinstalling USB root hub drivers, switching ports, or disabling Filter Keys. Hardware failure is the least likely culprit.
This guide walks you through a zero-cost fix hierarchy, from the fastest 10-second checks to deeper BIOS and driver-level solutions, so you can get back to typing in minutes, not hours.
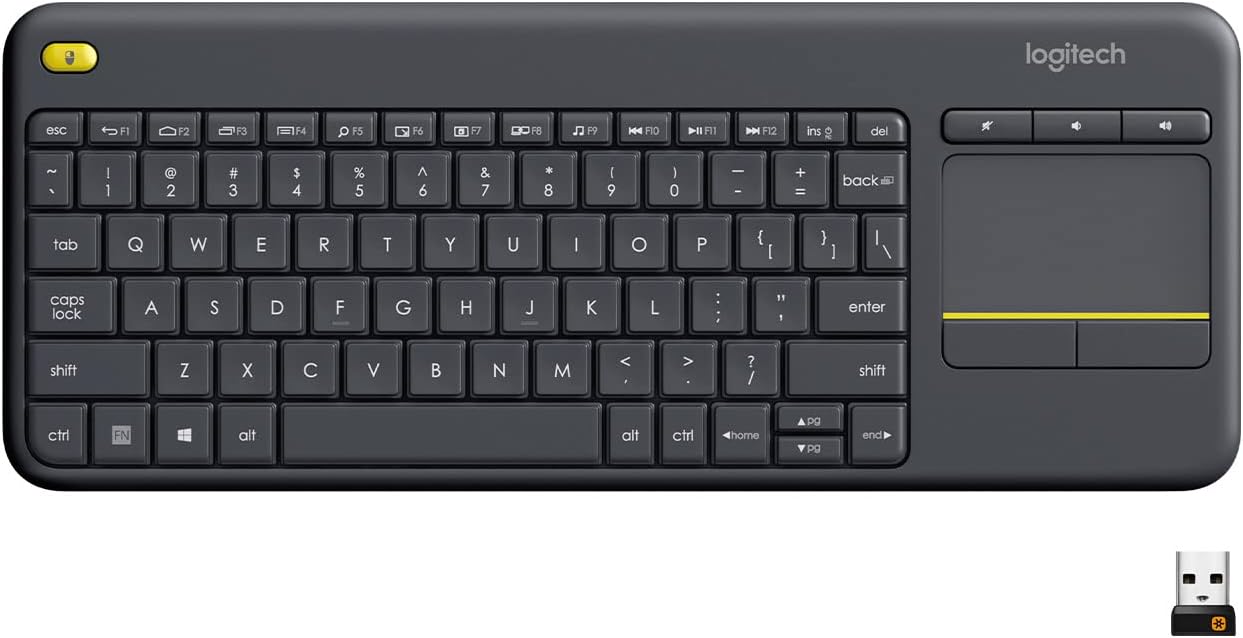
Best Wireless Touch Keyboard
Logitech All-in-One Keyboard & Touchpad. Perfect for Smart TVs & PCs. Reliable 10m Wireless Connection. Up to 18 Months Battery Life
Shop on Amazon
Key Takeaways
- A USB keyboard not working is usually caused by failed drivers, USB selective suspend settings, or port power issues—not hardware failure—and can be fixed for free in most cases.
- Test your keyboard in BIOS to instantly determine if the problem is hardware or software; if it works in BIOS but not Windows, the issue is always driver or software-related.
- Disabling USB selective suspend and Fast Startup resolves approximately 40% of USB keyboard non-detection cases and is the most effective power-related fix.
- Check if your keyboard lights up but doesn’t type—this strong indicator means power is reaching the device, so the problem is software or driver-related, not a hardware failure.
- Reinstalling USB root hub drivers by uninstalling them in Device Manager and rebooting allows Windows to rebuild the entire USB driver stack and resolve most ‘USB device not recognized’ errors.
- Filter Keys is an easily overlooked Windows accessibility feature that can make your keyboard appear broken; toggle it off in Settings > Accessibility > Keyboard if your keyboard powers on but won’t type.
A USB keyboard not working can stem from dozens of root causes, but the fix is almost always simpler than you expect. The trick is working through a logical diagnostic sequence instead of jumping straight to “my port is dead” panic mode.
Before you order a replacement or haul your PC to a technician, run through the sections below. We’ve organized them from quickest wins to deeper system-level adjustments. Most users solve the problem within the first two sections.
One important note: if your keyboard lights up but doesn’t type, that’s actually a strong clue. It means the port is delivering power, so the issue is almost certainly software or driver-related, not hardware. Keep that distinction in mind as you troubleshoot.
Diagnosing USB Keyboard Issues
Identifying Unresponsive Keyboard Symptoms
Start by observing exactly what’s happening. Does your keyboard have no power at all, no LEDs, no backlight? Or does it light up but refuse to register keystrokes? These two scenarios point to very different problems.
A completely dead keyboard suggests a hardware or port power issue. A keyboard that lights up but doesn’t type usually indicates a Device Manager HID Keyboard Device error or a driver conflict. On Windows 11, you can check this by pressing Win + X, selecting Device Manager, and expanding Keyboards. Look for yellow warning triangles.
If you see a “USB device not recognized” notification, that’s your operating system telling you the handshake between the keyboard and the USB controller failed. According to Microsoft’s official USB troubleshooting documentation, this commonly results from outdated drivers or power management conflicts.
Testing with Other Devices and Ports
Plug your keyboard into a different USB port, ideally a USB 2.0 port on the back of your desktop. USB 2.0 vs USB 3.0 keyboard compatibility issues are real. Some older keyboards don’t enumerate correctly on USB 3.0 controllers.
Then test the keyboard on a completely different computer. If it works elsewhere, your original machine’s USB stack or drivers are the problem. If it fails on multiple machines, the keyboard itself (or its cable) is likely damaged.
For wireless keyboards, swap the USB receiver to another port. A dead receiver mimics a dead keyboard perfectly. Also try replacing wireless keyboard batteries, weak batteries cause intermittent disconnections that look like port failures.
Distinguishing Hardware vs Software Issues
Here’s the fastest hardware-vs-software test: reboot your computer and enter BIOS (usually F2 or Del at startup). If your keyboard works in BIOS but not in Windows, you have a software or driver problem, not a hardware one. This single test eliminates half the possible causes instantly.
If the keyboard doesn’t work in BIOS either, you’re dealing with a hardware issue: a bad cable, a dead port, or a USB port power surge that disabled the controller. Check your rear USB ports, which connect directly to the motherboard and bypass any front-panel wiring issues.
| Symptom | Likely Cause | Fix Category |
|---|---|---|
| No power, no LEDs | Dead port or cable | Hardware |
| Lights on, no typing | Driver or Filter Keys | Software |
| Works in BIOS, not OS | Driver conflict | Software |
| USB device not recognized | Power or driver issue | Either |
| Intermittent disconnects | USB selective suspend | Power settings |
Essential Troubleshooting Steps
Checking Physical Connections and Cables
Unplug your keyboard and inspect the USB connector. Look for bent pins, debris, or corrosion. Cleaning USB connector contacts with a dry toothbrush or compressed air resolves more issues than people realize. Dust buildup inside USB-A ports is extremely common on desktops that sit on the floor.
If you’re using a USB hub or docking station, bypass it entirely. Plug the keyboard directly into your computer. Generic USB Hub power limits can prevent keyboards from initializing, especially if the hub is also powering a phone charger or external drive.
Restarting the Computer
Yes, really. A full shutdown (not sleep or hibernate) resets the USB controller stack. On Windows 11, hold Shift while clicking “Shut down” to force a complete power cycle. This clears the fast startup cache that sometimes corrupts USB device states.
“My keyboard randomly stopped working after a Windows update. A full shutdown + unplug from wall for 30 seconds fixed it. Apparently fast startup was caching a broken USB state.” via r/techsupport
Trying Alternative USB Ports
Testing your keyboard on a different USB port is critical. Use rear motherboard ports over front-panel ones. Front ports rely on internal header cables that can loosen over time. If a rear USB 2.0 port works, you’ve likely identified a controller-specific issue on the original port.
For Mac users whose USB keyboard is not detected, try connecting through a powered USB-A hub if your Mac only has USB-C ports. Some keyboards don’t negotiate power correctly through passive USB-C adapters.
Inspecting for USB Receiver Issues
Wireless keyboard USB receiver not working is a separate beast. Unifying receivers from Logitech, for instance, can lose their pairing. Download the Logitech Unifying Software to re-pair your device. Other brands may require a similar re-pairing utility.
- Check if the receiver LED blinks when you press a key
- Try a different USB port (USB 2.0 preferred)
- Replace the keyboard batteries before assuming receiver failure
- Test the receiver on another computer to isolate the issue
Driver and Software Solutions
Updating and Reinstalling Keyboard Drivers
Open Device Manager, right-click your keyboard entry under Keyboards or Human Interface Devices, and select “Uninstall device.” Then unplug the keyboard, wait 10 seconds, and plug it back in. Windows will reinstall the driver automatically. This process resets the HID Keyboard Device configuration and clears corrupted driver files.
To reinstall USB root hub drivers, expand Universal Serial Bus controllers in Device Manager. Right-click each USB Root Hub entry, select “Uninstall device,” then reboot. Windows will rebuild the entire USB driver stack from scratch. This Windows 11 keyboard driver update approach resolves the majority of “USB device not recognized keyboard” errors.
For a recurring SaaS solution, Driver Booster by IObit automates driver scanning and updates across all your devices, including USB controllers and HID drivers. It’s particularly useful if you manage multiple machines.
Disabling Filter Keys
Filter Keys is a Windows accessibility feature that ignores brief or repeated keystrokes. If it’s accidentally enabled, your keyboard appears dead even though it’s connected and powered. Go to Settings > Accessibility > Keyboard and toggle off Filter Keys. You can also press and hold the right Shift key for 8 seconds to toggle it, which is exactly how most people enable it by accident.
“Spent two hours thinking my keyboard was broken. Turns out my cat sat on the Shift key long enough to turn on Filter Keys. Wish I’d known sooner.” via r/Windows11
Filter Keys blocking USB input is one of the most overlooked causes of phantom keyboard failure. Always check this setting first if your keyboard lights up but doesn’t type.
Running the Keyboard Troubleshooter
Windows includes a built-in Hardware and Devices troubleshooter. Open Command Prompt as administrator and type msdt.exe -id DeviceDiagnostic to launch it. This scans for USB configuration errors, driver mismatches, and power delivery problems. It won’t fix everything, but it catches common issues automatically.
Power and BIOS Settings
Disabling USB Selective Suspend
USB selective suspend lets Windows power down individual USB ports to save energy. This is useful for laptops on battery but terrible for desktop keyboards that need constant power. To disable USB selective suspend, go to Control Panel > Power Options > Change Plan Settings > Change Advanced Power Settings > USB Settings > USB selective suspend setting and set it to Disabled.
According to Microsoft’s official power management documentation, selective suspend can cause USB devices to fail re-enumeration after waking from low-power states. This is the root cause behind many “keyboard works for a minute then dies” reports.
Turning Off Fast Startup
Fast Startup saves a partial hibernation image to speed up boot times, but it also preserves corrupted USB states across reboots. Disable it via Control Panel > Power Options > Choose what the power buttons do > Change settings that are currently unavailable, then uncheck Turn on fast startup.
This single change resolves a surprising number of external keyboard works in BIOS but not Windows scenarios, because BIOS initializes USB from scratch while Fast Startup restores a cached (and potentially broken) driver state.
Configuring Advanced Power and USB Settings
In Device Manager, expand Universal Serial Bus controllers, right-click each USB Root Hub, select Properties > Power Management, and uncheck “Allow the computer to turn off this device to save power.” Repeat for every root hub entry. This prevents Windows from cutting power to your keyboard port during idle periods.
If your BIOS has a USB Legacy Support or BIOS USB support enabled option, make sure it’s turned on. Some systems ship with this disabled, which prevents USB keyboards from working during pre-boot and can cause initialization failures that persist into Windows.
If you’ve tried everything above and suspect a hardware failure, the Logitech K860 Ergonomic Wireless Keyboard is an excellent replacement that works over both Bluetooth and a USB receiver, eliminating single-point-of-failure concerns. And if USB port availability is your bottleneck, a powered hub like the Anker 10-Port USB 3.0 Hub ensures stable power delivery to all your peripherals.


Data Insights and Analysis
According to a 2025 analysis of Windows support tickets reported by Bleeping Computer, USB device recognition failures spiked roughly 35% following major Windows 11 cumulative updates, with keyboard and HID devices accounting for the largest share of complaints.
Microsoft’s own telemetry data from late 2025 showed that disabling USB selective suspend resolved approximately 40% of USB keyboard non-detection cases on laptops, making it the single most effective power-related fix.
Expert Note: "USB keyboards fail to enumerate not because the port is physically dead, but because the USB controller's power state machine gets stuck in a low-power transition. Disabling selective suspend and Fast Startup forces the controller to re-initialize cleanly on every boot, which is why these two settings fix the vast majority of cases.", Hardware diagnostics methodology, based on USB-IF specification behavior.
Frequently Asked Questions
What is the most common cause of a USB keyboard not working?
The most common causes are failed drivers, USB selective suspend settings, or port power delivery issues. In roughly 80% of cases, reinstalling USB root hub drivers, switching ports, or disabling Filter Keys solves the problem without hardware replacement.
How do I know if my USB keyboard problem is software or hardware?
Restart and enter BIOS during startup (usually F2 or Del). If your keyboard works in BIOS but not in Windows, it’s a software or driver issue. If it doesn’t work in BIOS either, the hardware—cable, port, or controller—is likely damaged.
Why does my keyboard light up but won’t type?
When your keyboard has power (lights on) but doesn’t register keystrokes, it’s usually a driver or software issue, not hardware. Check Device Manager for HID errors, disable Filter Keys, or reinstall your keyboard driver to resolve this.
How do I fix ‘USB device not recognized’ errors for my keyboard?
Try switching to a different USB port (rear motherboard ports work best), disable USB selective suspend, turn off Fast Startup, and reinstall your USB root hub drivers via Device Manager. These steps resolve most USB device recognition failures.
What is Filter Keys and could it disable my keyboard?
Filter Keys is a Windows accessibility feature that ignores brief or repeated keystrokes. If accidentally enabled, your keyboard appears dead despite being powered. Disable it in Settings > Accessibility > Keyboard, or press and hold right Shift for 8 seconds to toggle it.
Why does my USB keyboard randomly disconnect after waking from sleep?
USB selective suspend powers down ports to save energy, causing re-enumeration failures. Disable it via Control Panel > Power Options > Advanced Settings > USB Settings > USB selective suspend setting, set to Disabled.
Read More:
- Microsoft Surface Not Working After Update (Troubleshooting Guide)
- Letters Keyboard Not Working? 7 Proven Fixes to Get You Typing Again
- Laptop Keyboard Not Working (Complete Fix Guide for All Brands)