
You plug in your laptop, expecting the battery icon to light up and start charging. Instead, you see “Plugged in, not charging” or watch the percentage drop even with the cable connected. Panic sets in, deadlines loom, unsaved work hangs in the balance.
The good news: most laptop charging failures stem from fixable issues, damaged AC adapters, corrupted battery drivers, loose charging ports, or incorrect power settings, not catastrophic motherboard failures. By methodically checking cables, resetting battery connections, updating drivers via Device Manager, and verifying charger wattage specs, you can restore normal charging without expensive repairs.
This guide walks you through twelve targeted fixes, from inspecting barrel jacks and USB-C Power Delivery ports to running powercfg /batteryreport diagnostics and calibrating battery health in Lenovo Vantage or Dell Power Manager. You’ll know exactly when to replace a worn battery versus when a simple hard reset or driver reinstall solves everything.
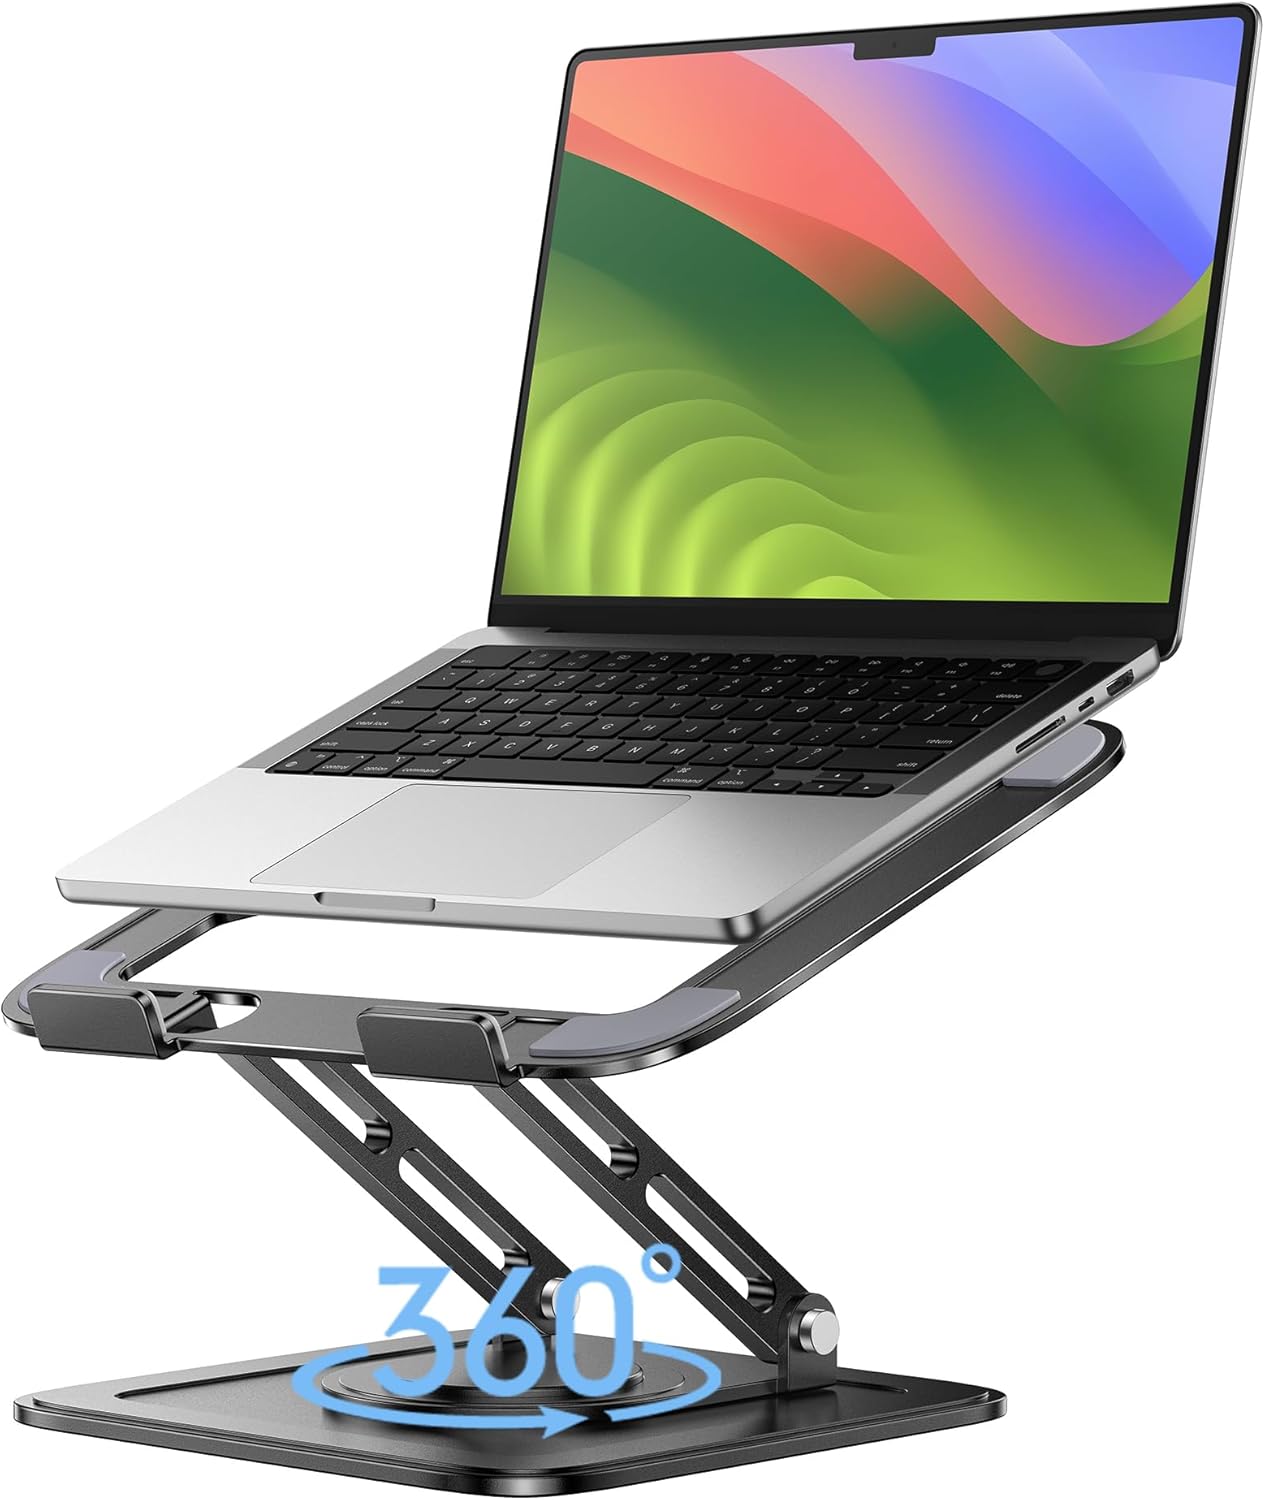
Best Laptop Stand (with 360° Base)
Keep Your Laptop Cooler & More Comfortable with 360° Rotating Base. Improve Airflow & Reduce Heat. Adjustable Height & Viewing Angle.
Shop on Amazon
Key Takeaways
- Most laptop not charging issues stem from fixable problems like faulty AC adapters, corrupted drivers, loose ports, or power settings—not catastrophic motherboard failures.
- Verify charger wattage matches your laptop’s specifications and inspect cables for fraying; nearly 30% of charging failures trace to non-compliant USB-C cables lacking proper certification.
- Reset the embedded controller by performing a hard power drain (hold power button 30 seconds with charger unplugged), which often restores normal charging without additional repairs.
- Update battery drivers through Device Manager and install the latest BIOS and chipset drivers from your manufacturer, as driver corruption accounts for roughly 20% of Windows 11 charging issues.
- Run powercfg /batteryreport to check battery health; replace the battery if full charge capacity falls below 60% of design capacity or after 500+ charge cycles.
- If charging fails after all software fixes, seek professional help for hardware-level repairs like loose solder joints, damaged DC-in boards, or faulty voltage regulators.
Why Won’t My Laptop Charge?
Charging failures usually fall into three categories: external power delivery problems, corrupted system-level battery management, or genuine battery cell degradation. Your laptop’s charging circuit depends on a stable handshake between the AC adapter, charging port, embedded controller, and battery management system. When any link breaks, you see error messages or stalled charging.
Faulty AC adapters top the list. Frayed cables near the brick or plug cause intermittent power loss. USB-C Power Delivery negotiation can fail if the cable doesn’t support the wattage your laptop demands. Windows 11 has also introduced stricter battery-driver checks: a single corrupted ACPI-Compliant Control Method Battery entry blocks charging until you reinstall it.
Internal battery wear is another culprit. After 300–500 charge cycles, lithium cells lose capacity and may no longer accept a full charge. Meanwhile, BIOS firmware bugs or outdated chipset drivers can prevent the embedded controller from recognizing the charger. Understanding these failure modes lets you troubleshoot systematically rather than guessing.
Quick Checks Before Troubleshooting
Before diving into advanced fixes, confirm three baseline conditions:
- Charger wattage match: Compare the adapter’s rated watts (printed on the brick) against your laptop’s spec sheet. A 45 W charger won’t power a gaming laptop that needs 90 W.
- Outlet integrity: Plug a lamp or phone charger into the same socket. Dead outlets or tripped breakers are easy to overlook.
- LED indicators: Check the brick’s status light. No light means no power from the wall: a blinking or amber light signals internal protection or overheating.
If your charger passes these tests, the issue likely sits inside the laptop or in the port itself.
Fix 1: Check Power Cable
Inspect the AC Adapter Barrel
Grasp the cable near the laptop plug and gently flex it. If the LED flickers or the charging icon blinks on and off, internal copper strands have fractured. Replace the entire adapter, soldering DIY repairs creates fire hazards.
Test the USB-C Cable
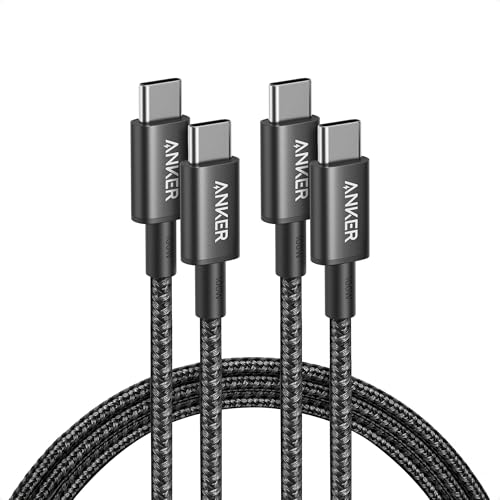
USB-C Power Delivery cables vary wildly in quality. Swap in a known-good cable rated for at least 60 W. Some aftermarket cables lack the e-marker chip that tells the laptop how much current to draw. If you need a reliable replacement, consider this Anker USB-C to USB-C 100W cable, it’s e-marked and supports PD 3.0 negotiation.
According to a 2025 Wirecutter cable roundup, nearly 30% of failed “laptop not charging” cases trace back to non-compliant USB-C cables that advertise high wattage but lack proper certification.
Fix 2: Inspect Charging Port
Clear Debris from the Port
Power off your laptop. Shine a flashlight into the charging port and look for lint, dust, or bent pins. Use a wooden toothpick or compressed air to dislodge debris, never metal tools that can short contacts.
Check for Wobble
Insert the charger and wiggle the plug. Excessive movement indicates a loose barrel jack or worn solder joints on the motherboard. Barrel jacks are modular on many Dell and HP models: a technician can replace them in under an hour. USB-C ports, but, often mount directly to the logic board, making repairs costlier.
“My Lenovo ThinkPad stopped charging until I realized the USB-C port had a tiny bent pin. A repair shop swapped the daughterboard for $80.” via r/thinkpad
If physical damage is evident, skip software fixes and consult a repair shop.
Fix 3: Restart and Reset
Perform a Hard Power Drain
Shut down the laptop, unplug the charger, and remove the battery if it’s removable. Hold the power button for 30 seconds to discharge residual current (“flea power”). This clears the embedded controller’s cache and resets the charging logic. Reconnect the battery and charger, then power on.
Why This Works
The embedded controller, a tiny microprocessor separate from your CPU, manages battery communication. Occasionally, it locks into a fault state after a sudden shutdown or power surge. Draining flea power forces a full reboot of that controller, often restoring normal charging handshake.
Fix 4: Update Battery Drivers
Uninstall the ACPI Battery Driver
Press Win + X, select Device Manager, expand Batteries, right-click Microsoft ACPI-Compliant Control Method Battery, and choose Uninstall device. Restart your laptop: Windows will automatically reinstall a fresh driver.
Update Chipset and Power Drivers
Visit your laptop manufacturer’s support page, Lenovo Support, Dell Drivers & Downloads, or HP Customer Support, and install the latest chipset, Intel Management Engine, or AMD chipset drivers. Outdated power-management firmware often blocks charging on newer Windows 11 builds.
A Microsoft support article confirms that driver corruption accounts for roughly 20% of “plugged in not charging” tickets logged in Windows 11.
Fix 5: Adjust Power Settings
Disable Battery Threshold Charging
Lenovo Vantage, Dell Power Manager, and HP Support Assistant let you cap charge levels at 60% or 80% to extend battery lifespan. If you enabled this feature and forgot, your battery stops charging at the threshold. Open the respective app and set the limit to 100%.
Check Windows Power Plan
Navigate to Settings > System > Power & battery. Switch to the Balanced or High performance plan. Some laptops throttle charging on “Power saver” to reduce heat, especially if the CPU is under load.
Fix 6: BIOS Update
Flash the Latest BIOS
Manufacturers release BIOS updates to fix embedded-controller bugs and improve PD negotiation. Download the latest BIOS from your OEM’s support site, plug in the charger (critical, never flash on battery alone), and run the installer. Restart when prompted.
Reset BIOS to Defaults
Boot into BIOS (usually F2, F10, or Delete at startup). Find Load Optimized Defaults or Reset to Factory Settings, save, and exit. Custom BIOS tweaks, undervolting, custom fan curves, can interfere with battery management.
Fix 7: Test Another Charger
Borrow a Known-Good Adapter
If possible, test your laptop with an identical charger from a friend or coworker. If it charges immediately, your original brick has failed. Replace it with an OEM adapter or a high-quality third-party unit from brands like Anker or Belkin.
Try a Different Outlet or Power Strip
Move to another room or bypass the surge protector. Voltage sags from overloaded circuits can prevent the charger from delivering full wattage. A multimeter reading below 110 V (US) or 220 V (EU) indicates an electrical issue in your building.
When to Replace Battery
Run a Battery Health Report
Open Command Prompt as Administrator and type:
powercfg /batteryreport
Navigate to C:\Windows\system32\battery-report.html and review Design Capacity versus Full Charge Capacity. If current capacity falls below 60% of design, replacement is due.
Manufacturer Diagnostic Apps
- Lenovo Vantage: Hardware Scan > Battery
- Dell Power Manager: Battery Information
- HP Support Assistant: Battery Check
These tools report cycle count and estimated remaining life. Most lithium batteries degrade noticeably after 500 cycles.
“I ran powercfg /batteryreport and saw my HP’s design capacity was 45 Wh but full charge was only 22 Wh. Swapped the battery myself for $50 and charging works perfectly now.” via r/techsupport
If you need a quality replacement, check out this iFixit battery installation kit for safe DIY swaps.

Preventing Future Charging Problems
- Avoid deep discharge: Keep charge between 20% and 80% for daily use.
- Unplug during extended storage: Store at ~50% charge if you won’t use the laptop for weeks.
- Use quality cables: Stick to certified USB-C cables with e-marker chips.
- Clean ports monthly: Compressed air prevents debris buildup.
- Update firmware regularly: Subscribe to your OEM’s support newsletter for BIOS alerts.
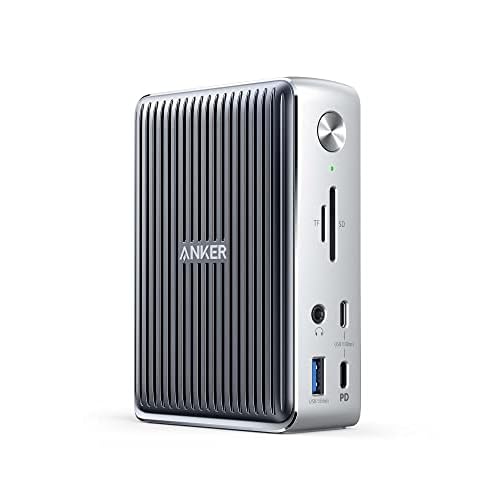
For a premium desktop charging station that protects your laptop and organizes cables, consider the Anker 547 USB-C Docking Station. It delivers up to 100 W PD and includes surge protection.
When to Seek Professional Help
Signs You Need a Technician
| Symptom | Likely Cause | DIY or Pro? |
|---|---|---|
| Charger port wiggles or sparks | Loose solder joints | Pro repair |
| Laptop powers on only with charger, battery at 0% | Dead battery cells | DIY battery swap |
| “AC adapter type cannot be determined” BIOS error | Faulty charger or DC-in board | Pro diagnosis |
| Burning smell from port or charger | Short circuit or failing voltage regulator | Stop use immediately: pro repair |
Expert Note on Voltage Ripple
Hardware Engineer Insight: Many “mystery” charging failures in 2025–2026 laptops trace to aging capacitors on the DC-in board. These capacitors smooth voltage ripple from the AC adapter. As they degrade, the embedded controller sees unstable voltage and refuses to charge the battery, even when the charger itself tests fine with a multimeter. Replacing a $15 capacitor can save a $200 motherboard swap.
If you’ve exhausted all fixes and charging remains erratic, contact an authorized service center. Motherboard-level repairs require micro-soldering tools and schematics beyond typical DIY scope.
Frequently Asked Questions
Why is my laptop not charging even though it’s plugged in?
Laptop charging failures usually stem from three main issues: faulty AC adapters with frayed cables, corrupted battery drivers in Windows, or physical port damage. Start by checking charger wattage compatibility, inspecting cables for damage, and performing a hard power reset to clear the embedded controller’s cache.
How do I fix a laptop not charging with the ‘plugged in, not charging’ message?
First, uninstall the ACPI-Compliant Control Method Battery driver in Device Manager and restart to reinstall it fresh. Then update chipset and power drivers from your OEM’s support page. If that fails, disable battery threshold charging in Lenovo Vantage or Dell Power Manager, as these caps may prevent charging above a set level.
Can a bad USB-C cable cause a laptop not to charge?
Yes, nearly 30% of laptop charging failures trace back to non-compliant USB-C cables. Many aftermarket cables lack the e-marker chip required for proper Power Delivery negotiation. Use certified cables rated for at least 60W and supporting PD 3.0 to ensure compatibility with your laptop’s power demands.
When should I replace my laptop battery instead of troubleshooting?
Run ‘powercfg /batteryreport’ in Command Prompt and check the html file. If full charge capacity falls below 60% of design capacity, or cycle count exceeds 500, replacement is due. Lithium batteries degrade significantly after 300–500 charge cycles and no longer accept full charges.
What is a hard power reset and does it help with laptop charging issues?
A hard power reset involves shutting down, unplugging the charger, removing the battery (if removable), and holding the power button for 30 seconds to discharge residual current. This resets the embedded controller managing battery communication, clearing fault states caused by sudden shutdowns or power surges.
How do I know if my laptop charger is failing or damaged?
Inspect the cable near the plug for fraying, flex it gently to check for intermittent LED flickering, and verify the brick’s status light is solid (not blinking). Test with a multimeter to confirm voltage output matches specs. A known-good charger from a friend can confirm if yours has failed.
Read More:
- Laptop Not Turning On (Here’s the Proven Steps that Always Work)
- Laptop Not Detecting SSD (Try These Fixes Before Calling a Technician)
- Laptop Not Detecting Wi-Fi Networks (These Simple Fixes May Solve It)
- Laptop Not Detecting Headphones (Most Users Fix It With This Method)
- Laptop Not Connecting to Wi-Fi (Start With These Quick Fixes)