
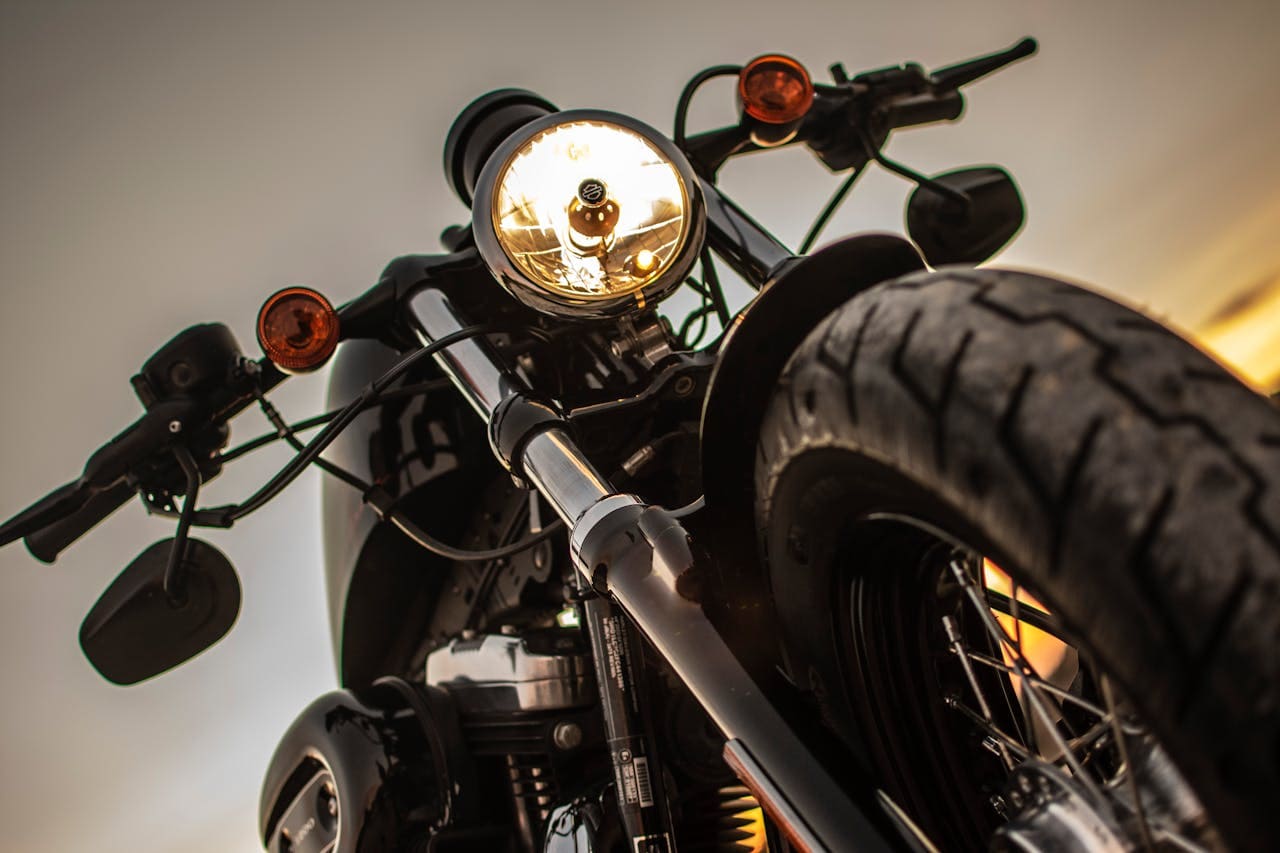
A leaking fork seal on your Harley can cause oil to drip down the front forks, leading to a bouncy ride, reduced braking control, and unsafe handling. If you notice oil around the fork tubes or on the front wheel, it’s likely your fork seals are leaking and need attention. Ignoring this issue can lead to bigger problems and higher repair costs.
Fork seal leaks happen because the seals wear out over time or get damaged by dirt and debris. While some seals last many years, others may fail sooner, even under 5,000 miles in certain cases. Fixing the seals early keeps your suspension working smoothly and your bike safe on the road.
Replacing fork seals might seem tough, but many riders successfully do it themselves with the right tools and guidance. Whether you choose to fix it yourself or have a dealer handle it, knowing the signs and basic steps can help you avoid unexpected issues.
Best Bluetooth OBD2 Scanner
Detect 39,000+ Issues With Enhanced Codes. Save $1000s on car repairs & buying used vehicles by diagnosing problems yourself.
Shop on Amazon
Recognizing Harley Fork Seal Leaks
You need to know what signs to look for to catch a fork seal leak early. Paying attention to oil buildup, changes in handling, and carefully inspecting the fork legs helps you spot problems before they get worse.
Common Symptoms
One clear sign of a leaking fork seal is oil gathering around the fork legs. You might see shiny oil spots or small puddles forming near the front wheel. This happens because oil is escaping the fork tubes.
You may also notice dirt or grit sticking to the oily areas. This can cause the leak to get worse over time. If your forks feel softer or your bike handles oddly, it could be from lost fork oil. These changes affect suspension and ride quality.
Dangers of Riding With Leaking Seals
Riding with leaking fork seals is risky. Oil loss reduces fork damping, causing poor suspension performance. This can make your bike unstable, especially when braking or turning.
Oil on your front tire or brake parts also lowers grip and braking efficiency. That increases your risk of accidents. Ignoring a leak can damage forks and lead to costly repairs.
Visual Inspection Tips
Check your forks regularly for wet spots or oil streaks on the fork tubes or legs. Look closely at the seals where the forks slide — if they look cracked, dry, or worn, they may need replacement.
Clean the fork legs first, then inspect again after a short ride. This helps you spot fresh leaks. Watch out for dirt buildup near the seal, as trapped grit often causes leaks.
Use a flashlight to find hard-to-see damage or cracks. If you spot persistent oil, it’s time to service the seals.
Causes of Fork Seal Leaks on Harley Motorcycles
Fork seal leaks happen for a few clear reasons. Most issues come from worn parts, dirt buildup, or mistakes during repairs. Knowing exactly what causes leaks can help you spot problems early and get the right fix.
Wear and Tear
Your fork seals face constant stress every time you ride. Over time, the seals can dry out or crack. This makes it easier for oil to escape.
The fork tube surface can also develop nicks or scratches. These rough areas rub against the seal and wear it down faster.
If you ride aggressively or hit hard bumps, the seals get damaged more quickly. Worn bushings inside the fork reduce smooth movement, which increases pressure on the seals and causes leaks.
Regular inspection of the fork tubes and seals can help you catch wear early before oil starts leaking.
Contaminants and Debris
Dirt, sand, and small stones can get caught between the fork seal and the fork tube. This debris damages the edge of the seal and causes leaks.
If you often ride off-road or on dusty roads, your seals are more at risk. The grime acts like sandpaper, wearing away the seal surface.
You can check this by sliding something thin inside the seal to feel for trapped dirt. Cleaning or replacing the seal may be needed if debris has caused damage.
Keeping your forks clean and riding with protective covers can reduce this problem.
Improper Installation
Fork seals need to be installed correctly and carefully to avoid leaks. If seals are seated unevenly or damaged during installation, they won’t hold oil properly.
Using the wrong tools can harm the seal or the fork tube. Even a small nick can cause a leak later on.
Sometimes, seals get installed upside down or without enough grease, increasing wear and leaks.
If you aren’t experienced with fork service, having a professional do the seal replacement reduces risks. Proper installation is key to a long-lasting seal and leak-free forks.
Diagnosing the Severity of Leaking Fork Seals
You need to check how bad the leak is by looking at the amount of oil and any damage. This helps you decide if you can keep riding or if you must fix the seals right away. Always look closely at the forks and suspension parts for signs of wear or contamination.
Minor vs. Major Leaks
Minor leaks show small oil spots or dampness near the fork seals. You might only notice a light film of oil or slight wetness on the fork tubes. These leaks often don’t affect suspension function right away but should be watched regularly.
Major leaks produce visible puddles or heavy oil drips that run down the fork legs. This level of leaking reduces the oil inside, which can harm your suspension’s ability to absorb bumps. You may also see oil on the brake rotor or pads, which is dangerous as it lowers braking power. If you spot this, you need to fix the seals quickly.
| Leak Type | Signs | Urgency |
|---|---|---|
| Minor | Light wetness or oil spots | Monitor often |
| Major | Heavy dripping, puddles | Repair immediately |
Assessing Damage to Suspension Components
Check your suspension parts for oil contamination or damage if the fork seals leak. Oil on brake rotors and pads reduces braking efficiency and can cause uneven wear. You will need to clean or replace these parts if contaminated.
Look for dirt and debris stuck to the fork tubes, as leaking oil attracts grime. This build-up can cause faster seal wear. Also, listen for unusual noises when you compress the forks, which may mean internal damage or low oil levels.
You should inspect the fork bushings and tubes for scratches or corrosion. Damaged parts usually need replacing to prevent new leaks. Ignoring damage will shorten suspension life and affect how your Harley handles.
Preventive Maintenance for Harley Fork Seals
To avoid leaks and extend the life of your fork seals, you need to keep them clean and inspect them regularly. Using proper seal protectants also helps reduce wear and keeps dirt away. Both steps are critical for smooth suspension and safe riding.
Cleaning and Inspection Routines
You should clean your fork seals regularly to remove dirt and debris that can cause damage. Use a soft cloth or brush and avoid harsh chemicals that might dry out the seals.
Inspect the seals closely for cracks, tears, or hardening. Check the fork tubes too, looking for any scratches or nicks that could damage the seal. Damaged tubes often cause leaks by cutting the rubber.
Do these checks at least once a month or before long rides. A quick wipe and inspection can catch problems early and prevent costly repairs.
Selecting the Right Seal Protectants
Using seal protectants designed for fork seals can keep the rubber soft and pliable. Look for products that help repel dirt and moisture.
Apply a thin layer of protectant after cleaning, but avoid overuse. Too much product can attract dust or interfere with fork oil.
Choose protectants that are compatible with fork oil and safe for rubber. Avoid WD-40 or other general-purpose sprays, as these can cause the seals to dry out and crack.
Regular application helps maintain the seal’s flexibility and keeps oil inside the forks longer.
Steps to Fix a Leaking Harley Fork Seal
Fixing a leaking fork seal means working carefully with the right tools, taking off the front fork correctly, and installing new seals without damaging anything. Pay close attention to each step to keep your fork working well and safe.
Gathering Tools and Materials
To fix your Harley’s fork seal leak, you need the right tools and materials. Get a socket set that fits the fork caps and allen wrenches for the bolts on the fork sliders. You will also need a snap ring remover tool to take off the seal retaining ring safely.
Prepare new fork seals matched for your Harley model, plus fresh fork oil. Have a clean rag and rust remover handy to clean parts. Using the wrong tools can damage the fork, so make sure everything fits well before starting.
Removing the Front Fork
Start by loosening the bolts that hold the front wheel and brake calipers. You want to remove the wheel safely to get full access to the forks.
Next, loosen the clamps on the triple trees that hold the fork tubes in place. Slide the fork tubes down and off with steady pressure. Keep track of parts in order to avoid confusion later. Be careful not to scratch the fork tubes, as damage can cause future leaks.
Place the fork tubes on a clean workbench. You are now ready to disassemble and replace the seals.
Replacing Fork Seals Properly
Use a socket or wrench to remove the fork caps carefully, then drain the old fork oil into a container. Remove the bottom Allen bolts and use the snap ring tool to pull off the snap rings holding the seals.
Clean all fork parts well before installing new seals. Place the new seal carefully to avoid bending or tearing it. Use a seal driver tool or a socket of similar size to press the seal evenly into place.
Reassemble the fork, refill with the correct type and amount of fork oil, and tighten everything to the specified torque. Double-check that no parts are missing or loose before reinstalling the forks back on your bike.
Choosing Replacement Fork Seals for Harley Models
When replacing fork seals on your Harley, you need to think about the type of seals and how well they fit your specific model. Getting the right parts helps prevent future leaks and ensures smooth fork operation.
OEM vs. Aftermarket Options
OEM (Original Equipment Manufacturer) seals come directly from Harley or approved suppliers. They match the exact specifications of your bike and usually offer reliable durability. OEM parts can be pricier but often come with peace of mind, as they are designed to fit perfectly.
Aftermarket seals are made by third-party companies and often cost less. Quality varies, so choose brands known for durability, like Genuine James or Drag Specialties. Some aftermarket seals even improve performance with better materials or design. However, avoid cheap options, as poor fit or material can cause leaks or damage.
Selecting Compatible Parts
You must pick seals that fit your Harley’s fork size and model year. For example, Sportster forks usually need 39mm seals, while Softail and Touring bikes typically require 49mm seals. Using the wrong size can cause poor sealing or damage.
Check the fork type—some Harleys use cartridge forks while others have traditional setups. Also, verify the fork oil compatibility with the seals to avoid material breakdown.
Use your bike’s manual or a trusted parts chart to confirm fitment before buying. This ensures the seals work properly and last longer on your forks.
Post-Repair Considerations for Fork Seals
After replacing your Harley fork seals, certain steps are critical to ensure proper function and avoid future leaks. Paying close attention to how you break in your forks and what to watch for afterwards will help maintain your bike’s safety and performance.
Break-In Procedures
Once the fork seals are replaced, you need to carefully break in the forks to seat the seals and oil properly.
Begin by riding gently for the first 100 to 200 miles. Avoid rough roads and aggressive braking, as sudden impacts could damage new seals.
Check fork oil levels after your first few rides. Proper oil level is crucial for smooth suspension and seal longevity. You may need to top up or adjust oil as specified in your Harley’s manual.
Cleaning the fork tubes regularly during the break-in period helps prevent dirt from degrading the new seals. Wipe down any debris to protect the fork surface.
Monitoring for Recurring Issues
After repair, keep an eye on the forks for signs of fresh leaks or other problems.
Check the area around the seals frequently for oil drips or wet spots. Even small leaks can cause handling issues over time.
Watch for changes in fork performance, like stiffness or strange noises. These can indicate internal damage or poor seal installation.
If leaks return soon after repair, consider potential causes such as incorrect seal installation, damaged fork tubes, or worn bushings.
Documenting what you observe can help if you return to the dealership or mechanic for a recheck. Early detection saves time and costs later.
Sources:
- Top Harley Davidson Fork Seal Leak Symptoms Revealed
- Harley Davidson Front Forks Problems: Tips, Warnings + More
- How to Change Fork Seals on Harley Davidson: A Step-by-Step Guide for Beginners
Read More:
- Harley Brake Lights Not Working? Here’s Your Complete Fix Guide
- Harley ABS System Malfunction? Causes and Solutions
- Harley Battery Drains Fast? The Complete Fixing Guide