
You press the power button, hear the familiar hum, see manufacturer logos flash, then nothing. Just a spinning wheel, a black screen, or an endless boot loop that refuses to load your Windows desktop.
When your laptop won’t boot into Windows, the most common culprits are corrupted boot configuration data, failing storage drives, software conflicts triggered by recent updates, RAM seating issues, or peripheral device interference. Most cases can be resolved using Windows Recovery Environment tools like Startup Repair, System Restore, or BCD rebuild commands, without losing your personal files.
This guide walks you through proven diagnostic steps and recovery techniques to restore your laptop’s ability to boot properly. You’ll learn quick hardware checks, how to access Safe Mode and WinRE when Windows won’t load, and command-line repairs that fix boot errors. Let’s get your system back online.
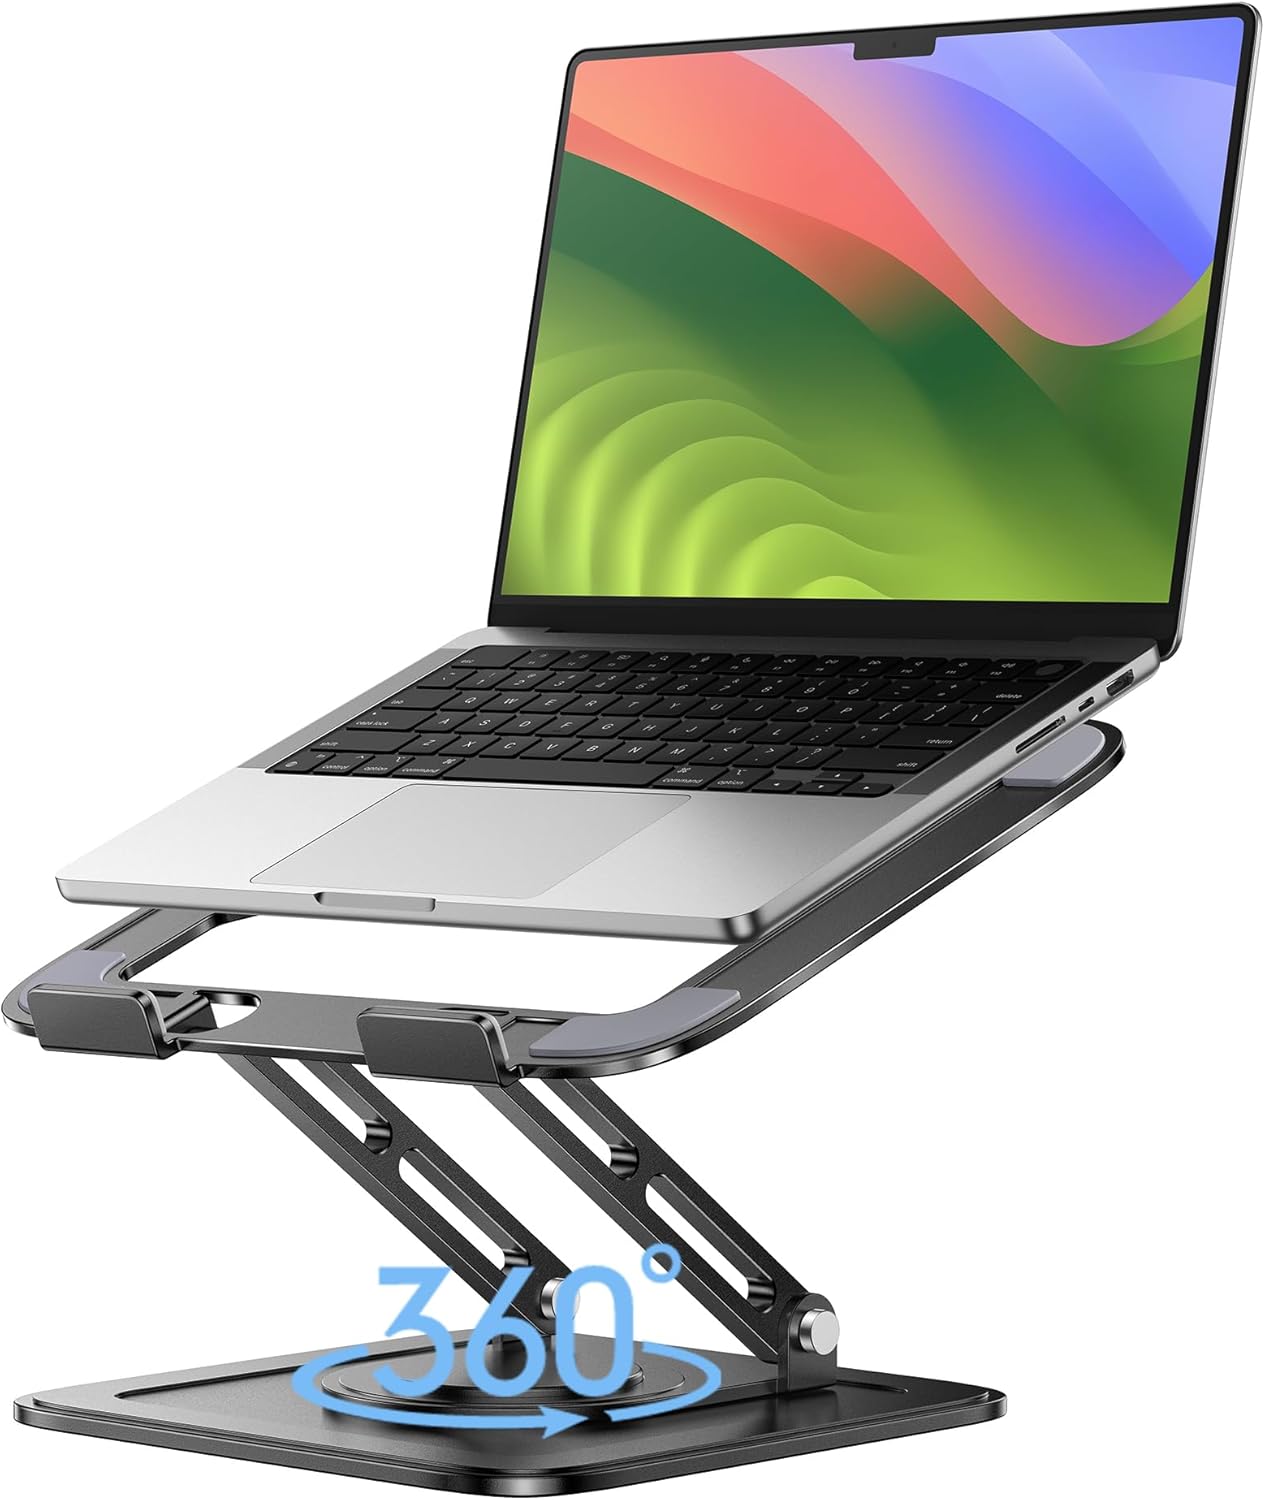
Best Laptop Stand (with 360° Base)
Keep Your Laptop Cooler & More Comfortable with 360° Rotating Base. Improve Airflow & Reduce Heat. Adjustable Height & Viewing Angle.
Shop on Amazon
Key Takeaways
- Common causes of a laptop not booting into Windows include corrupted boot configuration data, failing storage drives, RAM seating issues, software conflicts, and peripheral interference—most fixable without data loss using Windows Recovery Environment tools.
- Start troubleshooting with quick hardware checks: verify power connections, remove all external USB devices, listen for diagnostic beep codes, and confirm your internal drive appears in BIOS boot order.
- Perform a hard reset by disconnecting power and the battery (if removable) and holding the power button for 30 seconds to drain capacitors and clear temporary hardware glitches that block startup.
- Boot into Safe Mode to determine if the issue is software-based; if Windows loads in Safe Mode but not normally, the problem lies with drivers or startup programs rather than hardware.
- Use Windows Recovery Environment tools—Startup Repair, System Restore, or Check Disk commands—to rebuild boot configuration data, fix corrupted file systems, and repair bootloader components.
- If all software repairs fail, reseat RAM modules by removing and reinserting them firmly, test individual RAM sticks separately to isolate failures, and then consider a clean Windows installation or professional component replacement for hardware-level issues.
Why Your Laptop Won’t Boot Into Windows
Understanding the root cause helps you apply the right fix. Boot failures fall into three categories: hardware malfunctions, corrupted system files, and configuration errors.
Hardware issues include failing hard drives or SSDs, loose or defective RAM modules, and faulty power delivery. If your drive’s boot sector is damaged or the memory sticks aren’t seated correctly, Windows can’t load the kernel into memory. You might hear clicking sounds from mechanical drives or see POST error codes on startup.
Software corruption often stems from interrupted Windows updates, malware infections, or sudden power loss during file writes. The Master Boot Record (MBR) or Boot Configuration Data (BCD) store becomes scrambled, and the bootloader can’t locate the Windows installation. You’ll typically see error messages like “Operating System Not Found” or “BOOTMGR is missing.”
Peripheral conflicts happen when USB devices, external monitors, or docking stations interfere with the boot sequence. The BIOS may attempt to boot from an external device instead of your internal drive, or driver conflicts trigger a crash before the desktop loads.
Initial Troubleshooting: Quick Checks
Before diving into advanced repairs, verify the basics. These take two minutes and solve many apparent boot failures.
Check your power adapter connection and battery status. A laptop that won’t charge sufficiently may power on but lack the juice to complete boot. Look for LED indicators confirming power delivery.
Unplug all external devices, USB drives, printers, external hard drives, SD cards, and docking stations. Boot with only the essentials connected. One corrupted USB stick can hijack the entire boot process.
Listen and observe during startup. Does the hard drive click repeatedly? Do you see BIOS splash screens or manufacturer logos? If you hear beeps, count them, these are POST codes indicating specific hardware failures. Three beeps often signal memory errors, while continuous beeping points to power supply or motherboard issues.
Access your BIOS/UEFI firmware by pressing F2, F10, Del, or Esc during startup (the key varies by manufacturer). Verify your internal drive appears in the boot order list. If it’s missing, you have a drive detection problem, either cable failure, drive death, or SATA controller issues.
Perform a Hard Reset
A hard reset drains residual electrical charge that can cause boot anomalies. This fixes surprisingly many “won’t start” scenarios.
Shut down your laptop completely. Unplug the AC adapter and remove the battery (if your model has a removable battery). For laptops with sealed batteries, simply disconnect the power cord.
Press and hold the power button for 30 seconds. This discharges all capacitors on the motherboard, clearing any stuck power states or memory glitches. You’re essentially forcing a full electrical reset.
Reconnect the battery and power adapter, then press the power button normally. Many users report successful boots after this procedure, especially following sudden shutdowns or system freezes. The reset clears temporary hardware initialization errors that prevent POST completion.
If your laptop still won’t boot after a hard reset, the issue lies deeper, in software configuration or component failure. Move to diagnostic modes.
Boot Into Safe Mode
Safe Mode loads Windows with minimal drivers and services, bypassing problematic software that blocks normal startup.
When you can’t reach the desktop, trigger Automatic Repair mode by interrupting boot three times: press the power button, wait for the Windows logo, then force shutdown by holding power for 5 seconds. Repeat twice more. On the third restart, Windows launches the Recovery Environment.
Select Troubleshoot > Advanced options > Startup Settings > Restart. After reboot, press 4 or F4 to enter Safe Mode, or 5/F5 for Safe Mode with Networking.
Once in Safe Mode, uninstall recent driver updates, remove problematic software, or run antivirus scans. Many boot failures stem from bad graphics drivers or conflicting security software. Use Device Manager to roll back drivers or Windows Update history to uninstall patches.
Safe Mode proves whether your issue is software-based. If the laptop boots here but not normally, you know drivers or startup programs are to blame. If Safe Mode also fails, suspect hardware or deep system file corruption.
Use Windows Recovery Environment
Windows Recovery Environment (WinRE) offers powerful repair tools when the OS won’t load. Access it via the interrupt method described above, or boot from a Windows installation USB drive.
Run Startup Repair
Startup Repair automatically diagnoses and fixes common boot problems, including corrupted BCD entries and missing system files.
From the WinRE main screen, select Troubleshoot > Advanced options > Startup Repair. The tool scans boot logs, verifies file integrity, and rebuilds bootloader components. This process takes 5–15 minutes.
Startup Repair succeeds most often with software corruption caused by incomplete updates or improper shutdowns. It won’t fix hardware failures or deeply damaged Windows installations, but it’s the easiest first-line repair. If it fails, note any error codes displayed, they guide further troubleshooting.
Use System Restore
System Restore rolls your laptop back to a previous working state, undoing recent changes without affecting personal files.
In WinRE, choose Troubleshoot > Advanced options > System Restore. Select a restore point created before the boot problem started, typically after driver installs, Windows updates, or software installations.
“System Restore saved me when a bad GPU driver update left me stuck at a black screen. Rolled back three days and booted instantly.” via r/techsupport
System Restore requires restore points to exist. If you disabled this feature or have no points, this option won’t appear. In that case, move to manual repair commands.
Check and Repair Your Hard Drive
Drive errors, bad sectors, file system corruption, or mechanical failure, prevent Windows from reading boot files.
Boot into WinRE and select Troubleshoot > Advanced options > Command Prompt. Run the Check Disk utility:
chkdsk C: /f /r
The /f flag fixes file system errors: /r locates bad sectors and recovers readable data. This scan can take 1–3 hours on large drives. Let it complete without interruption.
If Check Disk finds and repairs errors, restart and attempt normal boot. Successful repair means your drive was corrupt but salvageable. If chkdsk reports it can’t access the drive or shows massive error counts, your drive is failing physically.
For SSD users, also check drive health in BIOS or using manufacturer tools (Samsung Magician, Crucial Storage Executive). SSDs fail differently, often suddenly, without warning clicks. A failing SSD may cause boot loops, freezes at the Windows logo, or “INACCESSIBLE_BOOT_DEVICE” errors. Consider cloning to a new SSD before total failure.

Fix Boot Configuration Data Errors
The Boot Configuration Data store tells Windows where to find the bootloader and OS files. Corruption here causes “BOOTMGR is missing” or “Boot Configuration Data file is missing” errors.
Open Command Prompt in WinRE and rebuild the BCD using these commands sequentially:
bootrec /fixmbr

bootrec /fixboot

bootrec /scanos

bootrec /rebuildbcd
/fixmbr rewrites the Master Boot Record. /fixboot creates a new boot sector. /scanos searches for Windows installations, and /rebuildbcd rebuilds the configuration store. Answer Yes when prompted to add installations to the boot list.
Restart after all commands complete. This sequence fixes most bootloader corruption. If /fixboot returns “Access is denied,” you may need to adjust UEFI/Secure Boot settings in BIOS or use more advanced BCDEdit commands.
For persistent BCD errors, consider using a VPN service like ExpressVPN to securely download ISO files or driver updates from public networks during recovery, and tools like Driver Booster to ensure all system drivers are current after repair.
Test and Reseat Your RAM
Faulty or improperly seated RAM causes boot failures, often manifesting as beeps, black screens, or failure to POST.
Power down and unplug your laptop. Remove the back panel to access memory slots (consult your model’s service manual if unsure). Press the retention clips outward and gently pull out each RAM module.
Inspect the gold contacts for dust, corrosion, or damage. Clean with isopropyl alcohol and a lint-free cloth if needed. Reseat each module firmly, you should hear a click as the retention clips snap into place.
“Laptop wouldn’t boot after a drop. Pulled and reseated RAM, booted first try. The impact had loosened one stick.” via r/laptops
If you have multiple RAM sticks, test them individually. Remove all but one, attempt boot, then swap modules. This isolates a defective stick. Laptops with single-channel configurations won’t boot with bad RAM, replacement is your only option.
Memory errors often show Windows Memory Diagnostic results in Event Viewer after successful boot. If you’re replacing RAM, match the speed (e.g., DDR4-3200) and capacity specifications of your original modules.
Disconnect External Devices and Peripherals
USB devices and peripherals sometimes hijack the boot sequence or trigger driver conflicts that halt startup.
Remove everything except power: disconnect USB mice, keyboards, external monitors, printers, USB hubs, SD cards, and docking stations. Even a failing USB mouse can cause a boot hang if its driver crashes during initialization.
Attempt boot with nothing attached. If successful, reconnect devices one at a time, rebooting between each addition. This identifies the problematic peripheral.
Check your BIOS boot order. If a USB drive or external storage appears first, the system tries to boot from it instead of your internal drive. Set your internal SSD/HDD as the first boot device. Save changes and exit BIOS.
For recurring issues with specific devices, update their drivers or replace them. Some older peripherals lack Windows 11 support and cause blue screen errors during boot.
When to Reinstall Windows
If all repair attempts fail, a clean Windows installation becomes necessary. This erases the C: drive but gives you a fresh, bootable system.
Create a Windows installation USB on another computer using Microsoft’s Media Creation Tool. Boot from the USB (select it in your boot menu via F12 or Esc during startup).
During setup, choose Custom: Install Windows only (advanced) and format your system partition. This removes all software and settings but can preserve other drive partitions if you’re careful.
Before reinstalling, back up important files if possible. Boot from a Linux live USB (like Ubuntu) to access your drive and copy files to an external USB drive when Windows won’t boot at all.

Seek professional help if you suspect hardware failure, clicking hard drives, persistent RAM errors after reseating, or no POST/no display scenarios. These require component-level diagnosis and replacement. Repair shops can test drives, motherboards, and power systems with specialized equipment beyond software tools.
As a final hardware upgrade, consider replacing an aging laptop with a modern device featuring faster NVMe SSDs and better build quality, a reliable business-grade laptop can prevent future boot headaches and improve productivity.
Frequently Asked Questions
What are the most common reasons a laptop won’t boot into Windows?
The most common causes of laptop boot failures are corrupted boot configuration data (BCD), failing storage drives, software conflicts from recent updates, loose RAM modules, and peripheral device interference. Hardware malfunctions, system file corruption, and BIOS configuration errors also frequently prevent Windows from loading properly.
How do I fix boot configuration data errors on my laptop?
Access Command Prompt in Windows Recovery Environment and run these commands sequentially: bootrec /fixmbr, bootrec /fixboot, bootrec /scanos, and bootrec /rebuildbcd. These commands repair the Master Boot Record and rebuild the boot configuration data store that tells Windows where to find the bootloader and OS files.
Can I fix a laptop that won’t boot without losing my files?
Yes. Windows Recovery Environment tools like Startup Repair, System Restore, and chkdsk repair commands fix most boot issues without data loss. These tools repair corrupted system files and boot sectors while preserving personal files. Only a full Windows reinstall requires formatting your drive.
What should I do if my laptop won’t boot after a Windows update?
Boot into Safe Mode by interrupting startup three times, then use Device Manager to roll back recent driver updates or uninstall problematic patches from Windows Update history. If Safe Mode fails, use WinRE’s Startup Repair tool or System Restore to revert to a previous working state before the update.
How long does Check Disk take to repair a failing hard drive?
Check Disk scans typically take 1–3 hours on large drives, depending on capacity and error severity. Run chkdsk C: /f /r in Command Prompt during WinRE to fix file system errors and bad sectors. Allow the scan to complete without interruption for best results.
Why is my laptop stuck in a boot loop and how do I fix it?
Boot loops often result from corrupted system files, failed updates, or hardware issues like overheating RAM. Access WinRE by interrupting startup three times, then run Startup Repair or System Restore. If those fail, test RAM by removing and reseating modules individually, or use chkdsk to check drive integrity.
Read More:
- Laptop Not Accepting Charge (Signs and Here’s What Usually Fixes It)
- Laptop Not Accepting PIN (Here’s the Reasons and How to Fix It)
- Laptop Not Allowing Me to Type (Fixes to Get Keyboard Working Again)
- Laptop Not Asking for Password After Sleep (Proven Security Fixes)
- Laptop Not Automatically Connecting to WiFi (Quick and Easy Fixes)