
Last updated on December 25th, 2025 at 01:04 am
If your Microsoft Surface camera is showing as unavailable, it usually means there’s a software or settings issue preventing access. The problem often comes down to missing drivers, disabled camera permissions, or a simple need to restart your device.
These issues can stop apps from detecting your camera or cause the system to block it entirely. You might find that your camera is disabled in Windows settings, or certain apps don’t have permission to use it.
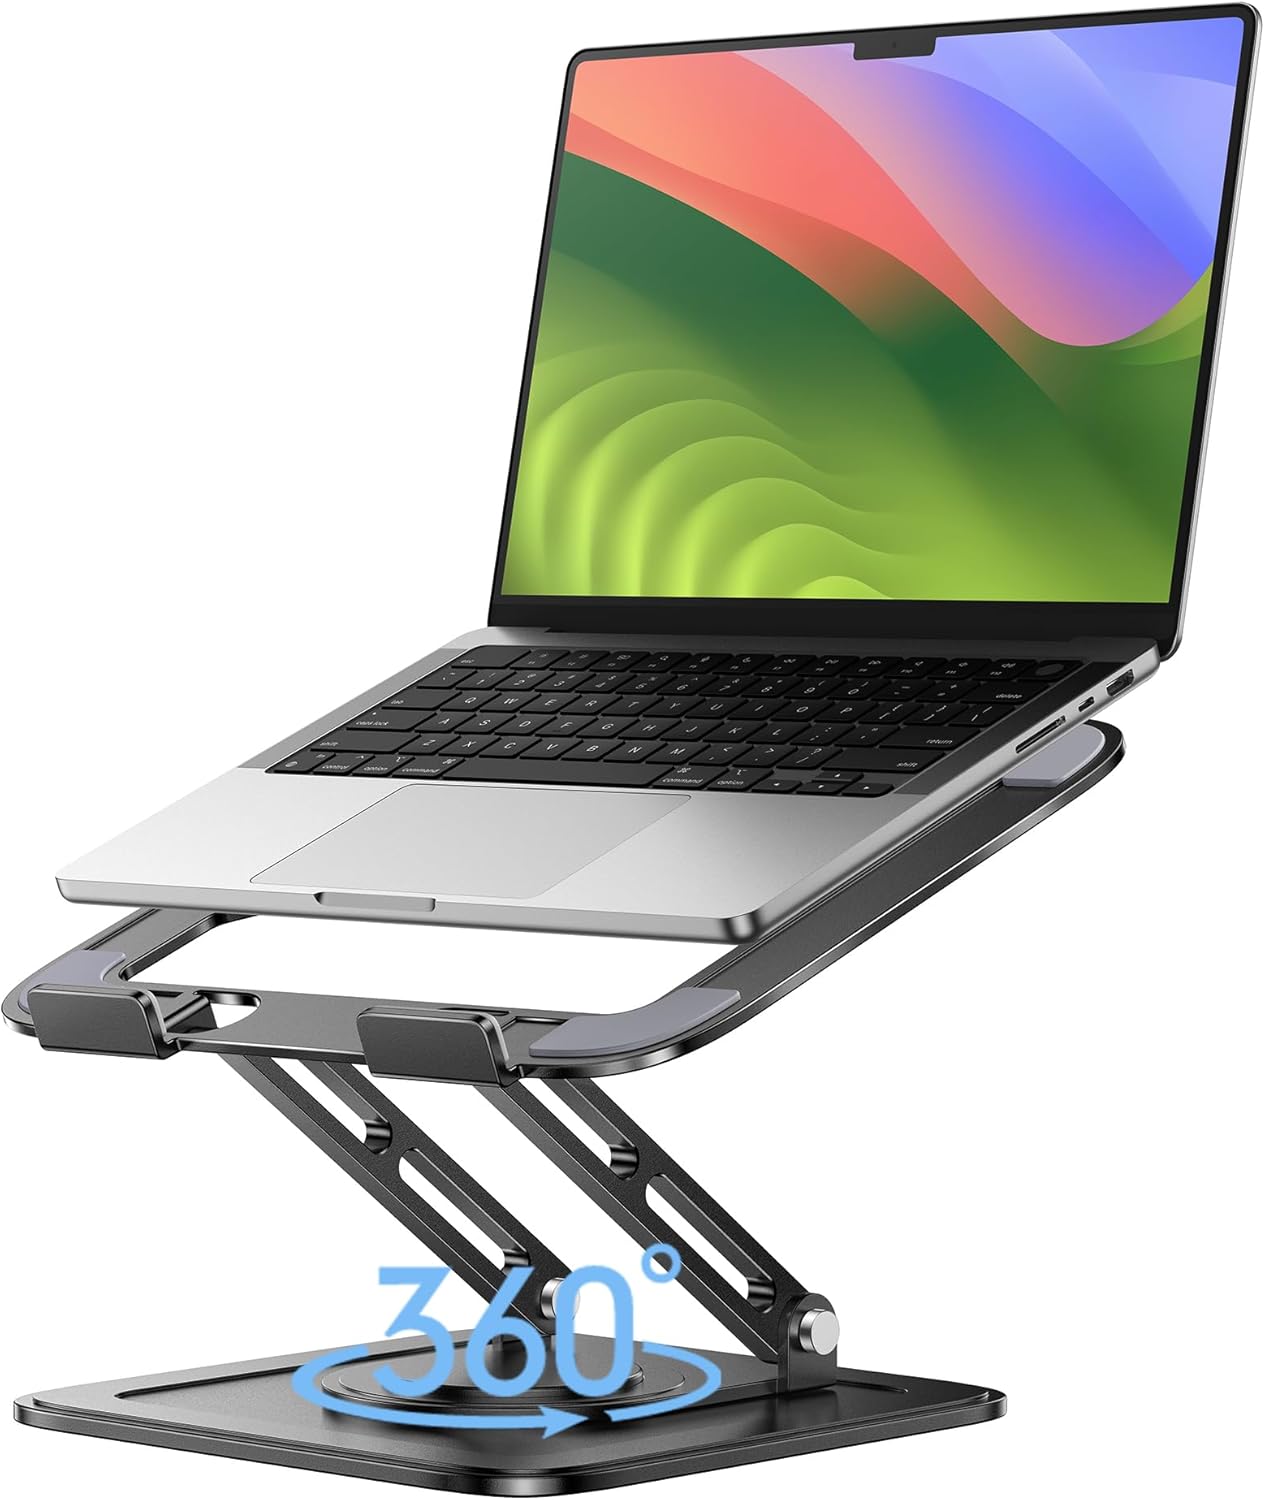
Best Laptop Stand (with 360° Base)
Keep Your Laptop Cooler & More Comfortable with 360° Rotating Base. Improve Airflow & Reduce Heat. Adjustable Height & Viewing Angle.
Shop on AmazonSometimes, driver conflicts or outdated updates cause the camera to disappear from Device Manager, making it unavailable. For detailed troubleshooting, see Microsoft’s advice on fixing a Surface camera not working.

Diagnosing Surface Camera Not Available Issues
When your Surface camera is not available, precise diagnosis helps pinpoint the cause. You will need to observe specific symptoms, check how the device is recognized by the system, and inspect the status of both the front-facing and rear cameras if your model has them.
Identifying Symptoms and Error Messages
Start by noting exactly how the issue presents itself. Common symptoms include the camera being completely missing from your camera apps, failure to launch, or error messages like “Camera not found” or “Cannot start video source”.
These errors often indicate hardware or driver communication problems. Check if the camera works in multiple apps such as Skype or Zoom.
If the issue is app-specific, focus on settings or reinstalling the app. If errors appear consistently, it suggests a system-wide or hardware issue.
Record any error codes shown, as they can assist in targeted troubleshooting or support requests.
Checking for Device Recognition in Device Manager
Open Device Manager by searching for it in the taskbar, then expand the Cameras section. Your Surface camera’s drivers should be listed, typically as Intel(R) TGL AVStream Camera or similar.
If the camera isn’t visible here, Windows is not detecting the hardware. Look also for warning icons such as yellow triangles, which indicate driver issues or disabled devices.
If the camera appears with errors, right-click to update, disable, or uninstall the driver cautiously. On some Surface models with Arm-based processors, uninstalling drivers incorrectly can cause bigger problems.
Restart your device after changes to refresh device recognition.
Assessing Front and Rear Camera Status
Many Surface devices have both front-facing and rear cameras. Confirm that you are selecting the correct camera in your app settings, especially if the rear camera is involved in video or photo capture.
Within Device Manager, check if both cameras are listed under the Cameras category. One may be missing or disabled, causing the “camera not available” message.
Also review Windows privacy settings under Settings > Privacy & security > Camera to ensure apps are allowed access to both cameras. Misconfigured permissions can make a camera appear unavailable even if the hardware is functional.
Reviewing Camera Settings and Permissions
To ensure your Microsoft Surface camera is available, focus on verifying privacy settings, granting app permissions, and confirming system-level camera access.
These controls can often block or enable your camera, so reviewing them systematically is essential.
Configuring Camera Privacy Settings
Your Surface’s privacy settings determine which apps and services can access the camera. To configure these, go to Start > Settings > Privacy & security > Camera.
Here, make sure Camera access for the device is set to On. Without this, no applications will be able to use the camera.
Next, check Let apps access your camera. If this is off, individual apps can’t use the camera even when activated.
You’ll see a list of installed apps where you can allow or deny access selectively. Toggle apps that require the camera to On.
Be aware that these privacy settings reset after certain system updates. Verify them regularly to avoid unexpected camera unavailability.
Allowing App and System Camera Access
In addition to privacy toggles, verify that apps have permission to use the camera within their own settings. Conferencing apps or browsers might have independent controls to enable or disable camera use.
Also check the system’s global camera permissions under Settings > Apps > Permissions in Windows 11. Disabling access here can override your privacy settings.
If you are running third-party security software or firewalls, these might also block camera access. Temporarily disabling such software during troubleshooting can help you isolate the issue.
Checking Camera Settings in Windows 11
Windows 11 introduces refined camera controls. Open Settings > Devices > Cameras or search Camera privacy in the settings search bar to reach camera-specific options.
Here, you can test the camera functionality using the built-in Camera app. If the camera shows a black screen, try resetting the app via Settings > Apps & features > Camera > Advanced options > Reset.
Additionally, check that no software updates are pending via Windows Update. Outdated drivers or system files can cause camera availability issues.
Verifying Camera Switch or Slider
Some Surface models include a physical privacy shutter or switch that covers or disconnects the camera. This mechanical switch disables the camera regardless of your software settings.
Locate this switch near the camera on your device. Slide or toggle it to the open/unlocked position if applicable.
If your model does not have a physical switch, confirm if the camera can be enabled or disabled in the UEFI/BIOS firmware settings during startup. Disabled camera firmware settings will prevent detection in Windows.
Taking these hardware controls into account ensures the camera is accessible once software settings are correctly configured.
Troubleshooting and Fixing Surface Camera Issues
Fixing a Microsoft Surface camera that is not available often requires a mix of software and hardware checks. You’ll need to confirm the device’s settings, update critical drivers, and sometimes adjust firmware configurations to restore proper camera function.
Restarting Surface Devices and Camera Apps
Start by fully shutting down your Surface device before restarting it. Press and hold the power button for at least 20 seconds until the display goes black and the logo appears twice.
This forces a hardware reset that can reinitialize the camera module. Next, close any open camera apps completely.
If the built-in Camera app is unresponsive or not detecting your camera, try uninstalling it and reinstalling from the Microsoft Store. Be sure there are no other apps accessing the camera simultaneously, as this can cause conflicts.
Check that your camera app has permission under Settings > Privacy & security > Camera. Both “Camera access” and “Let apps access your camera” must be enabled for the app you intend to use.
Updating or Reinstalling Camera Drivers
Camera drivers are essential for the camera to interact properly with Windows. Open Device Manager by searching in the taskbar.
Expand the “Cameras” section, then right-click your camera device and select Update driver to search automatically for the latest camera driver. If updating doesn’t work, uninstall the camera driver by selecting Uninstall device, then restart your Surface.
Windows will attempt to reinstall the driver on startup. Avoid uninstalling drivers on Surface devices with ARM processors (e.g., Surface Pro X) unless you plan to do a full system reset.
After updating or reinstalling, verify functionality by opening the camera app. Keeping your Surface updated via Windows Update also helps as it often includes driver updates.
Running Windows and Device Troubleshooters
Windows offers built-in tools to identify and fix camera problems. Open Settings > System > Troubleshoot > Other troubleshooters and run the Camera troubleshooter.
This will scan for known issues and apply automatic fixes. Additionally, use the Hardware and Devices troubleshooter by typing msdt.exe -id DeviceDiagnostic into the Run dialog (Win + R).
It detects hardware configuration problems that might affect the camera. Sometimes running the Get Help app on Surface provides device-specific diagnostics.
If the troubleshooters detect errors, follow the recommendations to resolve driver or app conflicts.
Adjusting UEFI Settings for Camera Hardware
UEFI settings control low-level hardware configurations and can block camera functionality. Restart your Surface and enter UEFI by pressing and holding the volume-up button during power-on.
Within the UEFI menu, locate security or device configuration settings. Ensure that the camera hardware is enabled and not blocked for privacy or security reasons.
Some Surface devices allow disabling/enabling individual components here, including cameras. If you recently changed UEFI settings or installed firmware updates, reset to default or optimized settings related to peripheral hardware.
Save changes and reboot. Adjusting UEFI may be necessary if the camera is not detected in Windows or Device Manager despite software troubleshooting.
Advanced Solutions and Surface Support Options
Sometimes basic troubleshooting isn’t enough to fix camera issues on your Surface device. You may need to address software conflicts, repair the Camera app, seek professional support, or consider alternative hardware options for specific tasks like live streaming.
Resolving Software Conflicts and Antivirus Restrictions
Your Surface camera may be blocked or restricted by conflicting software or antivirus settings. Start by temporarily disabling third-party antivirus or firewall programs to see if they interfere with camera access.
Some security software treats camera use as a privacy risk and can block it by default. Check for background apps that might be using the camera, causing conflicts.
Use Task Manager to close unnecessary programs before restarting the Camera app. Make sure your installed apps and Windows are fully updated, as outdated software often triggers compatibility problems.
Review your privacy settings under Settings > Privacy & security > Camera and ensure apps have permission to access the camera. Some corporate or managed devices may have additional restrictions set through Group Policy that require administrative changes.
Repairing or Resetting the Camera App
If your camera still is not available, repairing or resetting the Camera app often helps. Open Settings > Apps > Apps & features, find the Camera app, and select Advanced options.
From here, you can try Repair, which fixes the app without affecting data. If that doesn’t work, use the Reset option.
This will clear the app’s cache and data, potentially resolving deeper issues causing the camera not to work. If you suspect system files related to the camera are corrupted, running a system file check with sfc /scannow in Command Prompt can also help.
This command scans and repairs corrupted Windows files, which might restore camera functionality.
Exploring Surface Support and Service
When software fixes don’t work, professional help may be necessary. Microsoft offers a range of support options tailored for Surface devices.
You can check your warranty status and create a service order on the official Surface support site. Depending on your location, you might access in-person service centers where trained technicians perform hardware diagnostics and repairs.
Microsoft also provides self-service guides and replacement parts for those comfortable with hardware repair. Before sending your device for servicing, backup your data to avoid loss.
The Surface support resources include detailed steps to prepare your device and ensure a smooth repair process.
Considering External Cameras for Live Streaming
If your Surface camera fails permanently or you require higher-quality video for live streaming, consider using an external USB webcam.
External cameras often provide better image quality and more control over settings. Most USB webcams are plug-and-play with Surface laptops and devices, requiring minimal setup.
When selecting a camera, check compatibility with Windows and ensure the driver support is current. External webcams also offer flexibility if you frequently switch between multiple video applications.