
Your laptop opens, and instead of seeing that connected icon, you’re staring at the network menu again. You click through saved profiles, tap “Connect,” and wonder why this happens every single time. It’s a frustrating routine that shouldn’t exist.
Your laptop isn’t automatically connecting to WiFi because the “Connect automatically when in range” option is disabled, your network adapter’s power-saving features are shutting down your wireless card, or corrupt network profiles are preventing seamless reconnection. Windows 11 and macOS both offer profile settings, driver configurations, and power management toggles that restore automatic WiFi connectivity when properly configured.
This guide walks you through proven fixes, from toggling auto-connect checkboxes and resetting network profiles to updating wireless drivers and disabling power-saving interference. You’ll restore automatic reconnection and eliminate the daily hassle of manual network selection.
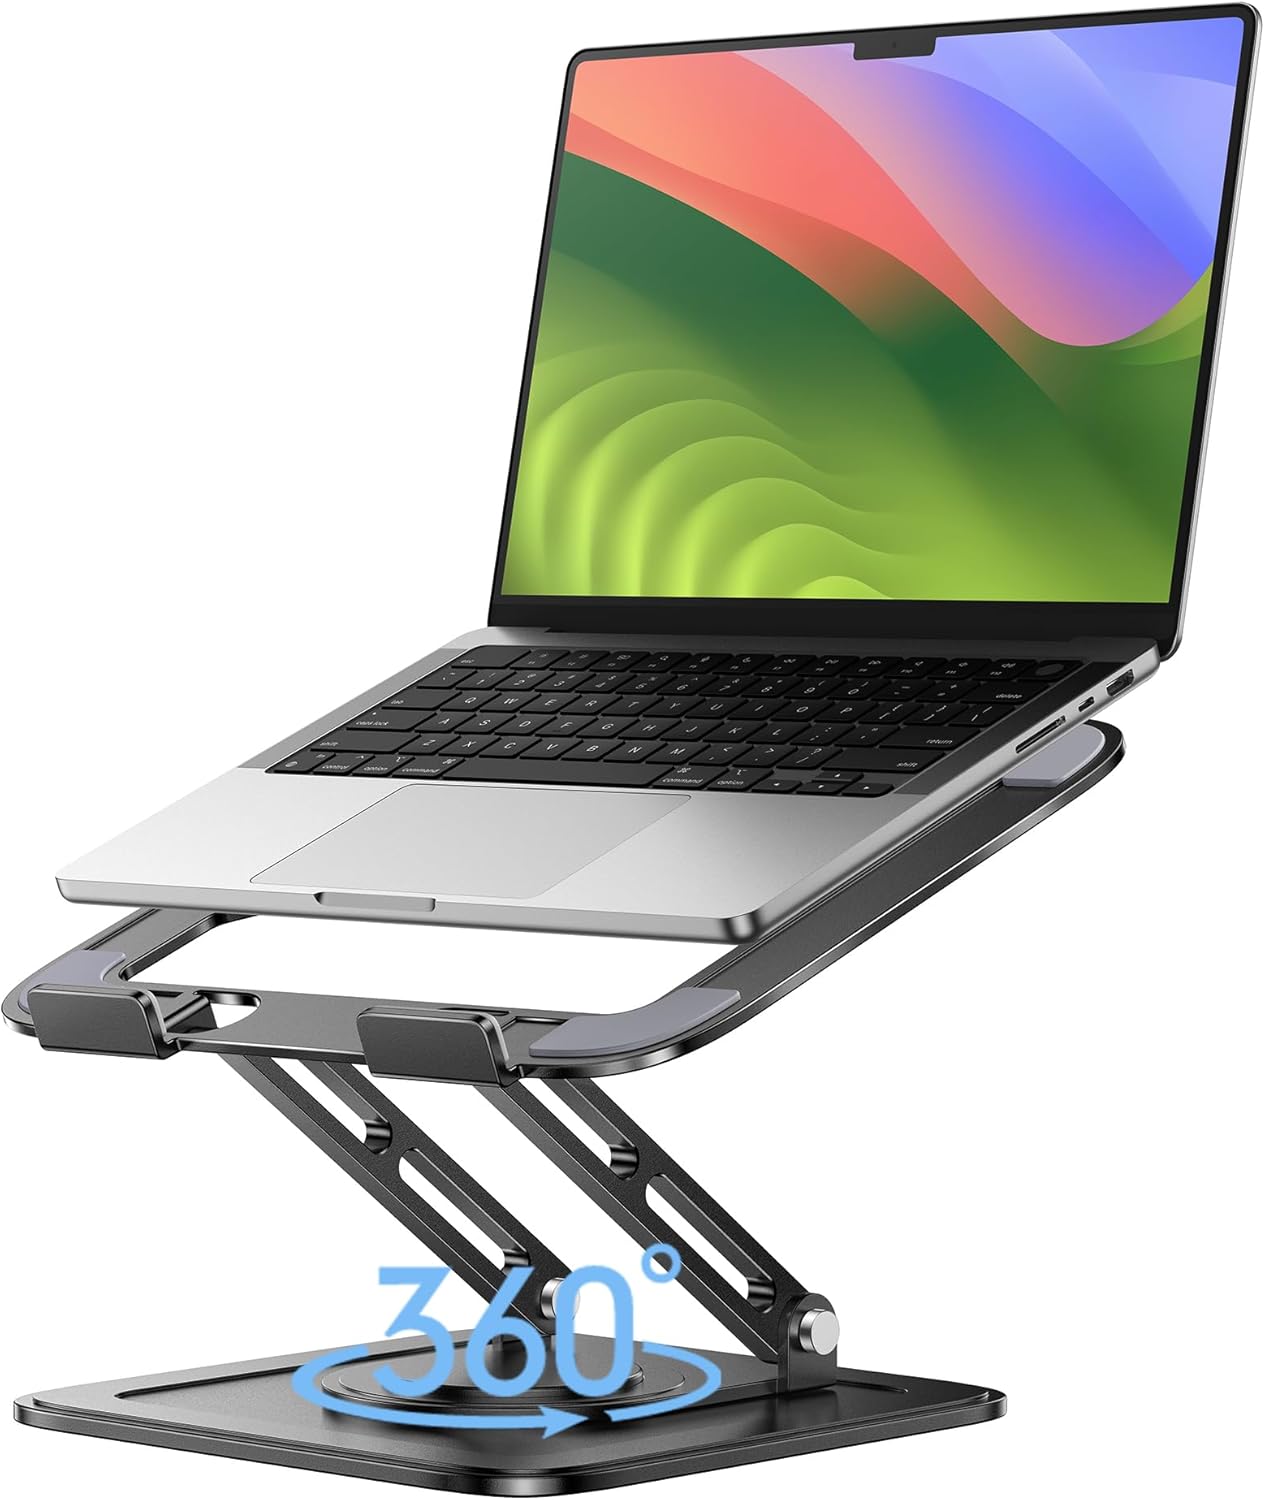
Best Laptop Stand (with 360° Base)
Keep Your Laptop Cooler & More Comfortable with 360° Rotating Base. Improve Airflow & Reduce Heat. Adjustable Height & Viewing Angle.
Shop on Amazon
Key Takeaways
- Your laptop isn’t automatically connecting to WiFi because the auto-connect checkbox is disabled, power management is shutting down your wireless adapter, or corrupt network profiles are preventing reconnection.
- Enable ‘Connect automatically when in range’ in Windows WiFi settings or ‘Auto-join’ on macOS to prioritize saved networks and restore automatic reconnection.
- Restart your network adapter and router by disabling your wireless card for 10 seconds and power-cycling your router for 30 seconds to clear cached connection states.
- Update wireless drivers from your laptop manufacturer or Intel/Realtek support pages, as outdated drivers are a leading cause of auto-connect failures.
- Delete and re-add your WiFi network profile using Command Prompt or macOS System Preferences to remove corrupt settings and legacy configuration conflicts.
- Disable Fast Startup and Power Management features in Windows Control Panel to ensure your wireless adapter performs a full reboot and stays powered during sleep mode.
Why Your Laptop Isn’t Auto-Connecting to WiFi
The root cause typically sits in three areas: profile configuration, power management interference, or driver conflicts. When you save a WiFi network, your operating system creates a profile that stores credentials and connection preferences. If that profile lacks the auto-connect flag, your laptop treats it as optional rather than priority.
Power management adds another layer. Windows and macOS both allow your system to turn off the wireless adapter to save battery. When the adapter powers down during sleep or idle periods, it doesn’t always wake up fast enough to reconnect automatically. You end up manually triggering the connection.
Driver bugs and third-party VPN software also disrupt auto-reconnect behavior. Intel and Realtek wireless adapters ship with roaming aggressiveness settings that affect how quickly your laptop scans for known networks. If these settings conflict with OS defaults or if outdated drivers introduce bugs, automatic connection fails. Understanding these three triggers helps you target fixes efficiently.
Check Your WiFi Auto-Connect Settings
Windows Auto-Connect Configuration
Open Settings → Network & Internet → WiFi → Manage known networks. Click your network name and verify the “Connect automatically when in range” checkbox is enabled. This single toggle tells Windows to prioritize this SSID whenever it’s detected. If unchecked, your laptop ignores the saved profile and waits for manual input.
Right-click the WiFi icon in your system tray and select “Open Network & Internet settings.” Navigate to “Advanced network settings” → “More network adapter options.” Right-click your wireless adapter, choose Properties, and confirm IPv4 and IPv6 protocols are enabled. Missing protocols can block auto-reconnect even when the checkbox is on.
Mac Auto-Connect Configuration
Click the WiFi icon in the menu bar, select “Network Preferences,” then choose WiFi from the sidebar. Click “Advanced” to view your preferred networks list. Drag your primary network to the top, macOS connects to networks in list order. Check the box for “Auto-join” next to each network you want to connect automatically.
If your Mac still requires manual connection, open System Preferences → Network → WiFi → Advanced and remove any duplicate SSID entries. Duplicate profiles confuse the auto-join logic, forcing manual selection to resolve ambiguity.
Restart Your Network Adapter and Router
Press Windows + X and select Device Manager. Expand “Network adapters,” right-click your wireless card (Intel Wi-Fi 6 AX200, Realtek 8822CE, etc.), and choose “Disable device.” Wait ten seconds, then right-click again and select “Enable.” This cycle flushes adapter memory and reinitializes connection protocols.
Power-cycle your router by unplugging it for 30 seconds. Routers cache device MAC addresses and connection states. If your laptop’s saved state conflicts with the router’s memory, automatic reconnection stalls. A full reboot clears both sides and forces a clean handshake.
For persistent issues, open Command Prompt as administrator and run ipconfig /release followed by ipconfig /renew. This releases your current IP lease and requests a fresh one, often resolving DHCP conflicts that block auto-connect. Restart your laptop after these steps to apply all changes.
Update or Reinstall Your WiFi Drivers
Outdated or corrupt wireless drivers are a leading cause of auto-connect failure. Visit your laptop manufacturer’s support page (Dell, HP, Lenovo) and download the latest WiFi driver for your exact model. Alternatively, use Intel’s Driver & Support Assistant or Realtek’s official site for chipset-specific updates.
If you prefer automated updates, tools like IObit Driver Booster scan your system and install the newest network adapter firmware. Driver Booster’s free tier covers WiFi drivers and schedules background updates, reducing manual maintenance.
After installation, open Device Manager, right-click your wireless adapter, select Properties → Driver tab, and verify the new driver version and date. If the update doesn’t resolve auto-connect issues, choose “Uninstall device,” check “Delete the driver software for this device,” and reboot. Windows will reinstall a clean default driver that often fixes profile corruption.
For Intel adapters, consider NordVPN if you suspect VPN conflicts. NordVPN’s split-tunneling feature allows WiFi auto-reconnect to occur before VPN initialization, preventing connection delays and manual intervention.
Remove and Re-Add Your WiFi Network
Corrupt network profiles accumulate over time, especially after router firmware updates or SSID name changes. Open Command Prompt as administrator and type netsh wlan show profiles to list all saved networks. Identify your problematic SSID, then run netsh wlan delete profile name="YourNetworkName" (replace with your exact network name, including spaces and capitalization).
After deletion, click the WiFi icon, select your network, enter the password, and ensure “Connect automatically” is checked before clicking Connect. Windows generates a fresh profile free of legacy settings or credential mismatches.
“Deleted my home WiFi profile and re-added it, laptop finally auto-connects on boot. Three months of manual clicking, fixed in 30 seconds.” via r/Windows11
On macOS, open System Preferences → Network → WiFi → Advanced. Select the network, click the minus (-) button to remove it, then rejoin from the WiFi menu bar icon. This recreates the keychain entry and auto-join preference, resolving profile corruption.
Disable Fast Startup and Power Management Features
Windows Fast Startup hibernates your network adapter state instead of fully reinitializing it. Navigate to Control Panel → Power Options → Choose what the power buttons do → Change settings that are currently unavailable. Uncheck “Turn on fast startup (recommended)” and save changes. This ensures your wireless card performs a full cold boot every time you power on.
Open Device Manager, expand Network adapters, right-click your WiFi card, and select Properties → Power Management tab. Uncheck “Allow the computer to turn off this device to save power.” This prevents Windows from shutting down your adapter during sleep or idle, a common trigger for failed auto-reconnect.
| Setting | Location | Recommended State |
|---|---|---|
| Fast Startup | Control Panel → Power Options | Disabled |
| Allow computer to turn off device | Device Manager → WiFi Adapter → Power Management | Unchecked |
| Wireless Adapter Roaming Aggressiveness | Adapter Properties → Advanced | Medium or High |
For roaming aggressiveness, open Device Manager → Network adapters → your WiFi card → Properties → Advanced tab. Locate “Roaming Aggressiveness” and set it to Medium or High. Higher values force your laptop to scan more frequently for known networks, improving auto-reconnect speed when you wake from sleep or enter range.
Run the Network Troubleshooter
Windows includes a built-in diagnostic that detects and repairs common connectivity issues. Open Settings → System → Troubleshoot → Other troubleshooters → Network and Internet → Run. The troubleshooter checks for disabled adapters, missing IP configurations, and DNS resolver failures, applying automatic fixes when possible.
If the troubleshooter reports “The default gateway is not available,” it typically resets your network adapter and renews your DHCP lease. If it finds “Windows did not detect a properly installed network adapter,” you’ll need to reinstall drivers as outlined earlier.
“Network troubleshooter fixed my auto-connect issue by resetting the WLAN AutoConfig service. Didn’t even know that service existed.” via Microsoft Community
After running the troubleshooter, press Windows + R, type services.msc, and hit Enter. Scroll to “WLAN AutoConfig,” double-click it, and set Startup type to Automatic. Click Start if the service isn’t running. This service manages wireless profiles and auto-connect logic: if disabled, automatic reconnection fails entirely.
Reset Your Network Settings
A full network reset wipes all adapters, protocols, and saved profiles, returning your system to factory network configuration. Open Settings → Network & Internet → Advanced network settings → Network reset → Reset now. Windows will restart and rebuild network components from scratch.
Before you reset, use netsh winsock reset and netsh int ip reset in Command Prompt (admin) as a lighter alternative. These commands clear the TCP/IP stack and Winsock catalog without deleting WiFi profiles. Restart your laptop after running both commands.
If you reset network settings, you’ll need to re-enter all WiFi passwords. Save your network credentials beforehand. After the reset, reconnect to your primary network and verify the “Connect automatically when in range” option is checked in Network & Internet settings.
Advanced Fixes for Persistent Connection Issues
Third-party VPN clients and connection managers sometimes override Windows auto-connect behavior. If you run Cisco AnyConnect, Juniper Pulse, or legacy enterprise VPN software, check their settings for “auto-connect” or “always-on” toggles that conflict with WiFi profiles. Disable or uninstall these tools temporarily to test.
For Intel wireless adapters, download Intel PROSet/Wireless Software and adjust advanced settings like “Throughput Booster” or “802.11n Mode.” Some combinations of these settings disable auto-reconnect on certain router configurations.
Consider upgrading to a modern USB WiFi adapter if your built-in card is older than 2018. The TP-Link Archer T3U Plus supports WiFi 5 and includes updated drivers that handle auto-reconnect reliably. For a full desktop upgrade, the ASUS PCE-AX3000 delivers WiFi 6 and Bluetooth 5.0 with flawless automatic connection on Windows 11.

Check your router’s firmware and enable WPA3 or WPA2-Personal (AES) encryption. Older WEP or mixed-mode security sometimes causes profile authentication failures that block auto-connect. Update router firmware from your manufacturer’s support page to ensure compatibility with modern laptop wireless standards.
Frequently Asked Questions
Why isn’t my laptop automatically connecting to WiFi?
Your laptop may not be auto-connecting due to disabled auto-connect settings in your network profile, power-saving features shutting down your wireless adapter, corrupt network profiles, or outdated WiFi drivers. Check that ‘Connect automatically when in range’ is enabled in your network settings.
How do I enable automatic WiFi connection on Windows 11?
Open Settings → Network & Internet → WiFi → Manage known networks. Click your network name and verify ‘Connect automatically when in range’ is checked. If unchecked, enable it. Also verify IPv4 and IPv6 protocols are enabled in your wireless adapter properties.
What should I do if deleting and re-adding my WiFi network doesn’t fix auto-connect issues?
If reconnecting your network doesn’t work, disable Fast Startup in Power Options and prevent your computer from turning off the WiFi adapter to save power. Also run Windows Network Troubleshooter and ensure the WLAN AutoConfig service is set to Automatic startup.
How can I fix WiFi driver issues causing automatic connection problems?
Update your WiFi drivers by visiting your laptop manufacturer’s support page or using Intel Driver & Support Assistant. If issues persist after updating, uninstall the driver, check ‘Delete driver software,’ and restart so Windows reinstalls a clean default driver.
Does Fast Startup prevent laptops from automatically connecting to WiFi?
Yes, Fast Startup hibernates your network adapter instead of fully reinitializing it. Disable it by going to Control Panel → Power Options → Choose what power buttons do → Uncheck ‘Turn on fast startup’ to allow proper WiFi adapter startup.
Why does my Mac not auto-connect to WiFi?
On macOS, check System Preferences → Network → WiFi → Advanced and ensure Auto-join is enabled for your network. Remove duplicate SSID entries that may confuse the connection logic. Drag your primary network to the top of the preferred networks list.
Read More:
- Laptop Not Accepting Charge (Signs and Here’s What Usually Fixes It)
- Laptop Not Accepting Password (Here’s Why and 7 Fast Fixes that Work)
- Laptop Not Accepting PIN (Here’s the Reasons and How to Fix It)
- Laptop Not Allowing Me to Type (Fixes to Get Keyboard Working Again)
- Laptop Not Asking for Password After Sleep (Proven Security Fixes)